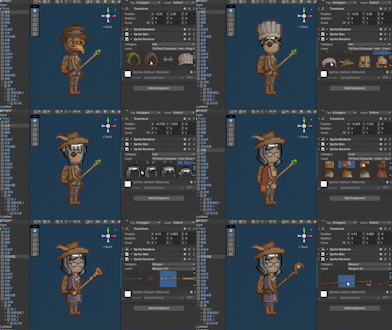
1.在Hierarchy一栏中选中角色;
2.在inspector栏最底端找到Add Component选项并点击;
3.添加Rigidbody2D,合适的collider和new script;
4.将添加的Rigidbody2D拖到new script中;
文章来源地址https://www.toymoban.com/news/detail-629896.html

5.在project栏中找到新添加的C#文件并双击打开(如果还没有编辑代码的工具,推荐Vscode)
6.代码如下:
using System.Numerics;
using System.Collections;
using System.Collections.Generic;
using UnityEngine;public class foxmove : MonoBehaviour
{
public Rigidbody2D rb;//添加Rigidbody,此处命名为rb
public float speed = 15;//添加变量speed速度,可以自定义变量名和值的大小// Start is called before the first frame update
void Start()
{
}// Update is called once per frame
void Update()
{
Movement();//添加移动的函数
}void Movement()
{
float horizontalmove;//定义变量,当horizontalmove等于-1时向左,等于1时向右,等于0时不动;
horizontalmove = Input.GetAxis("Horizontal");//绑定输入;
if(horizontalmove!=0)
{
rb.velocity = new UnityEngine.Vector2(horizontalmove * speed,rb.velocity.y);//更新速度变量
}
}
}
文章来源:https://www.toymoban.com/news/detail-629896.html
到了这里,关于Unity2D控制角色左右移动的文章就介绍完了。如果您还想了解更多内容,请在右上角搜索TOY模板网以前的文章或继续浏览下面的相关文章,希望大家以后多多支持TOY模板网!


