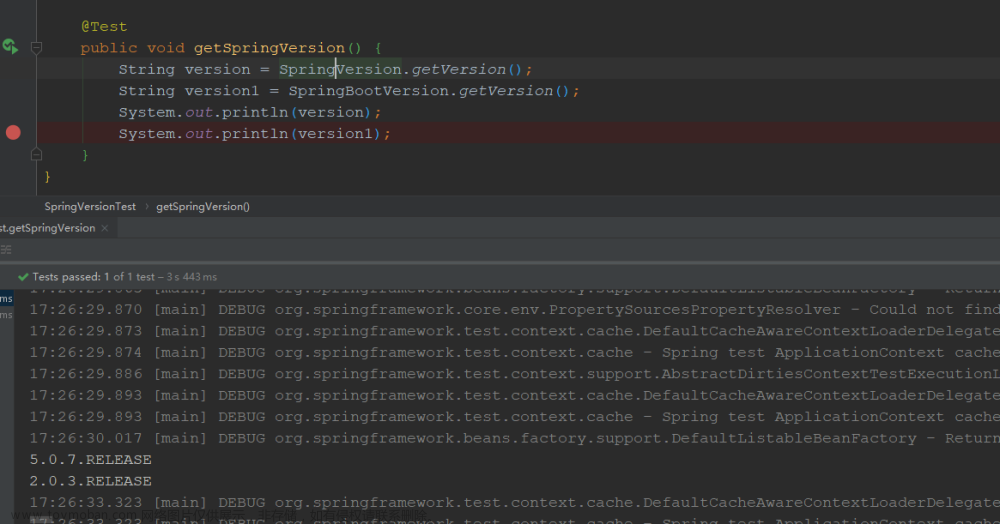
Spring Boot与安全视频
Spring Security, shiro等安全框架。主要功能是”认证“和”授权“,或者说是访问控制。
认证(Authentication)是建立在一个声明主体的过程(一个主体一般指用户,设备或一些可以在你的应用程序中执行动作的其他系统)。
授权(Authorization)指确定一个主体是否允许在你的应用程序执行一个动作的过程。 为了抵达需要授权的店, 主体的身份已经有认证过程建立。
这里我们使用Spring Security练习。
1. pom.xml
创建springboot应用,导入spring-boot-starter-security等相关依赖。
<?xml version="1.0" encoding="UTF-8"?>
<project xmlns="http://maven.apache.org/POM/4.0.0" xmlns:xsi="http://www.w3.org/2001/XMLSchema-instance"
         xsi:schemaLocation="http://maven.apache.org/POM/4.0.0 https://maven.apache.org/xsd/maven-4.0.0.xsd">
    <modelVersion>4.0.0</modelVersion>
    <parent>
        <groupId>org.springframework.boot</groupId>
        <artifactId>spring-boot-starter-parent</artifactId>
        <version>1.5.12.RELEASE</version>
        <relativePath/> <!-- lookup parent from repository -->
    </parent>

    <groupId>com.crysw.security</groupId>
    <artifactId>springboot05-security</artifactId>
    <version>0.0.1-SNAPSHOT</version>
    <name>springboot05-security</name>
    <description>springboot05-security</description>

    <properties>
        <java.version>1.8</java.version>
        <!--指定thymeleaf相关依赖的版本-->
        <thymeleaf.version>3.0.9.RELEASE</thymeleaf.version>
        <thymeleaf-layout-dialect.version>2.3.0</thymeleaf-layout-dialect.version>
        <thymeleaf-extras-springsecurity4.version>3.0.2.RELEASE</thymeleaf-extras-springsecurity4.version>
    </properties>

    <dependencies>
        <dependency>
            <groupId>org.springframework.boot</groupId>
            <artifactId>spring-boot-starter-security</artifactId>
        </dependency>

        <dependency>
            <groupId>org.springframework.boot</groupId>
            <artifactId>spring-boot-starter-thymeleaf</artifactId>
        </dependency>

        <!--可以在html中引用thymeleaf来获取授权和认证的相关信息-->
        <dependency>
            <groupId>org.thymeleaf.extras</groupId>
            <artifactId>thymeleaf-extras-springsecurity4</artifactId>
        </dependency>

        <dependency>
            <groupId>org.springframework.boot</groupId>
            <artifactId>spring-boot-starter-test</artifactId>
            <scope>test</scope>
        </dependency>

    </dependencies>

    <build>
        <plugins>
            <plugin>
                <groupId>org.springframework.boot</groupId>
                <artifactId>spring-boot-maven-plugin</artifactId>
            </plugin>
        </plugins>
    </build>

</project>
2. html页面
准备静态资源(html测试页面)
2.1 welcome.html
/请求转发到首页welcome.html
<!DOCTYPE html>
<html lang="en" xmlns:th="http://www.thymeleaf.org"
      xmlns:sec="http://www.thymeleaf.org/thymeleaf-extras-springsecurity4">
<head>
    <meta http-equiv="Content-Type" content="text/html" charset="UTF-8">
    <title>Title</title>
</head>
<body>
<h1 th:align="center">欢迎光临武林秘籍管理系统</h1>
    <!--没有认证-->
<div sec:authorize="!isAuthenticated()">
    <!--/login的get请求是security默认跳转登录页面的处理-->
    <!--<h2 align="center">游客您好,如果想查看武林秘籍,<a th:href="@{/login}">请登录</a></h2>-->
    <!--/userlogin的get请求是自定义跳转自己登录认证页面的处理-->
    <h2 th:align="center">游客您好,如果想查看武林秘籍,<a th:href="@{/userlogin}">请登录</a></h2>
</div>
 <!--只有登录认证了才展示注销按钮-->
<div sec:authorize="isAuthenticated()">
    <h2><span sec:authentication="name"></span>, 您好,您的角色有:<span
            sec:authentication="principal.authorities"></span></h2>
    <form th:action="@{/logout}" method="post">
        <input type="submit" value="注销"/>
    </form>
</div>

<hr>
<!--授权VIP1的模块展示-->
<div sec:authorize="hasRole('VIP1')">
    <h3>普通武林秘籍</h3>
    <ul>
        <li><a th:href="@{/level1/1}">罗汉拳</a></li>
        <li><a th:href="@{/level1/2}">武当长拳</a></li>
        <li><a th:href="@{/level1/3}">全真剑法</a></li>
    </ul>
</div>
<!--授权VIP2的模块展示-->
<div sec:authorize="hasRole('VIP2')">
    <h3>高级武林秘籍</h3>
    <ul>
        <li><a th:href="@{/level2/1}">太极拳</a></li>
        <li><a th:href="@{/level2/2}">七伤拳</a></li>
        <li><a th:href="@{/level2/3}">梯云纵</a></li>
    </ul>
</div>

<!--授权VIP3的模块展示-->
<div sec:authorize="hasRole('VIP3')">
    <h3>绝世武林秘籍</h3>
    <ul>
        <li><a th:href="@{/level3/1}">葵花宝典</a></li>
        <li><a th:href="@{/level3/2}">龟派气功</a></li>
        <li><a th:href="@{/level3/3}">独孤九剑</a></li>
    </ul>
</div>

</body>
</html>
2.2 login.html
请求/userlogin转发到自定义的登录页面
<!DOCTYPE html>
<html lang="en" xmlns:th="http://www.thymeleaf.org">
<head>
    <meta http-equiv="Content-Type" content="text/html" charset="UTF-8">
    <title>Title</title>
</head>
<body>
<h1 th:align="center">欢迎来到武林秘籍管理系统</h1>
<hr/>
<div th:align="center">
    <!--默认post形式的/login代表处理登录提交-->
    <!--如果定制loginPage,那么loginPage的post请求就是登录提交-->
    <form th:action="@{/userlogin}" method="post">
        用户名: <input type="text" name="uname"/>
        <br/>
        密码:<input type="password" name="pwd"/>
        <br/>
        <input type="checkbox" name="remember" id=""/> remember me
        <br/>
        <input type="submit" value="登录"/>
    </form>
</div>
</body>
</html>
2.3 level1模块页面
<!DOCTYPE html>
<html lang="en" xmlns:th="http://www.thymeleaf.org">
<head>
    <meta http-equiv="Content-Type" content="text/html" charset="UTF-8">
    <title>Title</title>
</head>
<body>
<a th:href="@{/}">返回</a>
<h1>罗汉拳</h1>
<p>罗汉拳站当秧,打起来不要慌</p>
</body>
</html>
其他模块页面一样,简单改一下内容即可。
3. security配置类
WebSecurityConfigurerAdapter为创建WebSecurityConfigurer实例提供了一个方便的基类。允许通过重写方法进行定制实现,自定义授权规则和认证规则。
@EnableWebSecurity
public class MySecurityConfig extends WebSecurityConfigurerAdapter {

    /**
     * 定制请求的授权规则
     *
     * @param http the {@link HttpSecurity} to modify
     * @throws Exception
     */
    @Override
    protected void configure(HttpSecurity http) throws Exception {
        http.authorizeRequests().antMatchers("/").permitAll()
                // VIP1角色的用户才能访问level1的页面,其他同理
                .antMatchers("/level1/**").hasRole("VIP1")
                .antMatchers("/level2/**").hasRole("VIP2")
                .antMatchers("/level3/**").hasRole("VIP3");

        // 开启自动配置的登录功能
//        http.formLogin();
        http.formLogin().usernameParameter("uname").passwordParameter("pwd")
                .loginPage("/userlogin").loginProcessingUrl("/userlogin");
        // 1. 如果没有访问权限,转发到/login请求来到登录页;
        // 2. 重定向到/login?error表示登录失败。 更多详细规定
        // 3. 默认post形式的/login代表处理登录提交
        // 4.如果定制loginPage,那么loginPage的post请求就是登录提交

        // 开启自动配置的注销功能, 访问/logout表示用户注销,清空session; 注销成功后来到首页;
        http.logout().logoutSuccessUrl("/");
        // 开启记住我的功能, 将cookie发给浏览器保存,以后登录带上这个cookie,只要通过服务器端的验证就可以免登录
        // 如果点击”注销“,也会删除这个cookie
//        http.rememberMe();
        http.rememberMe().rememberMeParameter("remember");
    }

    /**
     * 定制认证规则
     *
     * @param auth the {@link AuthenticationManagerBuilder} to use
     * @throws Exception
     */
    @Override
    protected void configure(AuthenticationManagerBuilder auth) throws Exception {
        auth.inMemoryAuthentication().withUser("zhangsan").password("123456").roles("VIP1", "VIP2")
                .and().withUser("lisi").password("123456").roles("VIP2", "VIP3")
                .and().withUser("wangwu").password("123456").roles("VIP1", "VIP3");
    }
}
启动应用后,访问主页,需要先登录认证。可以看到张三有访问VIP1, VIP2权限的区域展示。 文章来源:https://www.toymoban.com/news/detail-630245.html
登录认证成功后,跳转到欢迎主页。 文章来源地址https://www.toymoban.com/news/detail-630245.html
到了这里,关于chapter14:springboot与安全的文章就介绍完了。如果您还想了解更多内容,请在右上角搜索TOY模板网以前的文章或继续浏览下面的相关文章,希望大家以后多多支持TOY模板网!