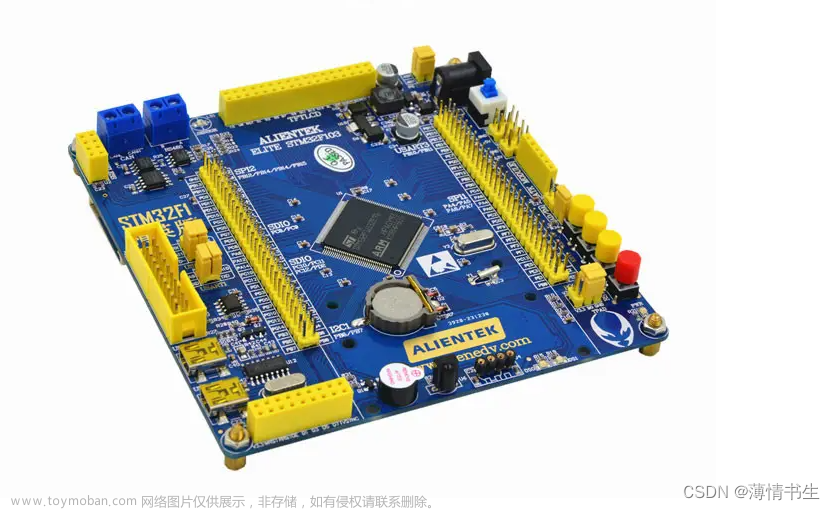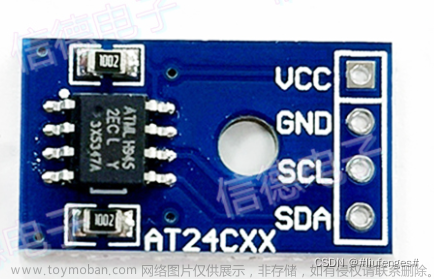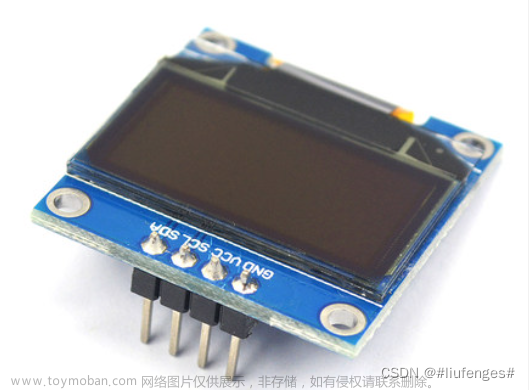


硬件图(具体看各自的板载资源图)

本章所要实现的功能是:通过操作 KEY_UP 键,STM32F1 的串口 2 将 PC 机发 送过来的数据原封不动的返回给 PC 机串口,同时 DS0 指示灯不断闪烁,提示系 统正常运行。程序框架如下: (1)初始化串口 2,并使能串口接收中断等 (2)编写串口 2 中断函数(将接收到的数据返回出去) (3)编写主函数 文章来源:https://www.toymoban.com/news/detail-630380.html
rs485.h+rs485.c
#ifndef _rs485_H
#define _rs485_H
#include "system.h"

#define RS485_TX_EN PBout(7)
extern u8 RS485_RX_BUF[64];
extern u8 RS485_RX_CNT;

void RS485_Receive_Data(u8 *buf,u8 *len);
void RS485_Send_Data(u8 *buf,u8 len);
void RS485_Init(u32 baud);
#endif
#include "rs485.h"
#include "SysTick.h"
u8 RS485_RX_BUF[64];//是RS485中的缓存数据
u8 RS485_RX_CNT=0;
void RS485_Init(u32 baud)//波特率
{
GPIO_InitTypeDef GPIO_InitStructure;
USART_InitTypeDef USART_InitStructure;
NVIC_InitTypeDef NVIC_InitStructure;
RCC_APB1PeriphClockCmd(RCC_APB1Periph_USART2, ENABLE);
RCC_APB2PeriphClockCmd(RCC_APB2Periph_GPIOA | RCC_APB2Periph_GPIOD , ENABLE);
GPIO_InitStructure.GPIO_Pin=GPIO_Pin_2;//TX发送引脚
GPIO_InitStructure.GPIO_Speed=GPIO_Speed_50MHz;
GPIO_InitStructure.GPIO_Mode=GPIO_Mode_AF_PP;
GPIO_Init(GPIOA, &GPIO_InitStructure);
GPIO_InitStructure.GPIO_Pin=GPIO_Pin_3;//RX接收引脚,不需要输出速度
GPIO_InitStructure.GPIO_Mode=GPIO_Mode_IN_FLOATING;
GPIO_Init(GPIOA, &GPIO_InitStructure);
GPIO_InitStructure.GPIO_Pin=GPIO_Pin_7;//TX发送引脚
GPIO_InitStructure.GPIO_Speed=GPIO_Speed_50MHz;
GPIO_InitStructure.GPIO_Mode=GPIO_Mode_Out_PP;
GPIO_Init(GPIOD, &GPIO_InitStructure);
USART_InitStructure.USART_BaudRate=baud;//波特率
USART_InitStructure.USART_Mode=USART_Mode_Rx | USART_Mode_Tx;
USART_InitStructure.USART_Parity=USART_Parity_No;//校验位
USART_InitStructure.USART_StopBits=USART_StopBits_1;
USART_InitStructure.USART_WordLength=USART_WordLength_8b;
USART_InitStructure.USART_HardwareFlowControl=USART_HardwareFlowControl_None;//无硬件流
USART_Init(USART2, &USART_InitStructure);
NVIC_InitStructure.NVIC_IRQChannel=USART2_IRQn;
NVIC_InitStructure.NVIC_IRQChannelPreemptionPriority=3;//抢占式优先级,按自己需求配置
NVIC_InitStructure.NVIC_IRQChannelSubPriority=3;//响应式优先级
NVIC_InitStructure.NVIC_IRQChannelCmd=ENABLE;
NVIC_Init(&NVIC_InitStructure);
USART_Cmd(USART2, ENABLE);
USART_ITConfig(USART2, USART_IT_RXNE,ENABLE);//开启接收中断
RS485_TX_EN=0;//半双工通信,此为接收模式
}
void USART2_IRQHandler()//利用中断来接受rs485的数据,即PC机—>RS485->STM32(中断)
{
u8 res=0;
if(USART_GetITStatus(USART2, USART_IT_RXNE)!=RESET)//接收中断函数
{
res=USART_ReceiveData(USART2);//接收数据,一位一位接受
if(RS485_RX_CNT<64)
{
RS485_RX_BUF[RS485_RX_CNT]=res;
RS485_RX_CNT++;
}
}
}
void RS485_Send_Data(u8 *buf,u8 len)
{
u8 i=0;
RS485_TX_EN=1;//发送模式
for(i=0;i<len;i++)
{
USART_SendData(USART2, buf[i]);
USART_GetFlagStatus(USART2, USART_FLAG_TC);//等待发送完成
}
RS485_RX_CNT=0;//清零,防止数据溢出
RS485_TX_EN=0;//发送完成,开始接收
}
void RS485_Receive_Data(u8 *buf,u8 *len)//检测是否接收完成,
//并且将缓存数据存放在32的数据包中
{
u8 RXlen=RS485_RX_CNT;
u8 i=0;
delay_ms(10);
if(RXlen==RS485_RX_CNT&&RXlen!=0)
{
for(i=0;i<RXlen;i++)
{
buf[i]=RS485_RX_BUF[i];//将缓存数据保存在32的数据包中
}
*len=RS485_RX_CNT;//将长度保存
RS485_RX_CNT=0;//接收一次后,等待下一次接收
}
}main.c
#include "stm32f10x.h"
#include "led.h"
#include "system.h"
#include "SysTick.h"
#include "beep.h"
#include "key.h"
#include "exti.h"
#include "time.h"
#include "pwm.h"
#include "usart.h"
#include "stdio.h"
#include "iwdg.h"
#include "wwdg.h"
#include "input.h"
#include "touch_key.h"
#include "wkup.h"
#include "adc.h"
#include "adc_temp.h"
#include "lsens.h"
#include "dac.h"
#include "dma.h"
#include "rtc.h"
#include "at24cxx.h"
#include "i2c.h"
#include "ds18b20.h"
#include "hwjs.h"
#include "rs485.h"
int main()
{
    u8 i=0;
    KEY_Init();
    u8 RS485_BUF[5];
    u8 len=0;
    u8 key=0;
    NVIC_PriorityGroupConfig(NVIC_PriorityGroup_2);//设置优先级分组
  SysTick_Init(72);
    LED_Init();
    USART1_Init(115200);//波特率115200
    RS485_Init(9600);
    while(1)
    {
        key=KEY_Scan(0);
        if(key==KEY_UP_PRESS)
        {
            RS485_Send_Data(RS485_BUF,5);
        }
        RS485_Receive_Data(RS485_BUF,&len);
        i++;
        if(i%20==0)LED1=!LED1;
        delay_ms(10);
    }
PS
将工程程序编译后下载到开发板内,可以看到 DS0 指示灯不断闪烁,表示程 序正常运行。使用 RS232/RS485 转换器将 PC 机与我们开发板 485 模块的 A 和 B 连接,打开串口调试助手,选择好转换器的串口(不是开发板上的 CH340 串口), 将波特率设置为 9600,在字符串输入框内输入数据,点击发送后,然后按下开 发板上 KEY_UP 键,在串口助手显示窗口就会显示发送的数据 文章来源地址https://www.toymoban.com/news/detail-630380.html

到了这里,关于STM32RS485通信的文章就介绍完了。如果您还想了解更多内容,请在右上角搜索TOY模板网以前的文章或继续浏览下面的相关文章,希望大家以后多多支持TOY模板网!

