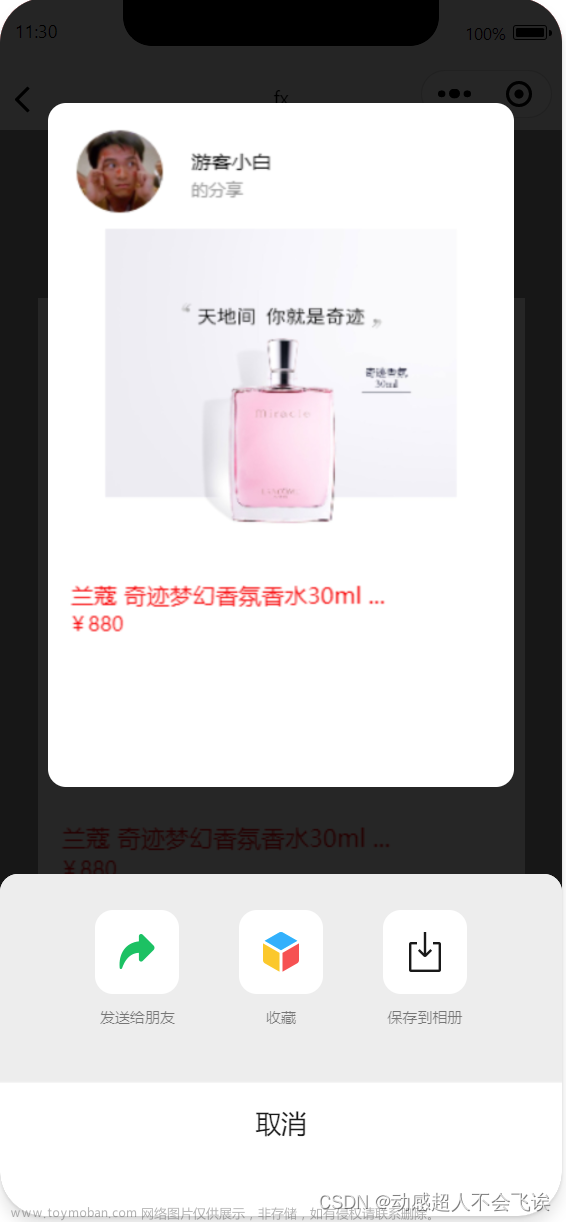
成品效果图
- 可以通过切换下面图片形成不同的海报背景分享图

<template>
	<view>
	 	// type="2d"必须加
		<canvas type="2d" :style="{width:Artwidth+ 'px',height:Artheight + 'px', margin:'0 auto'}" canvas-id="firstCanvas"
			id="firstCanvas"> </canvas>
		<view class="bootmbtn">
			<view class="save" @click="save">
				保存海报
			</view>
			<scroll-view scroll-x="true" style="white-space: nowrap;width:100vw">
				<view class="botmbar" :class="current==1?'new':''" @click="getimg('/static/canvas/1.jpg',1)">
					<image src="/static/canvas/1.jpg" mode=""></image>
				</view>
				<view class="botmbar" :class="current==2?'new':''" @click="getimg('/static/canvas/2.jpg',2)">
					<image src="/static/canvas/2.jpg" mode=""></image>
				</view>
				<view class="botmbar" :class="current==3?'new':''" @click="getimg('/static/canvas/3.jpg',3)">
					<image src="/static/canvas/3.jpg" mode=""></image>
				</view>
				<view class="botmbar" :class="current==4?'new':''" @click="getimg('/static/canvas/4.jpg',4)">
					<image src="/static/canvas/4.jpg" mode=""></image>
				</view>
			</scroll-view>
		</view>

	</view>
</template>

<script>
	//接口获取二维码
	import {
		getCode,
	} from "@/common/api.js"
	export default {
		data() {
			return {
				dpr: 1,
				Artwidth: 0,
				Artheight: 0,
				w: 375,
				h: 500,
				shareimg: "",
				current: 1,
				ctx: "",
			};
		},
		onLoad() {
			this.openapply()
		},
		methods: {
			//立即推广
			openapply() {
				getCode().then(res => {
					if (res.code == 1) {
						this.shareimg = res.data
						this.getimg("/static/canvas/1.jpg", 1)
					}
				})
			},
			getimg(IMG, index) {
				let that = this
				that.current = index
				const query = uni.createSelectorQuery().in(this)
				query.select("#firstCanvas").fields({
					node: true,
					size: true
				}).exec(res => {
					const {
						node: canvas
					} = res[0];
					console.log(canvas, 888)
					//绘制
					const ctx = canvas.getContext('2d');
					that.ctx = canvas//这一步为了画布转图片
					that.dpr = uni.getWindowInfo().pixelRatio || 1;
					canvas.width = that.w * that.dpr
					canvas.height = that.h * that.dpr
					ctx.clearRect(0, 0, canvas.width, canvas.height)
					that.Artwidth = that.w
					that.Artheight = that.h
					ctx.fillStyle= "#ffffff"
					ctx.fillRect(0, 0,canvas.width, canvas.height);
					console.log(canvas.width, canvas.height, 400 * that.dpr)
					//获取图片实例,去绘制
					const bgimage = canvas.createImage()
					bgimage.onload = () => {
						ctx.drawImage(bgimage, 0, 0, canvas.width, 400 * that.dpr)
						that.getcode(canvas, ctx)
					}
					bgimage.src = IMG
				})
			},
			// 绘制二维码
			getcode(canvas, ctx) {
				let that = this
				const bgimage = canvas.createImage()
				bgimage.onload = () => {
					ctx.drawImage(bgimage, (that.w - 105) * that.dpr, (that.h - 90) * that.dpr, 88 * that.dpr, 88 *
						that.dpr)
					that.getlogo(canvas, ctx)
				}
				bgimage.src = that.shareimg
			},
			//绘制 logo
			getlogo(canvas, ctx) {
				let that = this
				const bgimage = canvas.createImage()
				bgimage.onload = () => {
					ctx.drawImage(bgimage, 24 * that.dpr, (that.h - 90) * that.dpr, 88 * that.dpr, 88 * that.dpr)
					that.getfont(canvas, ctx)
				}
				bgimage.src = '/static/2.png'
			},
			// 绘制文字
			getfont(canvas, ctx) {
				let that = this
				ctx.fillStyle= "#000000"
				ctx.font = '42px "微软雅黑"';
				ctx.fillText('小程序', 130 * that.dpr, (that.h - 45) * that.dpr)
				ctx.fillStyle = "red";
				ctx.scale(that.dpr, that.dpr);
			},
			//保存
			save() {
				let that = this
				setTimeout(() => {
					uni.canvasToTempFilePath({
						canvas: that.ctx, // 使用2D 需要传递的参数
						success: function(res) {
							// 在H5平台下,tempFilePath 为 base64
							console.log(res.tempFilePath)
							uni.saveImageToPhotosAlbum({
								filePath: res.tempFilePath,
								success: function(res2) {
									uni.showToast({
										title: "保存成功,请从相册选择再分享",
										icon: "none",
										duration: 5000,
									});
								},
								fail: function(err) {
									uni.hideLoading();
									// console.log(err.errMsg);
								},
							});
						},
						fail(err) {
							console.log(err)
						}
					})
				}, 1000)
			}
		}
	}
</script>

<style lang="scss">
	.bootmbtn {
		position: fixed;
		bottom: 0;
		left: 0;
		height: 380rpx;
		padding: 24rpx 0 32rpx 32rpx;
		border-top: 4rpx #d8d3cf solid;
	}

	.botmbar {
		margin-top: 12rpx;
		display: inline-block;
		width: 310rpx;
		height: 310rpx;
		margin-right: 24rpx;
		text-align: center;
		line-height: 320rpx;

		image {
			width: 300rpx;
			height: 300rpx;
		}
	}

	.new {
		border: 3px solid #000000;
		box-sizing: border-box;
	}

	.save {
		// position: fixed;
		// bottom: 240rpx;
		// right: 24rpx;
		margin: 0 auto;
		width: 248rpx;
		height: 80rpx;
		line-height: 80rpx;
		border-radius: 80rpx;
		opacity: 1;
		background: #a91e25;
		opacity: 1;
		color: #ffffff;
		font-size: 30rpx;
		font-weight: 600;
		font-family: "PingFang SC";
		text-align: center;
	}
</style>
文章来源地址https://www.toymoban.com/news/detail-634795.html
文章来源:https://www.toymoban.com/news/detail-634795.html
到了这里,关于【小程序】Canvas 画布分享海报的文章就介绍完了。如果您还想了解更多内容,请在右上角搜索TOY模板网以前的文章或继续浏览下面的相关文章,希望大家以后多多支持TOY模板网!


