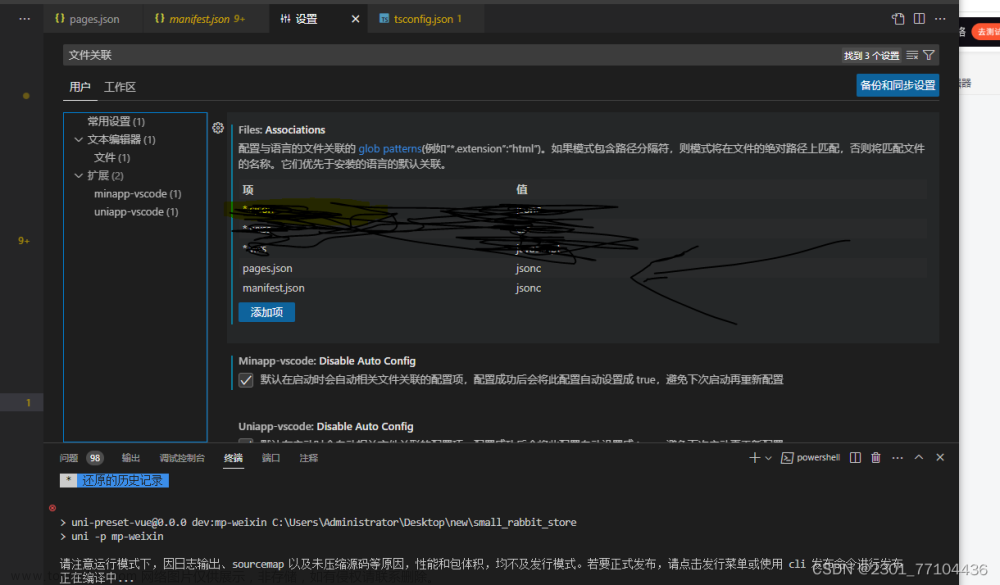
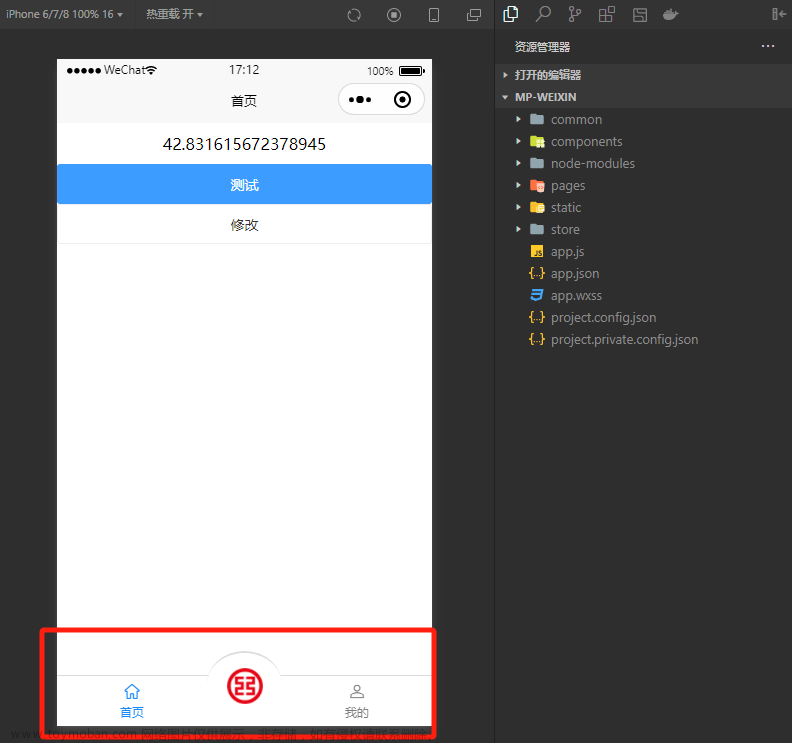
1.首先从uniapp官网下载vue3版本+ts的模板
2.安装vant微信小程序版本
npm i @vant/weapp3.在项目src目录创建wxcomponents文件夹,在wxcomponents文件夹下创建vant文件夹
4.从node_modules文件夹下的@vant文件夹里面的weapp,weapp下的dist文件夹,将dist文件夹里面的文件复制到/wxcomponents/vant
5.全局引用 在pages.json文件 , "globalStyle":{} 属性下加入以下片段,可按需引入具体需要全局引入的组件,引入规则如下:
注意引入路径需要改一下,改成正确的路径,如/wxcomponents/vant
"usingComponents": {
   "van-cell-group": "/wxcomponents/vant/cell-group/index",
   "van-field": "/wxcomponents/vant/field/index",
   //...
}
例子
"globalStyle": {
    "navigationBarTextStyle": "black",
    "navigationBarTitleText": "uni-app",
    "navigationBarBackgroundColor": "#F8F8F8",
    "backgroundColor": "#F8F8F8",
    "usingComponents": {
      "van-cell-group": "/wxcomponents/vant/cell-group/index",
      "van-field": "/wxcomponents/vant/field/index",
      "van-button": "/wxcomponents/vant/button/index"
      //...
    }
  }
5.单页面引用 在页面配置添加组件
"pages": [
    //pages数组中第一项表示应用启动页,参考:https://uniapp.dcloud.io/collocation/pages
    {
      "path": "pages/index/index",
      "style": {
        "navigationBarTitleText": "uni-app",
        "usingComponents": {
          "van-cell-group": "/wxcomponents/vant/cell-group/index",
          "van-field": "/wxcomponents/vant/field/index",
          "van-button": "/wxcomponents/vant/button/index"
          //...
        }
      }
    }
  ],
6.开发过程中应参考对应版本的文档:vant-contrib.gitee.io/vant-weapp 但需要把对应的引用语法改成vue的语法,如:文章来源:https://www.toymoban.com/news/detail-635469.html
-
<van-cell-group>
    <van-field value="{{ value }}" placeholder="请输入用户名" border="{{ false }}"
    bind:change="onChange" />
</van-cell-group>

改为

<van-cell-group>
    <van-field :value="value" placeholder="请输入用户名" :border="false"
    @change="onChange" />
</van-cell-group>
这样就完成了 文章来源地址https://www.toymoban.com/news/detail-635469.html
到了这里,关于uniapp vue3版本+ts使用 vant小程序 组件库的文章就介绍完了。如果您还想了解更多内容,请在右上角搜索TOY模板网以前的文章或继续浏览下面的相关文章,希望大家以后多多支持TOY模板网!


