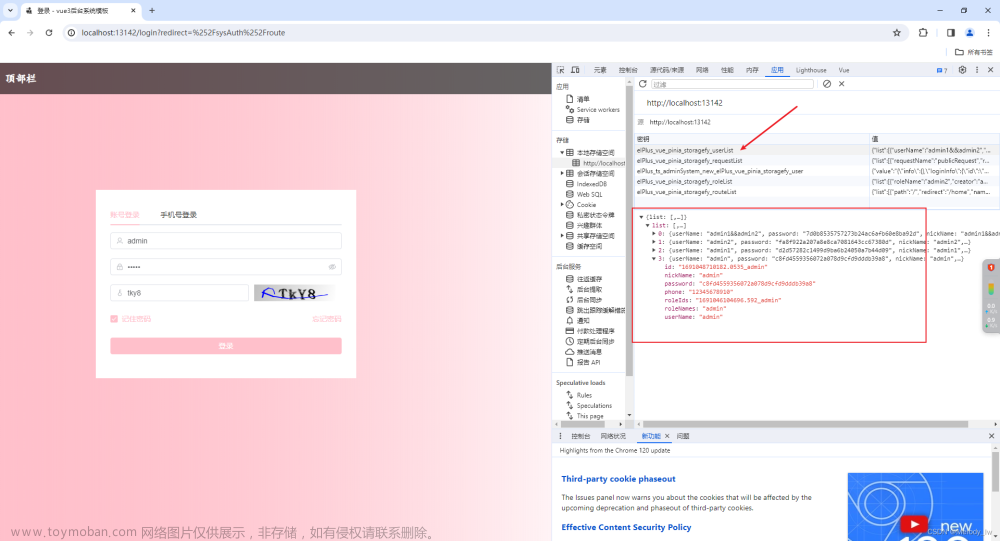
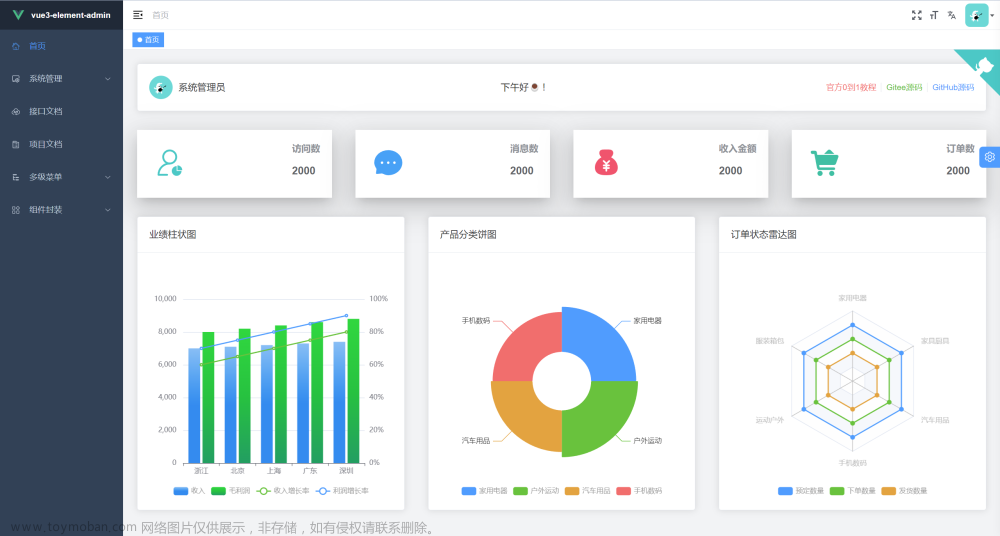
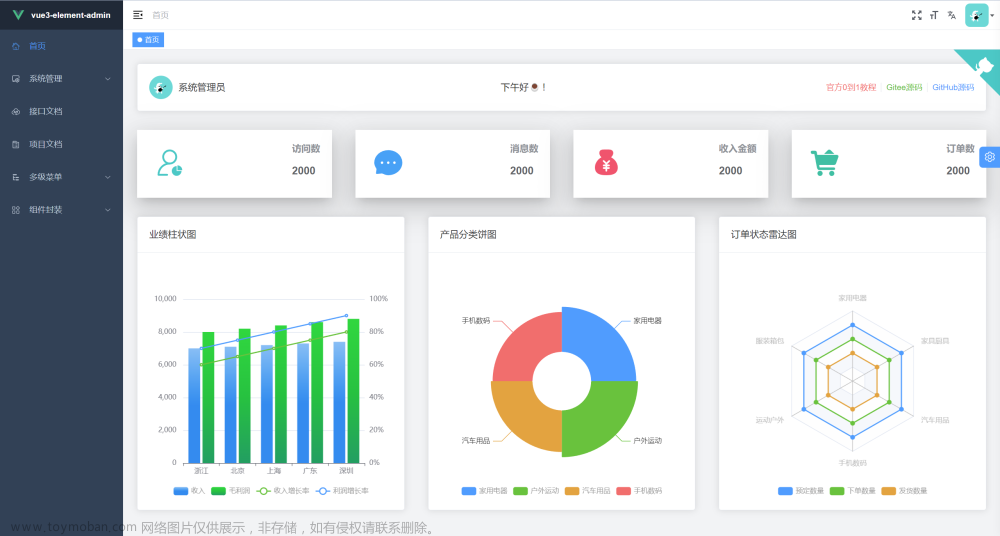
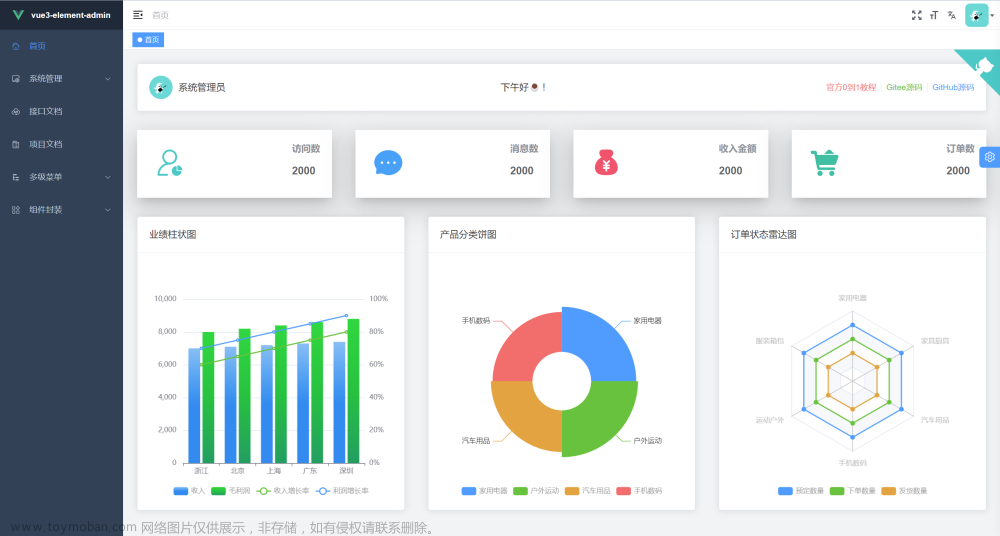
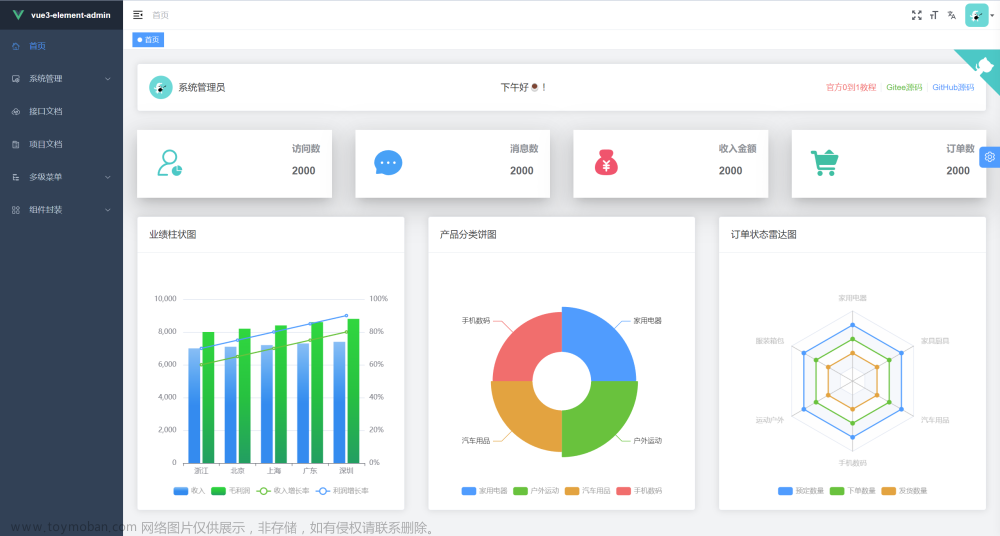
一、页面效果


二、完整代码
Index.vue
<template>
  <div>
    <div>
      <DateTime />
      <!-- {{username}} -->
    </div>
    <el-row :gutter="20">
      <el-col :span="8">
        <div class="grid-content bg-purple">
          <PeopleNum />
        </div>
      </el-col>
      <el-col :span="8">
        <div class="grid-content bg-purple">
          <TrackPatients />
        </div>
      </el-col>
      <el-col :span="8">
        <div class="grid-content bg-purple">
          <HealPatients />
        </div>
      </el-col>
    </el-row>
    <el-row :gutter="20">
      <el-col :span="12">
        <div class="grid-content bg-purple">
          <DataComparison />
        </div>
      </el-col>
      <el-col :span="12">
        <div class="grid-content bg-purple">
          <VisitsNumber /> <Text></Text>
        </div>
      </el-col>
    </el-row>
    <el-row :gutter="20">
      <el-col :span="6">
        <div class="grid-content bg-purple"><Text></Text></div>
      </el-col>
      <el-col :span="12">
        <div class="grid-content bg-purple"></div>
      </el-col>
      <el-col :span="6">
        <div class="grid-content bg-purple"></div>
      </el-col>
    </el-row>
    <Text></Text>
  </div>
</template>


<script>
import DateTime from "@/components/HomeChart/DateTime.vue";
import PeopleNum from "@/components/HomeChart/PeopleNumber.vue";
import TrackPatients from "@/components/HomeChart/TrackPatients.vue";
import HealPatients from "@/components/HomeChart/HealPatient.vue";
import DataComparison from "@/components/HomeChart/DataComparison.vue";
import VisitsNumber from "@/components/HomeChart/VisitsNumber.vue";

export default {
  name: "home",
  components: {
    DateTime,
    PeopleNum,
    TrackPatients,
    HealPatients,
    DataComparison,
    VisitsNumber,
  },
  data() {
    return {};
  },
  methods: {},
  created() {
  }
};
</script>

<style lang="less" scoped>
.el-row {
  margin-bottom: 20px;

  &:last-child {
    margin-bottom: 10px;
  }
}

.el-col {
  border-radius: 4px;
}

.bg-purple-dark {
  background: #99a9bf;
}

.bg-purple {
  background: #d3dce6;
}

.bg-purple-light {
  background: #e5e9f2;
}

.grid-content {
  border-radius: 13px;
  min-height: 150px;
  margin: 15px 12px 0px 12px;
}

.row-bg {
  padding: 10px 0;
  background-color: #f9fafc;
}
</style>
DataComparison.vue
<template>
  <div>
    <el-card class="box-card">
      <div slot="header" class="clearfix">
        <span>粉丝数量排名前五城市</span>
        <el-button style="float: right; padding: 3px 0" type="text"><i class="el-icon-more"></i></el-button>
      </div>
      <div id="charts4" style="width: 460px; height: 220px"></div>
      <!-- <div v-for="o in 4" :key="o" class="text item">
        {{ "列表内容 " + o }}
      </div> -->
    </el-card>
  </div>
</template>

<script>
import * as echarts from "echarts";

export default {
  name: "HealPatients",
  data() {
    return {};
  },
  mounted() {
    let myChart4 = echarts.init(document.getElementById("charts4"));
    myChart4.setOption({
      tooltip: {
        trigger: 'axis',
        axisPointer: {
          // Use axis to trigger tooltip
          type: 'shadow' // 'shadow' as default; can also be 'line' or 'shadow'
        }
      },
      legend: {},
      grid: {
        left: '3%',
        right: '4%',
        bottom: '3%',
        containLabel: true
      },
      xAxis: {
        type: 'value'
      },
      yAxis: {
        type: 'category',
        data: ['广州', '深圳', '上海', '重庆', '北京']
      },
      series: [
        {
          name: '原有粉丝',
          type: 'bar',
          stack: 'total',
          label: {
            // show: true
          },
          emphasis: {
            focus: 'series'
          },
          data: [820, 902, 901, 1134, 1390]
        },
        {
          // name: '良好人数',
          type: 'bar',
          stack: 'total',
          label: {
            // show: true
          },
          emphasis: {
            focus: 'series'
          },
          // data: [1233, 1142, 1041, 1344, 1940]
        },
        {
          // name: '111',
          type: 'bar',
          stack: 'total',
          label: {
            // show: true
          },
          emphasis: {
            focus: 'series'
          },
          // data: [220, 182, 191, 234, 290]
        },
        {
          // name: '',
          type: 'bar',
          stack: 'total',
          label: {
            // show: true
          },
          emphasis: {
            focus: 'series'
          },
          // data: [23, 28, 34, 39, 50]
        },
        {
          name: '新增粉丝',
          type: 'bar',
          stack: 'total',
          label: {
            // show: true
          },
          emphasis: {
            focus: 'series'
          },
          data: [150, 212, 201, 154, 190, 330, 410]
        }
      ]
    });
  },
};
</script>

<style scoped>
span{
    font-size: 15px;
}

.clearfix:before,
.clearfix:after {
  display: table;
  content: "";
}

.clearfix:after {
  clear: both;
}

.box-card {
  width: 480px;
}
</style>
DateTime.vue
<template>
  <div>
    <div class="today">今天,</div>
    <div class="date">2023年3月12日星期日,欢迎您使用乐游后台管理平台。</div>
  </div>
</template>

<script>
export default {
  data() {
    return {
      // date,
    };
  },
  methods: {
    // date() {}
  }
}
</script>

<style scoped>
.today{
    font-size: 38px;
    margin: 15px;
}
.date{
    margin: 15px;
}
</style>
HealPatient.vue
<template>
  <div>
    <el-card class="box-card">
      <span>一个占位的表</span>
      <el-button style="float: right; padding: 3px 0" type="text"
        ><i class="el-icon-more"></i>
      </el-button>
      <div id="charts3" style="width: 100%; height: 90px"></div>
    </el-card>
  </div>
</template>

<script>
import * as echarts from "echarts";

export default {
  name: "HealPatients",
  data() {
    return {};
  },
  mounted() {
    let myChart3 = echarts.init(document.getElementById("charts3"));
    myChart3.setOption({
      xAxis: {
        type: "category",
        data: ["Mon", "Tue", "Wed", "Thu", "Fri", "Sat", "Sun"],
      },
      yAxis: {
        type: "value",
      },
      series: [
        {
          data: [6, 12, 10, 4, 12, 13, 10],
          type: "line",
          smooth: true,
        },
      ],
    });
  },
};
</script>

<style scoped>
span {
  font-size: 15px;
}
.text {
  font-size: 12px;
}

.item {
  margin-bottom: 50px;
}

.clearfix:before,
.clearfix:after {
  display: table;
  content: "";
}
.clearfix:after {
  clear: both;
}
</style>
PeopleNumber.vur
<template>
  <div>
    <el-card class="box-card">
      <span>粉丝总数</span>
      <!-- <div>追踪患者</div> -->
      <el-button style="float: right; padding: 3px 0" type="text"
        ><i class="el-icon-more"></i>
      </el-button>
      <div id="charts1" style="width: 100%; height: 90px"></div>
    </el-card>
  </div>
</template>

<script>
import * as echarts from "echarts";

export default {
  name: "HealPatients",
  data() {
    return {};
  },
  mounted() {
    let myChart1 = echarts.init(document.getElementById("charts1"));
    myChart1.setOption({
      legend: {},
      tooltip: {},
      dataset: {
        source: [
          // ['product', '2015', '2016', '2017'],
          ["1", 55],
          ["2", 56],
          ["3", 66],
          ["4", 73],
          ["5", 83],
          ["6", 103],
          ["7", 108],
        ],
      },
      xAxis: { type: "category" },
      yAxis: {},
      // Declare several bar series, each will be mapped
      // to a column of dataset.source by default.
      series: [{ type: "bar" }],
    });
  },
};
</script>

<style  scoped>
span {
  font-size: 15px;
}
.text {
  font-size: 12px;
}

.item {
  margin-bottom: 50px;
}

.clearfix:before,
.clearfix:after {
  display: table;
  content: "";
}
.clearfix:after {
  clear: both;
}
</style>TrackPatients.vue文章来源:https://www.toymoban.com/news/detail-636565.html
<template>
  <div>
    <el-card class="box-card">
        <span>男女占比</span>
        <!-- <div>追踪患者</div> -->
        <el-button style="float: right; padding: 3px 0" type="text"
          ><i class="el-icon-more"></i>
        </el-button>
      <div id="charts" style="width: 100%; height: 90px"></div>
    </el-card>
  </div>
</template>

<script>
import * as echarts from "echarts";

export default {
  name: "TrackPatients",
  data(){
    return{

    }
  },
  mounted(){
    let myChart = echarts.init(document.getElementById('charts'));
    myChart.setOption({
        tooltip: {
    trigger: 'item'
  },
  legend: {
    top: '10%',
    orient: 'vertical',
    left: 'left'
  },
  series: [
    {
      name: 'Access From',
      type: 'pie',
      radius: ['40%', '70%'],
      avoidLabelOverlap: false,
      itemStyle: {
        borderRadius: 10,
        borderColor: '#fff',
        borderWidth: 2
      },
      label: {
        show: false,
        position: 'center'
      },
      emphasis: {
        label: {
          show: true,
          fontSize: 28,
          fontWeight: 'bold'
        }
      },
      labelLine: {
        show: false
      },
      data: [
        { value: 67, name: '女' },
        { value: 34, name: '男' },
        { value: 13, name: '未知' },
      ]
    }
  ]
    })
  }

}
</script>

<style  scoped>
span{
    font-size: 15px;
}
 .text {
    font-size: 12px;
  }

  .item {
    margin-bottom: 50px;
  }

  .clearfix:before,
  .clearfix:after {
    display: table;
    content: "";
  }
  .clearfix:after {
    clear: both
  }

</style>VisitsNumber.vue文章来源地址https://www.toymoban.com/news/detail-636565.html
<template>
  <div>
    <el-card class="box-card">
      <div slot="header" class="clearfix">
        <span>七天内新增用户</span>
        <el-button style="float: right; padding: 3px 0" type="text"><i class="el-icon-more"></i></el-button>
      </div>
      <div id="charts5" style="width: 460px; height: 220px"></div>

    </el-card>
  </div>
</template>

<script>
import * as echarts from "echarts";

export default {
  name: "HealPatients",
  data() {
    return {};
  },
  mounted() {
    let myChart5 = echarts.init(document.getElementById("charts5"));
    myChart5.setOption({
      tooltip: {
        trigger: 'axis',
        axisPointer: {
          type: 'shadow'
        }
      },
      grid: {
        left: '3%',
        right: '4%',
        bottom: '3%',
        containLabel: true
      },
      xAxis: [
        {
          type: 'category',
          data: [
            '2023.03.09',
            '2023.03.10',
            '2023.03.11',
            '2023.03.12',
            '2023.03.13',
            '2023.03.14',
            '2023.03.15'
          ],
          axisTick: {
            alignWithLabel: true
          }
        }
      ],
      yAxis: [
        {
          type: 'value'
        }
      ],
      series: [
        {
          name: 'Direct',
          type: 'bar',
          barWidth: '60%',
          data: [103, 122, 90, 127, 98, 102, 123]
        }
      ]

    });
  },
};
</script>

<style  scoped>
span{
    font-size: 15px;
}

.clearfix:before,
.clearfix:after {
  display: table;
  content: "";
}

.clearfix:after {
  clear: both;
}

.box-card {
  width: 480px;
}
</style>
到了这里,关于【Vue+Element-plus】记录后台首页多echart图静态页面的文章就介绍完了。如果您还想了解更多内容,请在右上角搜索TOY模板网以前的文章或继续浏览下面的相关文章,希望大家以后多多支持TOY模板网!

