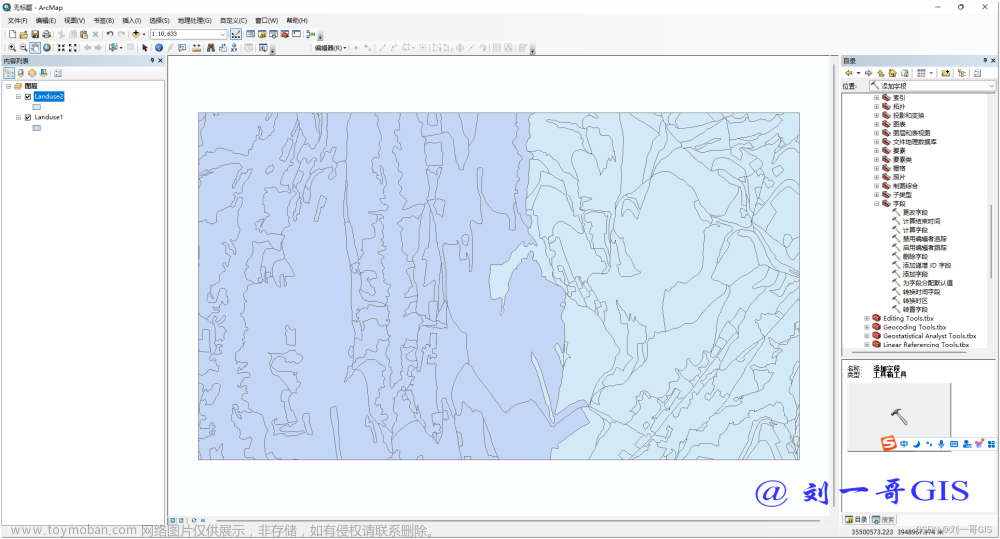
话不多说,上脚本源码,复制黏贴即可
#-*- coding:utf-8 -*-
__author__ = 'lumen'
import arcpy
#输入图层
InputFeature = arcpy.GetParameterAsText(0)
#原始字段
oldField = arcpy.GetParameterAsText(1)
# 获取原始字段类型
oldFieldType = ''
desc = arcpy.Describe(InputFeature)
# 获取字段列表
fields = desc.fields
# 遍历字段列表并打印字段名和字段类型
arcpy.AddMessage(fields)
for field in fields:
    if field.name==oldField:
        oldFieldType = field.type
arcpy.AddMessage(oldFieldType)
#这是xin字段
newField = arcpy.GetParameterAsText(2)
arcpy.AddMessage('fields has been registered')
#为新字段添加唯一指定字段
arcpy.AddField_management(InputFeature, newField, oldFieldType)
#获取数据游标
cursor = arcpy.UpdateCursor(InputFeature)

#遍历数据
for row in cursor:
    newValue = row.getValue(oldField)
    row.setValue(newField,newValue)
    cursor.updateRow(row)
# 使用 DeleteField 工具删除字段
arcpy.DeleteField_management(InputFeature, oldField)
#完活儿
arcpy.AddMessage('project succeed,best wishes for you')
# 删除游标对象
del cursor, row
安装后界面这样
 文章来源地址https://www.toymoban.com/news/detail-638774.html
文章来源:https://www.toymoban.com/news/detail-638774.html
到了这里,关于arcgis更改图层字段名脚本的文章就介绍完了。如果您还想了解更多内容,请在右上角搜索TOY模板网以前的文章或继续浏览下面的相关文章,希望大家以后多多支持TOY模板网!


