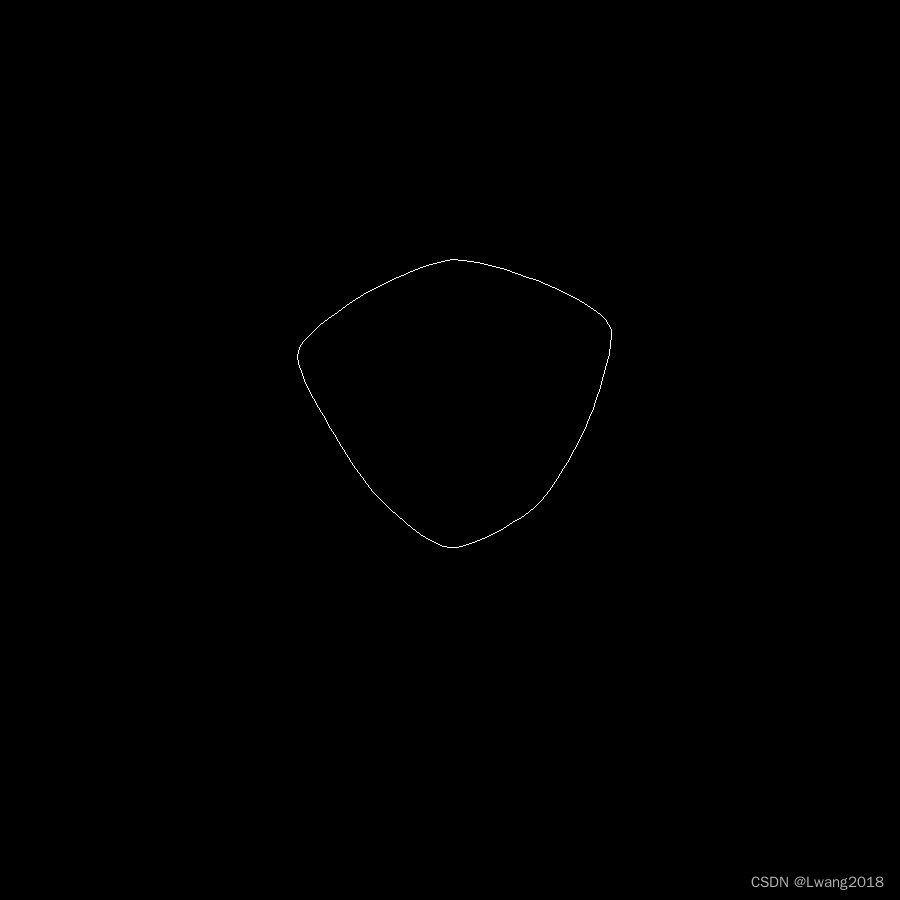
效果展示: 文章来源:https://www.toymoban.com/news/detail-652859.html
代码部分:文章来源地址https://www.toymoban.com/news/detail-652859.html
import cv2
import numpy as np
img = cv2.imread('C:/Users/ibe/Desktop/picture.PNG',cv2.IMREAD_UNCHANGED)
# 类型转换
img = cv2.cvtColor(img, cv2.COLOR_BGR2GRAY)

# 结构元
kernel = cv2.getStructuringElement(cv2.MORPH_RECT, (3, 3))
# 腐蚀
img = cv2.erode(img, kernel)
# 膨胀
img = cv2.dilate(img, kernel)
# 中值滤波
img = cv2.medianBlur(img, 3)

# 二值化
ret, thresh = cv2.threshold(img, 127, 255, cv2.THRESH_BINARY)
# 计算轮廓
contours, hierarchy = cv2.findContours(thresh , cv2.RETR_EXTERNAL, cv2.CHAIN_APPROX_SIMPLE)

# 类型转换
img = cv2.cvtColor(img, cv2.COLOR_GRAY2BGR)
# 绘制轮廓
# 1. 一般轮廓
cv2.drawContours(img, contours, -1, (0, 255, 0), 2)
# 2. 边界矩形轮廓
for c in contours:
	x, y, w, h = cv2.boundingRect(c)
	cv2.rectangle(img, (x, y), (x + w, y + h), (0, 255, 0), 2)
# 3. 最小矩形轮廓
for c in contours:
	rect = cv2.minAreaRect(c)
	box = cv2.boxPoints(rect)
	box = np.int0(box)
	cv2.drawContours(img, [box], 0, (0, 0, 255), 2)
# 4. 最小闭圆
for c in contours:
	(x, y), radius = cv2.minEnclosingCircle(c)
	center = (int(x), int(y))
	radius = int(radius)
	cv2.circle(img, center, radius, (255, 0, 0), 2)

# 显示图像
cv2.imshow("img", img)
# 保存图像
cv2.imwrite("img2.png", img)
# 触发等待延时
cv2.waitKey(0)
# 销毁所有窗口
cv2.destroyAllWindows()
到了这里,关于opencv图像轮廓检测的文章就介绍完了。如果您还想了解更多内容,请在右上角搜索TOY模板网以前的文章或继续浏览下面的相关文章,希望大家以后多多支持TOY模板网!


