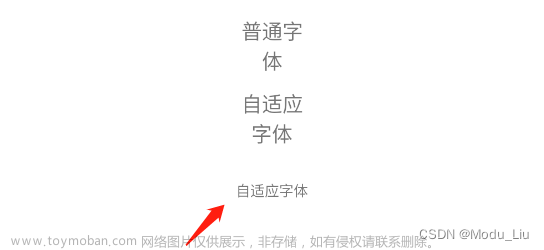
在Flutter开发中也需要宽高自适应,手动写一个工具类,集成之后在像素后面直接使用 px或者 rpx即可。
工具类代码如下:
import 'dart:ui';

class HYSizeFit {
  static double screenWidth = 0.0;
  static double screenHeight = 0.0;

  static double physicalWidth = 0.0;
  static double physicalHeight = 0.0;
  static double dpr = 0.0;
  static double statusHeight = 0.0;

  static double rpx = 0.0;
  static double px = 0.0;

  static void initialize({double standardSize = 750}) {
    // 1、手机的物理分辨率
    physicalWidth = window.physicalSize.width;
    physicalHeight = window.physicalSize.height;

    // 2、 获取dpr
    dpr = window.devicePixelRatio;

    // 3、宽度和高度
    screenWidth = physicalWidth / dpr;
    screenHeight = physicalHeight / dpr;

    // 4、 状态栏高度
    statusHeight = window.padding.top / dpr;

    // 5、计算 rpx 的大小
    rpx = screenWidth / standardSize;
    px = screenWidth / standardSize * 2;
  }

// 按照像素来设置
  static double setPx(double size) {
    return px * size;
  }

// 按照rpx来设置
  static double setRpx(double size) {
    return rpx * size;
  }
}
扩展(extension)代码
import 'hysize.dart';

extension DoubleFit on double {
  double get px {
    return HYSizeFit.setPx(this);
  }

  double get rpx {
    return HYSizeFit.setRpx(this);
  }
}

extension IntFit on int {
  double get px {
    return HYSizeFit.setPx(toDouble());
  }

  double get rpx {
    return HYSizeFit.setRpx(toDouble());
  }
}
开始使用
1、需要在 main中进行初始化文章来源:https://www.toymoban.com/news/detail-653523.html
Widget build(BuildContext context) {
// 初始化
HYSizeFit.initialize();
return FlutterBoostApp(routeFactory, appBuilder: appBuilder);
}
}
2、在使用的地方导入扩展文件直接使用即可文章来源地址https://www.toymoban.com/news/detail-653523.html
Container(
    width: 200.0.px,
    height: 200.px,
)
到了这里,关于Flutter 宽高自适应的文章就介绍完了。如果您还想了解更多内容,请在右上角搜索TOY模板网以前的文章或继续浏览下面的相关文章,希望大家以后多多支持TOY模板网!


