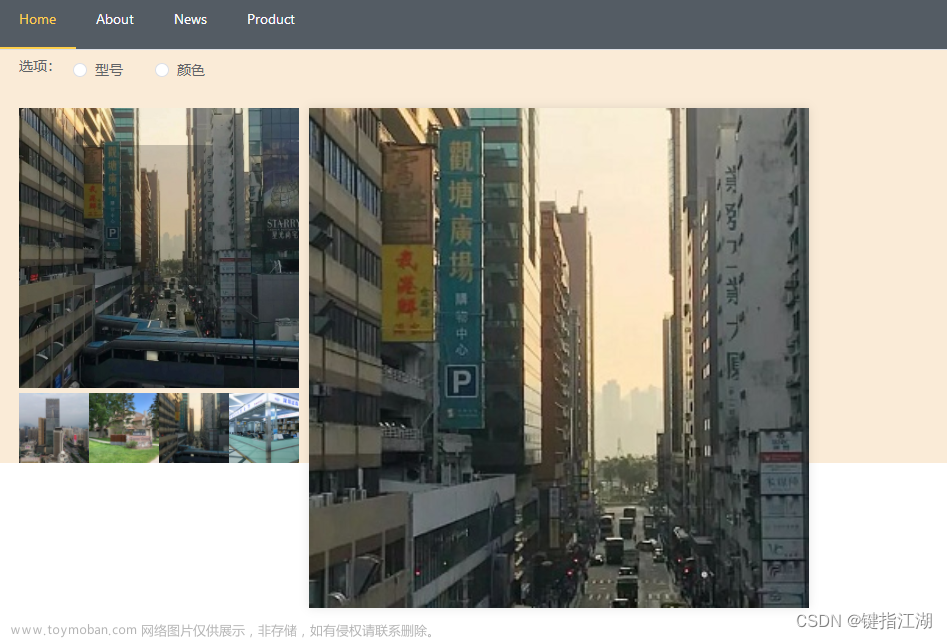
方式1:
使用element-ui组件库中自带的组件直接进行放大。鼠标移动到其上时,会有单击放大的文字提示。
      <el-table-column label="头像" align="center" width="100px">
        <template slot-scope="scope">
          <el-popover placement="right" trigger="click">
            <div class="row_reserve">
              <img class="big-img" :src="scope.row.face_photo_path" />
            </div>
            <div slot="reference">
              <el-tooltip
                class="item"
                effect="light"
                content="单击放大"
                placement="left"
              >
                <img class="td-img" :src="scope.row.face_photo_path" />
              </el-tooltip>
            </div>
          </el-popover>
        </template>
      </el-table-column>
css部分,就是小盒子和点击之后的大盒子的css样式
.td-img {
  width: 40px;
  height: 40px;
  border-radius: 10px;
  padding: 0px;
  margin: 0px;
  cursor: pointer;
  background: transparent;
}
.big-img {
  width: 200px;
  height: 200px;
  border-radius: 10px;
  padding: 0px;
  margin: 0px;
  background: transparent;
}
方式二:
用别人已经写好的轮子,也会比自己写的更加美观,就比如说:使用 v-viewer 组件
第一步,安装javascript npm install v-viewer --save
第二步:全局引入文章来源:https://www.toymoban.com/news/detail-657698.html
import Viewer from 'v-viewer'  //点击图片大图预览
import 'viewerjs/dist/viewer.css'
Vue.use(Viewer)
Viewer.setDefaults({  //默认样式,可以按需求更改
  Options: { 'inline': true, 'button': true, 'navbar': true, 'title': true, 'toolbar': true, 'tooltip': true, 'movable': true, 'zoomable': true, 'rotatable': true, 'scalable': true, 'transition': true, 'fullscreen': true, 'keyboard': true, 'url': 'data-source' }
})
第三步:在表格中去使用文章来源地址https://www.toymoban.com/news/detail-657698.html
<el-table-column prop="imgPath" label="菜品图片" align="center" header-align="center">
	<template slot-scope="scope">
	  <viewer>
		<img :src="scope.row.imgPath" width="60px" />
	  </viewer>
	</template>
</el-table-column>
到了这里,关于vue列表中小图片放大实现的文章就介绍完了。如果您还想了解更多内容,请在右上角搜索TOY模板网以前的文章或继续浏览下面的相关文章,希望大家以后多多支持TOY模板网!


