文章来源地址https://www.toymoban.com/news/detail-674344.html
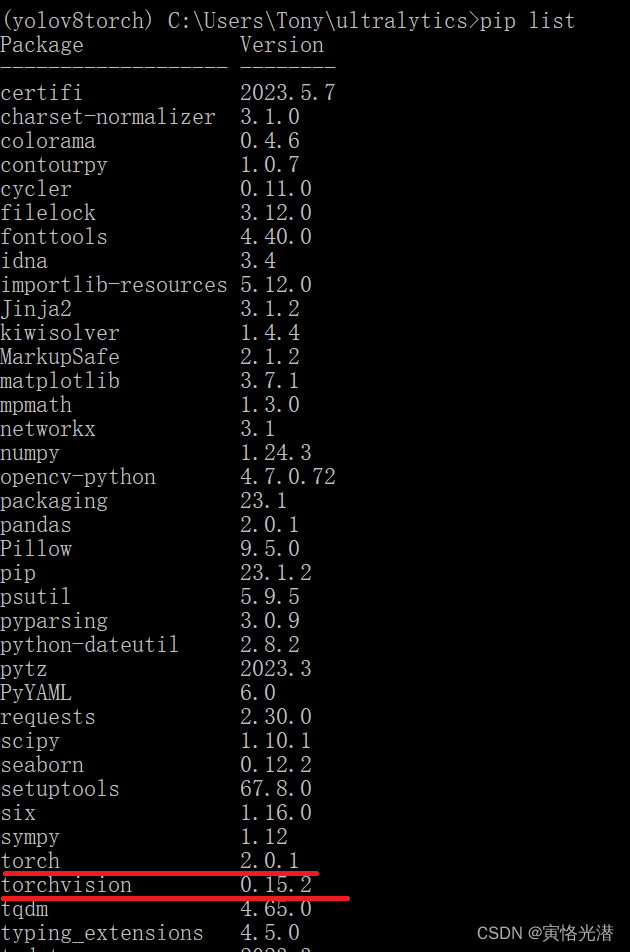
安装pytorch_grad_cam
pip install grad-cam
自动化生成不同层的bash脚本
# 循环10次,将i的值从0到9
for i in $(seq 0 13)
do
    echo "Running iteration $i";
    python yolov8_heatmap.py $i;
done
热力图生成python代码
import warnings
warnings.filterwarnings('ignore')
warnings.simplefilter('ignore')
import torch, yaml, cv2, os, shutil
import numpy as np
np.random.seed(0)
import sys
import matplotlib.pyplot as plt
from tqdm import trange
from PIL import Image
from ultralytics.nn.tasks import DetectionModel as Model
from ultralytics.yolo.utils.torch_utils import intersect_dicts
# from ultralytics.yolo.data.augment import LetterBox
from ultralytics.yolo.utils.ops import xywh2xyxy
from pytorch_grad_cam import GradCAMPlusPlus, GradCAM, XGradCAM
from pytorch_grad_cam.utils.image import show_cam_on_image
from pytorch_grad_cam.activations_and_gradients import ActivationsAndGradients

def letterbox(im, new_shape=(640, 640), color=(114, 114, 114), auto=True, scaleFill=False, scaleup=True, stride=32):
    # Resize and pad image while meeting stride-multiple constraints
    shape = im.shape[:2]  # current shape [height, width]
    if isinstance(new_shape, int):
        new_shape = (new_shape, new_shape)

    # Scale ratio (new / old)
    r = min(new_shape[0] / shape[0], new_shape[1] / shape[1])
    if not scaleup:  # only scale down, do not scale up (for better val mAP)
        r = min(r, 1.0)

    # Compute padding
    ratio = r, r  # width, height ratios
    new_unpad = int(round(shape[1] * r)), int(round(shape[0] * r))
    dw, dh = new_shape[1] - new_unpad[0], new_shape[0] - new_unpad[1]  # wh padding
    if auto:  # minimum rectangle
        dw, dh = np.mod(dw, stride), np.mod(dh, stride)  # wh padding
    elif scaleFill:  # stretch
        dw, dh = 0.0, 0.0
        new_unpad = (new_shape[1], new_shape[0])
        ratio = new_shape[1] / shape[1], new_shape[0] / shape[0]  # width, height ratios

    dw /= 2  # divide padding into 2 sides
    dh /= 2

    if shape[::-1] != new_unpad:  # resize
        im = cv2.resize(im, new_unpad, interpolation=cv2.INTER_LINEAR)
    top, bottom = int(round(dh - 0.1)), int(round(dh + 0.1))
    left, right = int(round(dw - 0.1)), int(round(dw + 0.1))
    im = cv2.copyMakeBorder(im, top, bottom, left, right, cv2.BORDER_CONSTANT, value=color)  # add border
    return im, ratio, (dw, dh)


class yolov8_heatmap:
    def __init__(self, weight, cfg, device, method, layer, backward_type, conf_threshold, ratio):
        device = torch.device(device)
        ckpt = torch.load(weight)
        model_names = ckpt['model'].names
        csd = ckpt['model'].float().state_dict()  # checkpoint state_dict as FP32
        model = Model(cfg, ch=3, nc=len(model_names)).to(device)
        csd = intersect_dicts(csd, model.state_dict(), exclude=['anchor'])  # intersect
        model.load_state_dict(csd, strict=False)  # load
        model.eval()
        print(f'Transferred {len(csd)}/{len(model.state_dict())} items')

        target_layers = [eval(layer)]
        method = eval(method)

        colors = np.random.uniform(0, 255, size=(len(model_names), 3)).astype(np.int64)
        self.__dict__.update(locals())

    def post_process(self, result):
        logits_ = result[:, 4:]
        boxes_ = result[:, :4]
        sorted, indices = torch.sort(logits_.max(1)[0], descending=True)
        return torch.transpose(logits_[0], dim0=0, dim1=1)[indices[0]], torch.transpose(boxes_[0], dim0=0, dim1=1)[indices[0]], xywh2xyxy(torch.transpose(boxes_[0], dim0=0, dim1=1)[indices[0]]).cpu().detach().numpy()

    def draw_detections(self, box, color, name, img):
        xmin, ymin, xmax, ymax = list(map(int, list(box)))
        cv2.rectangle(img, (xmin, ymin), (xmax, ymax), tuple(int(x) for x in color), 2)
        cv2.putText(img, str(name), (xmin, ymin - 5), cv2.FONT_HERSHEY_SIMPLEX, 0.8, tuple(int(x) for x in color), 2, lineType=cv2.LINE_AA)
        return img
    def crop(self,box,img):
        xmin, ymin, xmax, ymax = list(map(int, list(box)))

        return img[ymin:ymax,xmin:xmax].copy()

    def __call__(self, img_path, save_path):
        # remove dir if exist
        if os.path.exists(save_path):
            shutil.rmtree(save_path)
        # make dir if not exist
        os.makedirs(save_path, exist_ok=True)

        # img process
        image = cv2.imread(img_path)
        img,(wratio,hratio), (dw, dh) = letterbox(image)
        img = cv2.cvtColor(img, cv2.COLOR_BGR2RGB)
        img = np.float32(img) / 255.0
        image = cv2.cvtColor(image, cv2.COLOR_BGR2RGB)
        image = np.float32(image) / 255.0
        tensor = torch.from_numpy(np.transpose(img, axes=[2, 0, 1])).unsqueeze(0).to(self.device)

        # init ActivationsAndGradients
        grads = ActivationsAndGradients(self.model, self.target_layers, reshape_transform=None)

        # get ActivationsAndResult
        result = grads(tensor)
        activations = grads.activations[0].cpu().detach().numpy()

        # postprocess to yolo output
        post_result, pre_post_boxes, post_boxes = self.post_process(result[0])
        for i in trange(int(post_result.size(0) * self.ratio)):
            if float(post_result[i].max()) < self.conf_threshold:
                break

            self.model.zero_grad()
            # get max probability for this prediction
            if self.backward_type == 'class' or self.backward_type == 'all':
                score = post_result[i].max()
                score.backward(retain_graph=True)

            if self.backward_type == 'box' or self.backward_type == 'all':
                for j in range(4):
                    score = pre_post_boxes[i, j]
                    score.backward(retain_graph=True)

            # process heatmap
            if self.backward_type == 'class':
                gradients = grads.gradients[0]
            elif self.backward_type == 'box':
                gradients = grads.gradients[0] + grads.gradients[1] + grads.gradients[2] + grads.gradients[3]
            else:
                gradients = grads.gradients[0] + grads.gradients[1] + grads.gradients[2] + grads.gradients[3] + grads.gradients[4]
            b, k, u, v = gradients.size()
            weights = self.method.get_cam_weights(self.method, None, None, None, activations, gradients.detach().numpy())
            weights = weights.reshape((b, k, 1, 1))
            saliency_map = np.sum(weights * activations, axis=1)
            saliency_map = np.squeeze(np.maximum(saliency_map, 0))
            saliency_map = cv2.resize(saliency_map, (tensor.size(3), tensor.size(2)))
            saliency_map_min, saliency_map_max = saliency_map.min(), saliency_map.max()
            # 如果不生成图像 注释掉下面两行
            if (saliency_map_max - saliency_map_min) == 0:
                continue
            saliency_map = (saliency_map - saliency_map_min) / (saliency_map_max - saliency_map_min)

            saliency_map = cv2.resize(saliency_map[int(dh):-int(dh),:], (image.shape[1],image.shape[0]))
            winv_ratio = 1.0 / wratio
            hinv_ratio = 1.0 / hratio
            det_box_restored = [
                int((post_boxes[i][0] - (dw+0.1)) * winv_ratio),
                int((post_boxes[i][1] - (dh+0.1)) * hinv_ratio),
                int((post_boxes[i][2] - (dw-0.1)) * winv_ratio),
                int((post_boxes[i][3] - (dh-0.1)) * hinv_ratio)
            ]
            det_box_restored = [int(coord) for coord in det_box_restored]
            # add heatmap and box to image
            cam_image = show_cam_on_image(image.copy(), saliency_map, use_rgb=True)
            crop_cam_image = self.crop(det_box_restored,cam_image)
            crop_cam_image = Image.fromarray(crop_cam_image)
            crop_cam_image.save(f'{save_path}/{i}_crop.png')
            cam_image = self.draw_detections(det_box_restored, self.colors[int(post_result[i, :].argmax())], f'{self.model_names[int(post_result[i, :].argmax())]} {float(post_result[i].max()):.2f}', cam_image)
            cam_image = Image.fromarray(cam_image)
            cam_image.save(f'{save_path}/{i}.png')

def get_params():
    params = {
        'weight': '../runs/detect/my-person73-small/weights/best.pt',
        'cfg': 'models/small-yolov8.yaml',
        'device': 'cuda:0',
        'method': 'GradCAM', # GradCAMPlusPlus, GradCAM, XGradCAM
        'layer': f'model.model[{sys.argv[1]}]',
        'backward_type': 'all', # class, box, all
        'conf_threshold': 0.6, # 0.6
        'ratio': 0.02 # 0.02-0.1
    }
    return params

if __name__ == '__main__':

    model = yolov8_heatmap(**get_params())
    model(r'1.jpg', f'result/{sys.argv[1]}')
文章来源:https://www.toymoban.com/news/detail-674344.html
到了这里,关于yolov8热力图可视化的文章就介绍完了。如果您还想了解更多内容,请在右上角搜索TOY模板网以前的文章或继续浏览下面的相关文章,希望大家以后多多支持TOY模板网!