LNMP是Linux、Nginx、MySQL和PHP的简称。
Linux参数显示
cat /etc/redhat-release看到操作系统是CentOS Linux release 7.6.1810,uname -r看到内核版本是3.10.0-957.el7.x86_64。
nginx安装
可以参考《Linux学习之CentOS 7源码安装openresty》
安装mariadb数据库
yum install -y mariadb mariadb-server安装mariadb相关组件。
安装完成如下图:
在/etc/my.cnf文件里边,把下边的内容写到[mysqld]下边:
character_set_server=utf8
init_connect='SET NAMES utf8'
/etc/my.cnf文件里边的整体内容如下:
[mysqld]
datadir=/var/lib/mysql
socket=/var/lib/mysql/mysql.sock
# Disabling symbolic-links is recommended to prevent assorted security risks
symbolic-links=0
# Settings user and group are ignored when systemd is used.
# If you need to run mysqld under a different user or group,
# customize your systemd unit file for mariadb according to the
# instructions in http://fedoraproject.org/wiki/Systemd
character_set_server=utf8
init_connect='SET NAMES utf8'

[mysqld_safe]
log-error=/var/log/mariadb/mariadb.log
pid-file=/var/run/mariadb/mariadb.pid

#
# include all files from the config directory
#
!includedir /etc/my.cnf.d

systemctl start mariadb.service打开mariadb服务,systemctl status mariadb.service查看mariadb服务状态是active (running),正常启动。
然后输出mysql这个命令按下回车键,之后在mysql提示符输入show variables like '%character_set%';按下回车键,之后就可以看到输出结果。quit可以退出mariadb命令行。
安装php相关软件
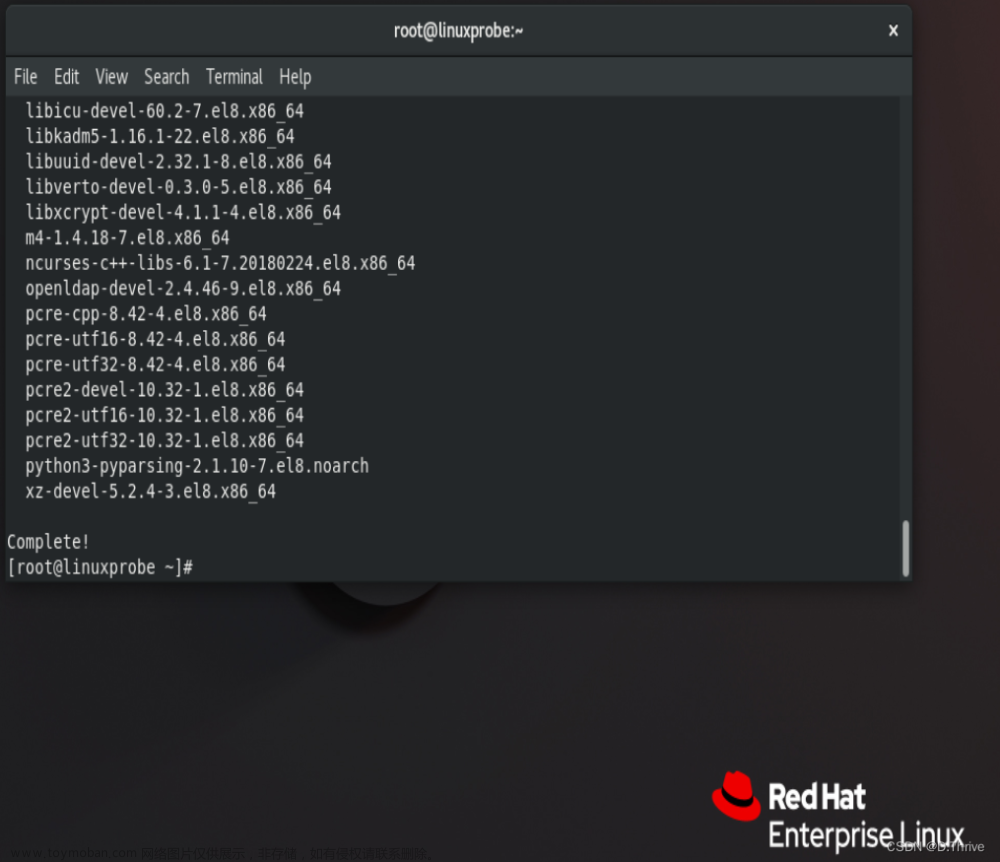
yum install -y php-mysql php-fpm安装php-mysql和php-fpm。
完成之后如下图:
systemctl start php-fpm.service打开php-fpm服务,systemctl status php-fpm.service查看php-fpm服务状态是active (running),正常启动。
Nginx配置
我当前工作目录是/usr/local/openresty,若你现在不是的话,可以使用cd /usr/local/openresty切换工作目录。
把原有文件内容的两处修改了一下,首先有一处改成了如下所示:
location ~ \.php$ {
            root           html;
            fastcgi_pass   127.0.0.1:9000;
            fastcgi_index  index.php;
            fastcgi_param  SCRIPT_FILENAME  $document_root$fastcgi_script_name;
            include        fastcgi_params;
        }
其次改成了listen 8084;,因为在天翼云上,80、8080、443端口都需要额外申请才能在安全组里边打开,所以我就把监听端口改成了8084,8084端口在安全组里边打开。
/usr/local/openresty/nginx/conf/nginx.conf里边的修改后整体内容如下:
#user  nobody;
worker_processes  1;

#error_log  logs/error.log;
#error_log  logs/error.log  notice;
#error_log  logs/error.log  info;

#pid        logs/nginx.pid;


events {
    worker_connections  1024;
}


http {
    include       mime.types;
    default_type  application/octet-stream;

    #log_format  main  '$remote_addr - $remote_user [$time_local] "$request" '
    #                  '$status $body_bytes_sent "$http_referer" '
    #                  '"$http_user_agent" "$http_x_forwarded_for"';

    #access_log  logs/access.log  main;

    sendfile        on;
    #tcp_nopush     on;

    #keepalive_timeout  0;
    keepalive_timeout  65;

    #gzip  on;

    server {
        listen       8084;
        server_name  localhost;

        #charset koi8-r;

        #access_log  logs/host.access.log  main;

        location / {
            root   html;
            index  index.html index.htm;
        }

        #error_page  404              /404.html;

        # redirect server error pages to the static page /50x.html
        #
        error_page   500 502 503 504  /50x.html;
        location = /50x.html {
            root   html;
        }

        # proxy the PHP scripts to Apache listening on 127.0.0.1:80
        #
        #location ~ \.php$ {
        #    proxy_pass   http://127.0.0.1;
        #}

        # pass the PHP scripts to FastCGI server listening on 127.0.0.1:9000
        #
        location ~ \.php$ {
            root           html;
            fastcgi_pass   127.0.0.1:9000;
            fastcgi_index  index.php;
            fastcgi_param  SCRIPT_FILENAME  $document_root$fastcgi_script_name;
            include        fastcgi_params;
        }

        # deny access to .htaccess files, if Apache's document root
        # concurs with nginx's one
        #
        #location ~ /\.ht {
        #    deny  all;
        #}
    }


    # another virtual host using mix of IP-, name-, and port-based configuration
    #
    #server {
    #    listen       8000;
    #    listen       somename:8080;
    #    server_name  somename  alias  another.alias;

    #    location / {
    #        root   html;
    #        index  index.html index.htm;
    #    }
    #}


    # HTTPS server
    #
    #server {
    #    listen       443 ssl;
    #    server_name  localhost;

    #    ssl_certificate      cert.pem;
    #    ssl_certificate_key  cert.key;

    #    ssl_session_cache    shared:SSL:1m;
    #    ssl_session_timeout  5m;

    #    ssl_ciphers  HIGH:!aNULL:!MD5;
    #    ssl_prefer_server_ciphers  on;

    #    location / {
    #        root   html;
    #        index  index.html index.htm;
    #    }
    #}

}
nginx/sbin/nginx -t检查一下配置文件是正常的。
要是不正确的话,nginx/sbin/nginx -t会显示什么地方不正确,还会显示test failed。
cat << EOF >> /usr/local/openresty/nginx/html/index.php把下边的内容一次输出,每输入一行按一下Enter,要是不明白这个命令的作用,可以参考《Linux学习之系统默认打开的文件描述符、重定向》标准输出重定向和标准输入重定向结合部分。
<?php
phpinfo();
?>
EOF

systemctl start openresty启动openresty,systemctl status openresty查看到状态是active (running),正常启动。

验证
因为我这里使用的是公有ip,不方便展示出来,所以我在浏览器展示的是自己主机上私有ip。ip:端口/index.php就可以在浏览器上显示内容。 文章来源:https://www.toymoban.com/news/detail-675631.html
此文章为8月Day 27学习笔记,内容来源于极客时间《Linux 实战技能 100 讲》。文章来源地址https://www.toymoban.com/news/detail-675631.html
到了这里,关于Linux学习之LNMP环境搭建的文章就介绍完了。如果您还想了解更多内容,请在右上角搜索TOY模板网以前的文章或继续浏览下面的相关文章,希望大家以后多多支持TOY模板网!


