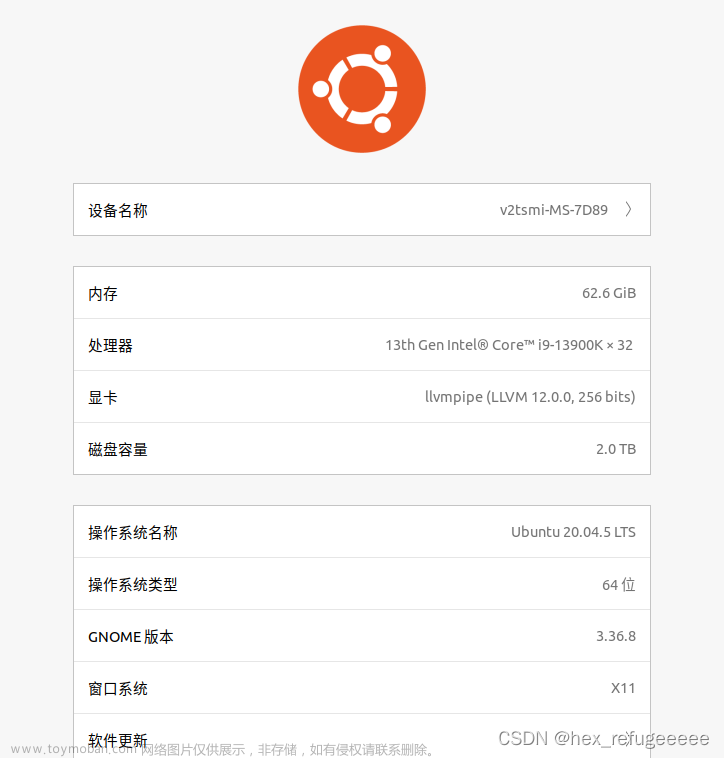
环境信息:VMware® Workstation 17 Pro + ubuntu20.04 (清华源)
ubuntu 源点进去选:ubuntu-22.04.3-desktop-amd64.iso


如果之前装过VPP,用以下命令确定是否卸载干净:
dpkg -l | grep vpp
dpkg -l | grep DPDK
卸载:
#Uninstall the Packages
#Uninstall the packages by running the following command:
sudo apt-get remove --purge "vpp*"下载链接:
fdio/release - Results for ubuntu/focal in fdio/release
下载选项:focal(ubuntu20.04)

选中要下载的包双击进入
找到wget 直接terminal下载:

下载的包如下:

将以上安装:
sudo dpkg -i *deb
启动vpp测试:
参考官网配置:How to connect VPP instances using IKEv2 — The Vector Packet Processor v23.06-0-g493b8990d documentation
Create veth interfaces and namespaces and configure it:
sudo ip link add ifresp type veth peer name ifinit
sudo ip link set dev ifresp up
sudo ip link set dev ifinit up

sudo ip netns add clientns
sudo ip netns add serverns
sudo ip link add veth_client type veth peer name client
sudo ip link add veth_server type veth peer name server
sudo ip link set dev veth_client up netns clientns
sudo ip link set dev veth_server up netns serverns

sudo ip netns exec clientns \
      bash -c "
              ip link set dev lo up
              ip addr add 192.168.5.2/24 dev veth_client
              ip addr add fec5::2/16 dev veth_client
              ip route add 192.168.3.0/24 via 192.168.5.1
              ip route add fec3::0/16 via fec5::1
      "

sudo ip netns exec serverns \
      bash -c "
              ip link set dev lo up
              ip addr add 192.168.3.2/24 dev veth_server
              ip addr add fec3::2/16 dev veth_server
              ip route add 192.168.5.0/24 via 192.168.3.1
              ip route add fec5::0/16 via fec3::1
      "
Run responder VPP:
sudo vpp unix { \
      cli-listen /tmp/vpp_resp.sock \
      gid $(id -g) } \
      api-segment { prefix vpp } \
      plugins { plugin dpdk_plugin.so { disable } }
Configure the responder:
#注:官网的ipv4 替换为ip4-addr 如下
create host-interface name ifresp
set interface ip addr host-ifresp 192.168.10.2/24
set interface state host-ifresp up

create host-interface name server
set interface ip addr host-server 192.168.3.1/24
set interface state host-server up

ikev2 profile add pr1
ikev2 profile set pr1 auth shared-key-mic string Vpp123
ikev2 profile set pr1 id local ip4-addr 192.168.10.2
ikev2 profile set pr1 id remote ip4-addr 192.168.10.1

ikev2 profile set pr1 traffic-selector local ip-range 192.168.3.0 - 192.168.3.255 port-range 0 - 65535 protocol 0
ikev2 profile set pr1 traffic-selector remote ip-range 192.168.5.0 - 192.168.5.255 port-range 0 - 65535 protocol 0

create ipip tunnel src 192.168.10.2 dst 192.168.10.1
ikev2 profile set pr1 tunnel ipip0
ip route add 192.168.5.0/24 via 192.168.10.1 ipip0
set interface unnumbered ipip0 use host-ifresp
Run initiator VPP:
sudo vpp unix { \
      cli-listen /tmp/vpp_init.sock \
      gid $(id -g) } \
      api-segment { prefix vpp } \
      plugins { plugin dpdk_plugin.so { disable } }
Configure initiator:
#注:官网的ipv4 替换为ip4-addr 如下
create host-interface name ifinit
set interface ip addr host-ifinit 192.168.10.1/24
set interface state host-ifinit up

create host-interface name client
set interface ip addr host-client 192.168.5.1/24
set interface state host-client up

ikev2 profile add pr1
ikev2 profile set pr1 auth shared-key-mic string Vpp123
ikev2 profile set pr1 id local ip4-addr 192.168.10.1
ikev2 profile set pr1 id remote ip4-addr 192.168.10.2

ikev2 profile set pr1 traffic-selector remote ip-range 192.168.3.0 - 192.168.3.255 port-range 0 - 65535 protocol 0
ikev2 profile set pr1 traffic-selector local ip-range 192.168.5.0 - 192.168.5.255 port-range 0 - 65535 protocol 0

ikev2 profile set pr1 responder host-ifinit 192.168.10.2
ikev2 profile set pr1 ike-crypto-alg aes-gcm-16 256 ike-dh modp-2048
ikev2 profile set pr1 esp-crypto-alg aes-gcm-16 256

create ipip tunnel src 192.168.10.1 dst 192.168.10.2
ikev2 profile set pr1 tunnel ipip0
ip route add 192.168.3.0/24 via 192.168.10.2 ipip0
set interface unnumbered ipip0 use host-ifinit
Initiate the IKEv2 connection:
vpp# ikev2 initiate sa-init pr1Responder’s and initiator’s private networks are now connected with IPSEC tunnel:
$ sudo ip netns exec clientns ping 192.168.3.1
PING 192.168.3.1 (192.168.3.1) 56(84) bytes of data.
64 bytes from 192.168.3.1: icmp_seq=1 ttl=63 time=1.64 ms
64 bytes from 192.168.3.1: icmp_seq=2 ttl=63 time=7.24 ms
responder VPP 设置 trace:文章来源:https://www.toymoban.com/news/detail-677609.html
#非dpdk 因此 dpdk-input 抓不到
trace add af-packet-input 10
show trace
文章来源地址https://www.toymoban.com/news/detail-677609.html
到了这里,关于ubuntu20.04 直接安装vpp23.06 测试双 VPP Tunnel Ike2的文章就介绍完了。如果您还想了解更多内容,请在右上角搜索TOY模板网以前的文章或继续浏览下面的相关文章,希望大家以后多多支持TOY模板网!