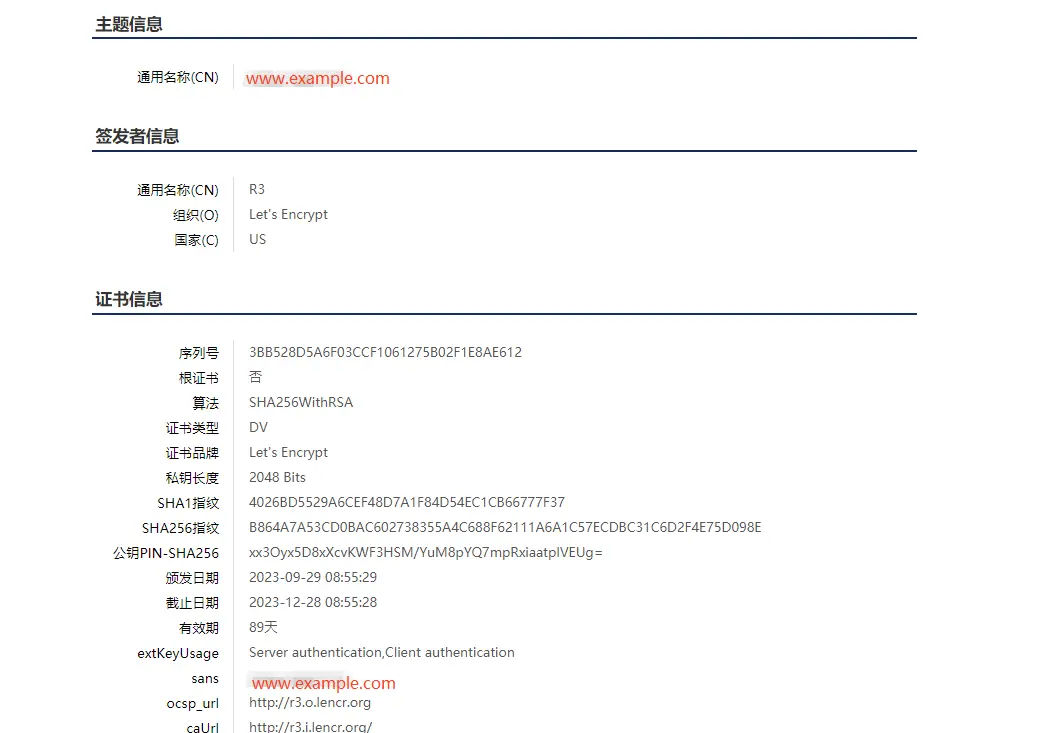
这里只进行最简单的操作
安装acme.sh
进入你的用户目录,如果你使用root登陆,那么你的用户目录就是 /root/
curl https://get.acme.sh | sh -s email=my@example.com
这里会在root下生成一个 .acme.sh 文件夹
注意:.开头的文件夹使用ll命令看不见,需要加一个参数-a
命令如下
cd ~
ll -a
颁发域名
# 进入脚本目录
cd ~/.acme.sh
# 执行签发
./acme.sh --issue -d 你的域名 -w 你的网站根目录地址
例如:
./acme.sh --issue -d 51ebook.top -d www.51ebook.top -w /home/wwwroot/books
出现如下,则算是成功
将证书安装到nginx下
生成证书后,需要将证书安装/复制到您的 Apache/Nginx 或其他服务器。必须使用此命令将证书安装到目标文件,
请勿使用~/.acme.sh/文件夹中的证书文件,它们仅供内部使用,文件夹结构将来可能会更改。
命令如下
acme.sh --install-cert -d 域名 \
--key-file       /证书key存放路径/域名.key.pem  \
--fullchain-file /证书key存放路径/域名.cert.pem \
--reloadcmd     "nginx重启命令"
例如:
acme.sh --install-cert -d test.ywbj.cc \
--key-file         /home/wwwroot/ssl/51ebook.top.key.pem  \
--fullchain-file  /home/wwwroot/ssl/51ebook.top.cert.pem \
--reloadcmd     "service nginx force-reload"
配置nginx的ssl
server
{
    listen 80;
    server_name 51ebook.top;
    return 301 https://$server_name$request_uri;
}
server {
    listen 443 http2;
    server_name 51ebook.top;
    root /home/wwwroot/books;
    index index.html index.htm index.php default.html default.htm default.php;

    ssl_certificate /home/wwwroot/ssl/51ebook.top.cert.pem;
    ssl_certificate_key /home/wwwroot/ssl/51ebook.top.key.pem;
    ssl_session_timeout 5m;
    ssl_protocols TLSv1 TLSv1.1 TLSv1.2;
    ssl_prefer_server_ciphers on;
    ssl_ciphers "EECDH+CHACHA20:EECDH+CHACHA20-draft:EECDH+AES128:RSA+AES128:EECDH+AES256:RSA+AES256:EECDH+3DES:RSA+3DES:!MD5";
    ssl_session_cache builtin:1000 shared:SSL:10m;

    # .well-known block for Let's Encrypt
    location ^~ /.well-known/acme-challenge/ {
        default_type "text/plain";
        try_files $uri =404;  # Ensure the file actually exists or serve a 404 error
    }

    # WordPress config
    include rewrite/wordpress.conf;

    # PHP path info support
    include enable-php-pathinfo.conf;

    # Nginx status page
    location /nginx_status {
        stub_status on;
        access_log off;
    }

    # Cache control for static files
    location ~ .*\.(gif|jpg|jpeg|png|bmp|swf)$ {
        expires 30d;
    }

    location ~ .*\.(js|css)?$ {
        expires 12h;
    }

    # Deny access to hidden files
    location ~ /\.
    {
        deny all;
    }

    access_log /home/wwwlogs/51ebook.top/acc.log;
    error_log /home/wwwlogs/51ebook.top/err.log warn;
}
自动续签
自动续签不需要做任何操作,acme已经处理好了,可以通过命令查看
crontab -l
有一段类似的代码
56 0 * * * “/root/.acme.sh”/acme.sh --cron --home “/root/.acme.sh” > /dev/null
参考网站:https://blog.csdn.net/weixin_52270081/article/details/126777550
常见问题
curl: (35) Encountered end of file
安装服务器位于中国大陆境内, 访问 github 可能会不成功. 所以安装可能会失败.
解决方案
git clone https://gitee.com/neilpang/acme.sh.git
cd acme.sh
./acme.sh --install -m my@example.com
但是仍旧可能产生被墙的问题,如果使用的是lnmp集成环境,可以使用lnmp自带的SSL安装
关于使用lnmp签发不成功的问题
需要注意,如果签发的是 www.域名.com 的形式,你需要两个另外一个是 域名.com,也就是不带www的形式,一定要注意,不要重复签。
当提示你 Enter more domain name的时候,一定不要加上不带www的,两个选择签订一个即可,他们的SSL证书是可以通用的!
博主在这里踩坑了,导致信息提示404错误
Invalid response from http://域名/.well-known/acme-challenge/X5Sayx6I8h_6EAlGAd53XUOQXTGRwx3vfQDqkEVfPro: 404文章来源:https://www.toymoban.com/news/detail-678624.html
 文章来源地址https://www.toymoban.com/news/detail-678624.html
到了这里,关于使用acme,自动续签免费的SSL,无忧http升级https的文章就介绍完了。如果您还想了解更多内容,请在右上角搜索TOY模板网以前的文章或继续浏览下面的相关文章,希望大家以后多多支持TOY模板网!


