- composer 安装ratchet
composer require cboden/ratchet - 使用PDO连接数据库,创建mysql命令如下
CREATE TABLE messages ( id INT AUTO_INCREMENT PRIMARY KEY, message TEXT NOT NULL, created_at TIMESTAMP DEFAULT CURRENT_TIMESTAMP ); - 使用Redis存储消息列表
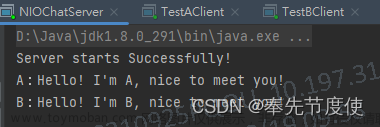
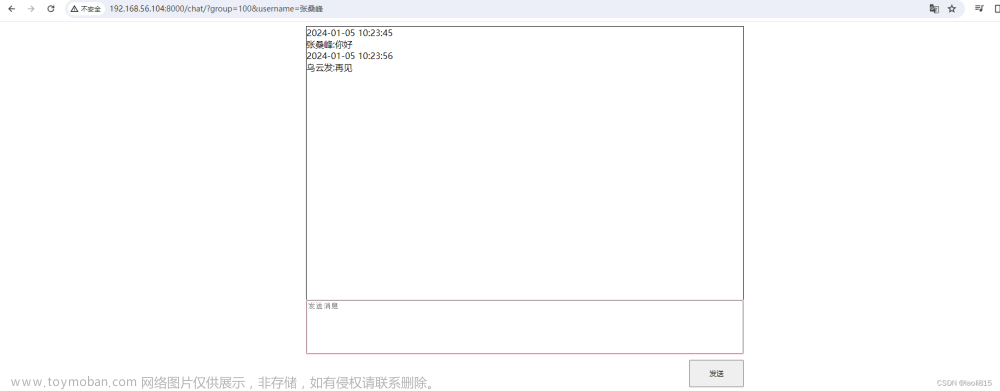
这个示例代码中,PHP代码使用Ratchet来创建WebSocket服务器,并实现了简单的聊天功能。HTML代码使用JavaScript来建立WebSocket连接,并处理消息传输和用户输入。要运行此代码,请确保已安装Ratchet并在终端中运行PHP文件。然后,通过打开浏览器并访问HTML代码所在的地址,就可以开始聊天了。
在
onMessage方法中,我们首先将接收到的消息存入Redis列表中。然后,如果Redis中的消息数量超过1000,则将所有消息取出并依次存入MySQL中。请注意,在MySQL中执行多个INSERT语句时,最好使用事务(即BEGIN、COMMIT语句)来确保数据的完整性。
WebSocket服务端代码:
<?php

use Ratchet\MessageComponentInterface;
use Ratchet\ConnectionInterface;

require_once __DIR__ . '/vendor/autoload.php';

class Chat implements MessageComponentInterface
{
    protected $clients;
    protected $pdo;
    protected $redis;

    public function __construct()
    {
        $this->clients = new \SplObjectStorage;

        // 连接到数据库
        $dsn = 'mysql:host=localhost;dbname=chat';
        $username = 'root';
        $password = '';
        $options = [
            \PDO::ATTR_ERRMODE => \PDO::ERRMODE_EXCEPTION,
            \PDO::ATTR_DEFAULT_FETCH_MODE => \PDO::FETCH_ASSOC
        ];
        $this->pdo = new \PDO($dsn, $username, $password, $options);

        // 连接到 Redis
        $this->redis = new \Redis();
        $this->redis->connect('localhost', 6379);
    }

    public function onOpen(ConnectionInterface $conn)
    {
        $this->clients->attach($conn);
        echo "New connection! ({$conn->resourceId})\n";
    }

    public function onMessage(ConnectionInterface $from, $msg)
    {
        foreach ($this->clients as $client) {
            if ($from !== $client) {
                $client->send($msg);
            }
        }

        // 将消息存入 Redis
        $this->redis->rpush('messages', $msg);

        // 如果 Redis 中的消息数量超过 1000,则将消息存入数据库
        if ($this->redis->llen('messages') > 1000) {
            $messages = $this->redis->lrange('messages', 0, -1);

            // 开始事务
            $this->pdo->beginTransaction();

            foreach ($messages as $message) {
                // 将消息存入数据库
                $stmt = $this->pdo->prepare('INSERT INTO messages (message) VALUES (?)');
                $stmt->execute([$message]);

                // 从 Redis 中删除已经存入数据库的消息
                $this->redis->lpop('messages');
            }

            // 提交事务
            $this->pdo->commit();
        }
    }

    public function onClose(ConnectionInterface $conn)
    {
        $this->clients->detach($conn);
        echo "Connection {$conn->resourceId} has disconnected\n";
    }

    public function onError(ConnectionInterface $conn, \Exception $e)
    {
        echo "An error has occurred: {$e->getMessage()}\n";
        $conn->close();
    }
}

$webSocketServer = new \Ratchet\WebSocket\WsServer(new Chat());
$server = \Ratchet\Server\IoServer::factory(
    new \Ratchet\Http\HttpServer($webSocketServer),
    8080
);

$server->run();
开启socket服务命令,假设php文件名为socket.php
php ./socket.phpHTML代码:文章来源:https://www.toymoban.com/news/detail-678742.html
<!DOCTYPE html>
<html>
<head>
    <meta charset="UTF-8">
    <title>WebSocket Chat</title>
</head>
<body>
    <div id="messages"></div>
    <form>
        <input type="text" id="message" placeholder="Enter message">
        <button type="submit">Send</button>
    </form>

    <script>
        var conn;
        var connect = function() {
            conn = new WebSocket('ws://localhost:8080');

            conn.onopen = function(e) {
                console.log("Connection established!");
            };

            conn.onmessage = function(e) {
                var messages = document.getElementById("messages");
                var message = document.createElement("div");
                message.innerHTML = e.data;
                messages.appendChild(message);
            };

            conn.onclose = function(e) {
                console.log("Connection closed, attempting to reconnect...");
                setTimeout(connect, 1000);
            };
        };

        connect();

        var form = document.querySelector("form");
        var input = document.querySelector("#message");

        form.addEventListener("submit", function(e) {
            e.preventDefault();

            conn.send(input.value);
            input.value = "";
        });
    </script>
</body>
</html>保证WebSocket服务一直开启,可以使用一个常驻进程管理工具supervisor,使用supervisor的示例配置链接。文章来源地址https://www.toymoban.com/news/detail-678742.html
到了这里,关于Ratchet实现PHP WebSocket多人聊天功能的示例的文章就介绍完了。如果您还想了解更多内容,请在右上角搜索TOY模板网以前的文章或继续浏览下面的相关文章,希望大家以后多多支持TOY模板网!


