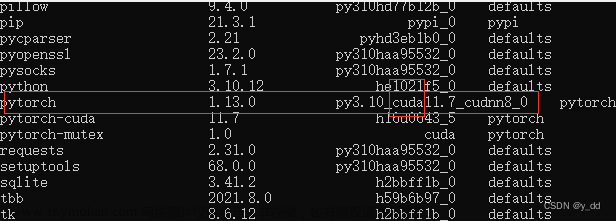
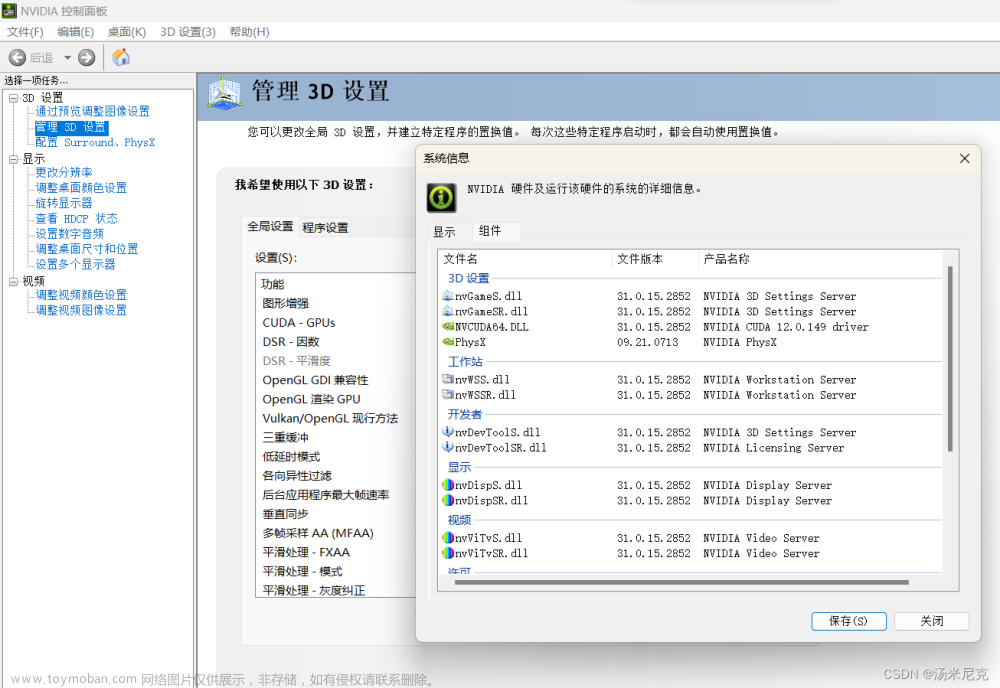
我们通过Pytorch官网安装torch的时候,会发现常常由于网速问题安装不成功,下面提供一种简单的方法可以成功安装Cuda12.1,亲测有效。
目录
一、常规方法
二、有效方法
2.1 创建并激活虚拟环境
2.2 添加清华源
2.3 安装torch
一、常规方法
通过Pytorch官网安装torch,网址链接如下:PyTorch
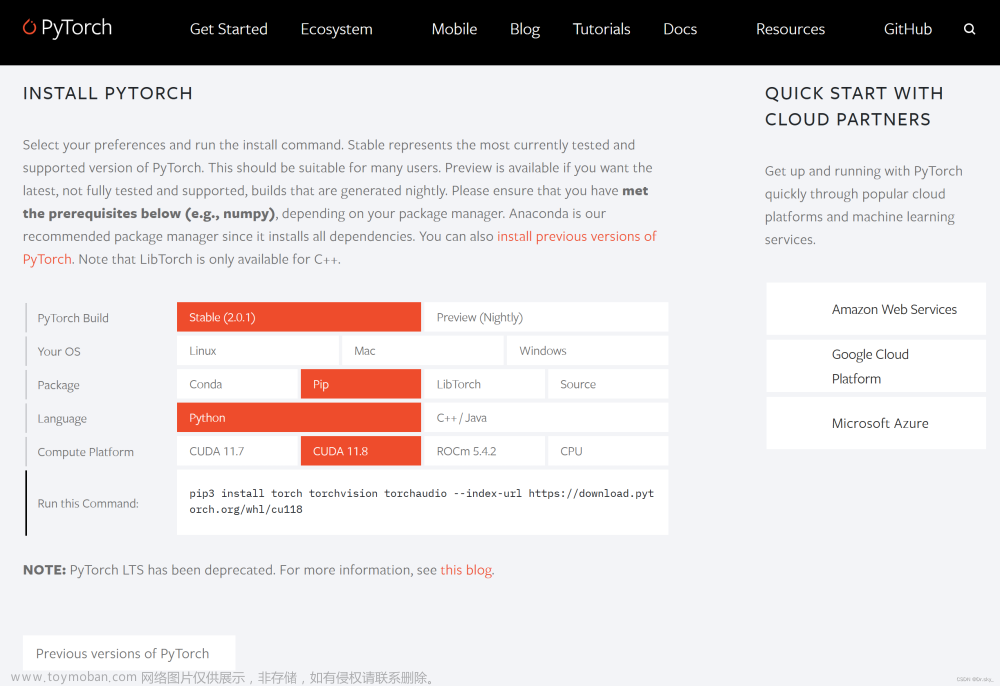
会发现安装速度非常慢,而且很容易失败。
二、有效方法
2.1 创建并激活虚拟环境
创建虚拟环境
conda create -n pytorch39 python==3.9激活虚拟环境
conda activate pytorch392.2 添加清华源
添加清华源可以实现网络加速,大幅度提升安装的成功率
pip config set global.index-url https://pypi.tuna.tsinghua.edu.cn/simple2.3 安装torch
pip install torch==2.0.0+cu118 torchvision==0.15.1+cu118 torchaudio==2.0.1+cu118 -f https://download.pytorch.org/whl/torch_stable.html
验证是否安装成功文章来源:https://www.toymoban.com/news/detail-680072.html
Anaconda prompt 里输入 python
>>> import torch
>>> torch.__version__
'2.0.0+cu118'
>>> torch.cuda.is_available()
True
>>> torch.cuda.get_device_name(0)
'NVIDIA GeForce RTX 3090'如上图所示,pytorch(Cuda12.1)安装成功!文章来源地址https://www.toymoban.com/news/detail-680072.html
到了这里,关于GPU版本pytorch(Cuda12.1)安装教程的文章就介绍完了。如果您还想了解更多内容,请在右上角搜索TOY模板网以前的文章或继续浏览下面的相关文章,希望大家以后多多支持TOY模板网!

