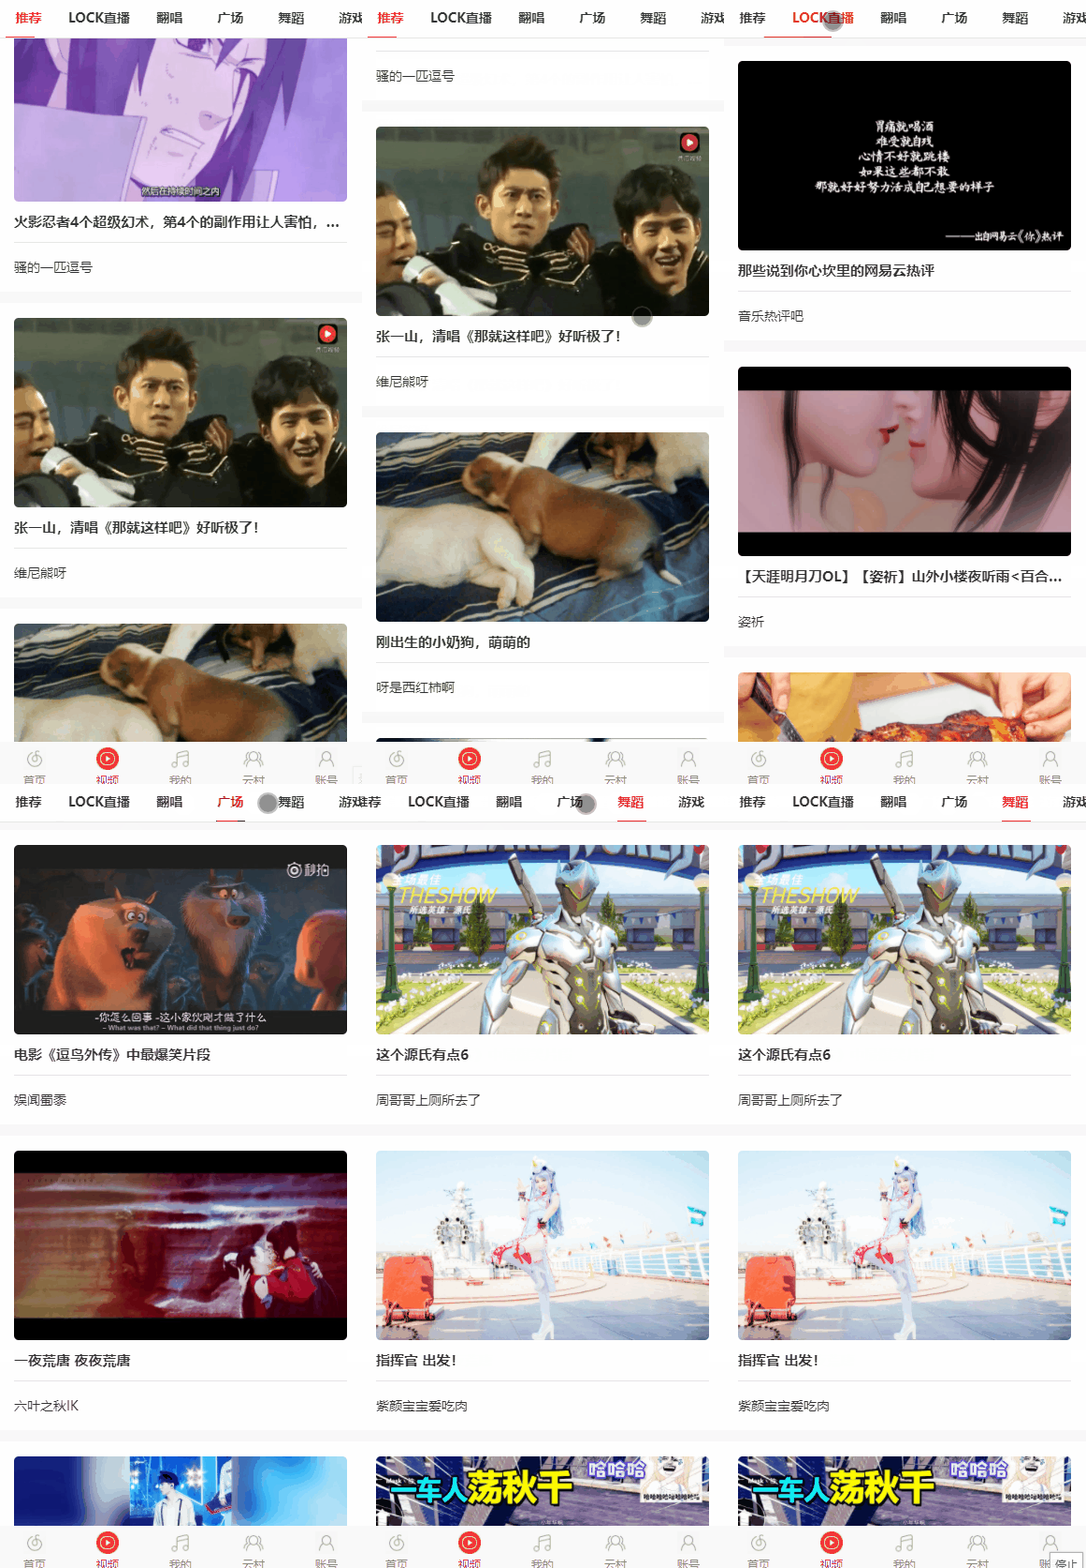
在微信小程序中实现上下滑动翻页的效果其实非常简单,可以说一学就会。
这篇文章将非常详细地教大家如何实现这一交互:

数据准备
首先我们在 Page 的 data 属性中添加两个变量:
data: {
    biases: [
      {
        "title": "Fundenmental Attribution Error",
        "desc": "We judge others on their personality or fundamental character, but we judge ourselves on the situation.",
        "ext": "Sally is late to class; she's lazy. You're late to class; it was a bad morning.",
        "illustration": "biases/fundamental-attribution-error.jpg",
      },
      {
        "title": "Self-Serving Bias",
        "desc": "Our failures are situational, but our successes are our responsibility.",
        "ext": "You won that award due to hard work rather than help or luck. Meanwhile, you failed a test because you hadn't gotten enough sleep.",
        "illustration": "biases/self-serving-bias.jpg",
      },

      // ...
    ],
  index: -1,
}
其中 biases 是个数组,我们要实现的效果就是每次展示 biases 的一个元素,上划切换到上一个元素,下划切换到下一个元素。
index 变量则用来表示当前元素的数组下标。
布局文件
数据准备完成之后,我们先来定义 wxml 文件:
<view class="page">
  <swiper wx:if="{{index >= 0}}"
          class="swiper"
          vertical="true" duration="300"
          bindchange="swiperChange" current="{{index}}">
    <swiper-item class="swiper-item"
          wx:for="{{list}}" wx:key="index" wx:for-item="bias">
      <view class="article">
        <view class="article__title">
          <text>{{bias.title}}</text>
        </view>
        <text class="article__subtitle" wx:if="{{!!bias.alias}}">({{bias.alias}})</text>
        <view class=" article__body">
          <text>{{bias.desc}}</text>
        </view>
        <view class="article__illustration">
          <image src="../../images/{{bias.illustration}}" mode="aspectFit" />
        </view>
        <view class="article__caption">
          <text>{{bias.ext}}</text>
        </view>
      </view>
    </swiper-item>
  </swiper>
</view>
结构非常简单:
- <view class="page">
    - <swiper class="swiper">
        - <swiper-item class="swiper-item">
CSS 样式代码
我们来逐一分析下每个 css 类的用法。
首先是根元素的 CSS 类 .page:
.page {
  height: 100%;
}
然后是 <swiper> 的类 swiper:
.swiper {
  height: 100vh;
  width: 100vw;
  position: fixed;
  top: 0;
  left: 0;
  overflow: hidden;
  transform: translate3d(0, 0, 0);
}
以上 CSS 代码让 <swiper> 元素填充整个视口并保持固定位置,让我们逐行解释每个部分的含义:
| 规则 | 含义 |
|---|---|
height: 100vh; |
这将元素的高度设置为 100 视口高度单位。vh 单位表示相对于视口高度的百分比,因此此规则确保元素将占满整个视口的高度。 |
width: 100vw; |
这将元素的宽度设置为 100 视口宽度单位。vw 单位表示相对于视口宽度的百分比,因此此规则确保元素将占满整个视口的宽度。 |
position: fixed; |
这将元素的定位方式设置为 “fixed”。固定定位将元素从正常文档流中移除,并相对于视口进行定位。即使用户滚动页面,元素仍将保持在相同的位置。 |
top: 0; |
这将元素的顶部位置设置为 0,即与视口顶部对齐。 |
left: 0; |
这将元素的左侧位置设置为 0,即与视口左侧对齐。 |
overflow: hidden; |
这将隐藏超出元素边界的任何内容。如果内容超出元素的尺寸,这将防止出现滚动条。 |
transform: translate3d(0, 0, 0); |
这将对元素应用一个 3D 平移变换。在这种情况下,它将元素在 X 和 Y 轴上平移 0 像素。这可以用于在某些设备上触发硬件加速。 |
对 CSS 不熟悉的读者,可以参考我写的 CSS 全系列教程。
再来看 .swiper-item:
.swiper-item {
  height: 100vh;
  background-color: white;
  display: flex;
  align-items: flex-start;
  justify-content: center;
}
也就是说,swiper-item 的高度将填满 swiper,背景色是 white,其子元素的布局为 flex。
JS 交互代码
CSS 分析完了,我们再看来每个元素的 JS 代码:
首先是 swiper:
<swiper wx:if="{{index >= 0}}"
        class="swiper"
        vertical="true" duration="300"
        bindchange="swiperChange" current="{{index}}">
| CSS 规则 | 含义 |
|---|---|
vertical="true" |
竖向滑动 |
duration="300" |
滑动动画耗时 300ms |
bindchange="swiperChange" |
滑动事件响应 |
current="{{index}}" |
当前元素下标 |
其中 swiperChange 用于监听滑动事件:
swiperChange(e) {
  const index = e.detail.current
  this.setData({
    index,
  })
  wx.setNavigationBarTitle({
    title: `No.${index + 1}`,
  })
},
以上代码可以看出,通过 e.detail.current 可以获取当前元素下标。
最后来看子元素 swiper-item:
<swiper-item class="swiper-item"
             wx:for="{{list}}" wx:key="index" wx:for-item="bias">
代码含义:为每个 list 的元素创建一个 swiper-item。文章来源:https://www.toymoban.com/news/detail-685713.html
以上就是在微信小程序中实现上下滑动翻页的效果的全部代码,希望对你有所帮助。文章来源地址https://www.toymoban.com/news/detail-685713.html
- 扫码体验

- 代码仓库:self-discipline-toolbox-weapp
到了这里,关于【小程序】小程序如何实现滑动翻页(类似刷短视频的交互效果)的文章就介绍完了。如果您还想了解更多内容,请在右上角搜索TOY模板网以前的文章或继续浏览下面的相关文章,希望大家以后多多支持TOY模板网!


![[MAUI]模仿iOS多任务切换卡片滑动的交互实现](https://imgs.yssmx.com/Uploads/2024/02/431862-1.gif)


