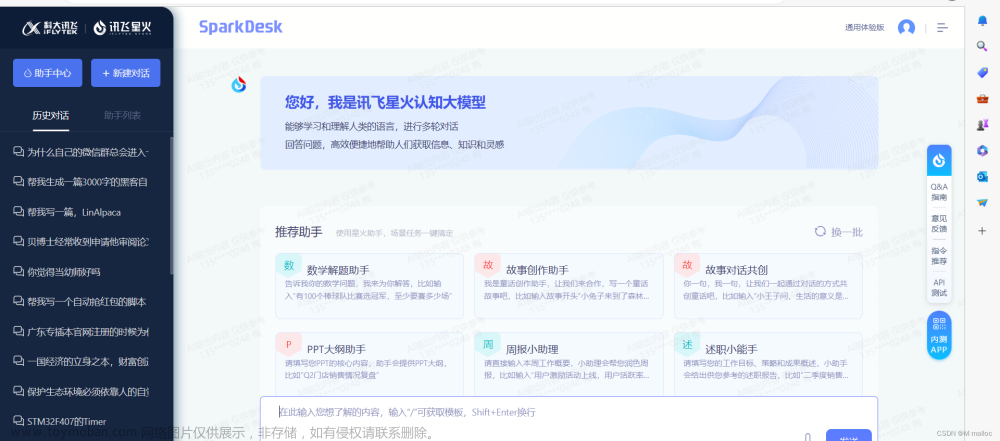
最近我在给客户开发科大讯飞的星火认知大模型SparkDesk,踩过一些坑,网上几乎搜不到PHP的demo代码,这里模板兔给出以下成果代码供大家参考。
首先,sparkdesk的接口需要使用到websocket,所以我们需要先安装websocket,使用composer在网站根目录安装:
composer require textalk/websocket
然后就是写php代码:
<?php

require __DIR__.'/vendor/autoload.php';

use WebSocket\Client;

class api
{

/**
* 调用科大讯飞星火认知模型
* @param $params
* @return array
*/
public function sendMsg($params)
{
$prompt = $params['prompt'];
//获取科大讯飞参数
$app_id = $params['APPID'];
$api_key = $params['APIKEY'];
$api_secret = $params['APISecret'];
//拼接链接
$url = $this->createUrl($api_key, $api_secret);

$client = new Client($url);
//拼接要发送的信息
$message = $this->createMsg($app_id, $prompt);
try {
$client->send(json_encode($message, true));
$response = $client->receive();

$response_arr = json_decode($response, true);
// 科达讯飞会分多次发送消息
do {
if ($response_arr['header']['code'] == '0') {
echo 'data: '.$response."\n\n"; //转成EventSource的输出格式
}else{
echo '[error]'.$response_arr['header']['message'];
break;
}

$content = $response_arr['payload']['choices']['text'][0]['content'];

if ($response_arr['header']['status'] == 2) {
echo 'data: [DONE]'."\n\n";
break;
}
//继续接收消息
$response = $client->receive();
$response_arr = json_decode($response, true);
} while (true);
/*return [
'code' => 0,
'msg' => '输出成功',
];*/
} catch (Exception $e) {
/*return [
'code' => -1,
'msg' => $e->getMessage(),
];*/
} finally {
$client->close();
}
}

/**
* 拼接签名
* @param $api_key
* @param $api_secret
* @param $time
* @return string
*/
private function sign($api_key, $api_secret, $time)
{
$signature_origin = 'host: spark-api.xf-yun.com' . "\n";
$signature_origin .= 'date: ' . $time . "\n";
$signature_origin .= 'GET /v1.1/chat HTTP/1.1';
$signature_sha = hash_hmac('sha256', $signature_origin, $api_secret, true);
$signature_sha = base64_encode($signature_sha);
$authorization_origin = 'api_key="' . $api_key . '", algorithm="hmac-sha256", ';
$authorization_origin .= 'headers="host date request-line", signature="' . $signature_sha . '"';
$authorization = base64_encode($authorization_origin);
return $authorization;
}

/**
* 生成Url
* @param $api_key
* @param $api_secret
* @return string
*/
private function createUrl($api_key, $api_secret)
{
$url = 'wss://spark-api.xf-yun.com/v1.1/chat';
$time = gmdate('D, d M Y H:i:s') . ' GMT';
$authorization = $this->sign($api_key, $api_secret, $time);
$url .= '?' . 'authorization=' . $authorization . '&date=' . urlencode($time) . '&host=spark-api.xf-yun.com';
return $url;
}

/**
* 生成要发送的消息体
* @param $app_id
* @param $speed
* @param $volume
* @param $pitch
* @param $audio_content
* @return array
*/
private function createMsg($app_id, $prompt)
{
return [
'header' => [
'app_id' => $app_id,
],
'parameter' => [
"chat"=> [
"domain"=> "general",
"temperature"=> 0.5,
"max_tokens"=> 1000,
]
],
'payload' => [
"message"=> [
"text"=> [
["role"=> "user", "content"=> $prompt]
]
]
],
];
}
}


header("Content-Type: text/event-stream");
header("Cache-Control: no-cache");
header("X-Accel-Buffering: no");
header('Connection: keep-alive');

$params = array(
"prompt"=>"你好",
"APPID"=>"",
"APIKEY"=>"",
"APISecret"=>""
);

$test = new api();

$test->sendMsg($params);
我把接口输出的流转成EventSource的输出格式,这样客户端方便对接,毕竟之前对接过GPT,这样来讲切换会更容易些。
最后我们再通过客户端js来输出数据,js代码这里就不多赘述了。文章来源:https://www.toymoban.com/news/detail-688374.html
原文:https://www.mobantu.com/9976.html文章来源地址https://www.toymoban.com/news/detail-688374.html
到了这里,关于php对接讯飞星火认知大模型SparkDesk的Web API示例代码的文章就介绍完了。如果您还想了解更多内容,请在右上角搜索TOY模板网以前的文章或继续浏览下面的相关文章,希望大家以后多多支持TOY模板网!


