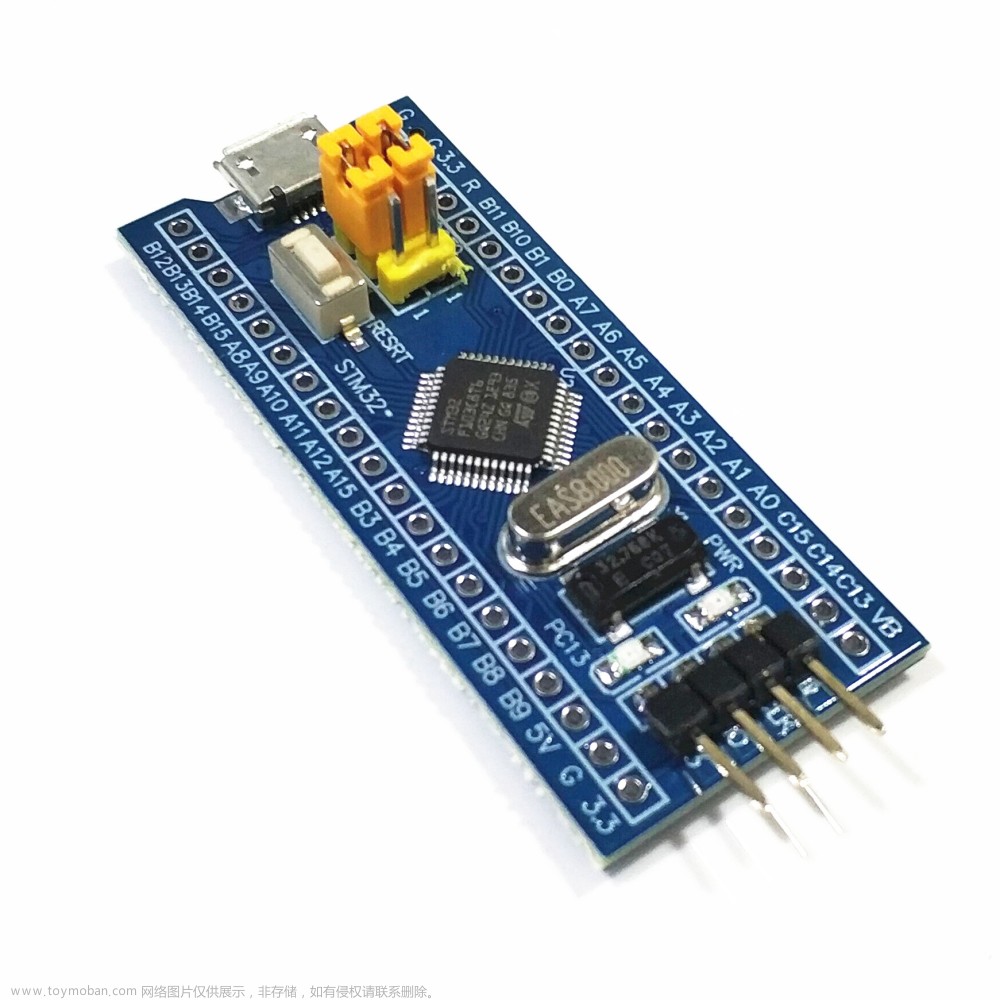
ESP32
打开Arduino,选择“文件”—“示例”—“BluetoothSerial”—“SerialToSerialBT”:
然后选择开发板和端口,编译烧录,在下方发送框内输入要发送的信息
//This example code is in the Public Domain (or CC0 licensed, at your option.)
//By Evandro Copercini - 2018
//
//This example creates a bridge between Serial and Classical Bluetooth (SPP)
//and also demonstrate that SerialBT have the same functionalities of a normal Serial

#include "BluetoothSerial.h"

#if !defined(CONFIG_BT_ENABLED) || !defined(CONFIG_BLUEDROID_ENABLED)
#error Bluetooth is not enabled! Please run `make menuconfig` to and enable it
#endif

BluetoothSerial SerialBT;

void setup() {
  Serial.begin(115200);
  SerialBT.begin("ESP32test"); //Bluetooth device name
  Serial.println("The device started, now you can pair it with bluetooth!");
}

void loop() {
  if (Serial.available()) {
    SerialBT.write(Serial.read());
  }
  if (SerialBT.available()) {
    Serial.write(SerialBT.read());
  }
  delay(20);
}
PC端
设置好上边的,打开电脑蓝牙,搜索新设备
连接ESP32test
在下方会看到已添加设备
再点击更多蓝牙选项、COM端口、选择ESP32test(带SPP的)端口,记住端口后边会用。或者点添加、选择传出,选择你的设备(ESP32test)最后就确定就行了。
 文章来源:https://www.toymoban.com/news/detail-688689.html
测试效果
打开Arduino端,在输入框内输入发送的数据,同时打开串口调试助手,选择刚才设置传出的端口,设置好对应的波特率。发送123接收端收到123,测试成功 文章来源地址https://www.toymoban.com/news/detail-688689.html
到了这里,关于Arduino下 ESP32蓝牙与PC蓝牙数据传输的文章就介绍完了。如果您还想了解更多内容,请在右上角搜索TOY模板网以前的文章或继续浏览下面的相关文章,希望大家以后多多支持TOY模板网!


