目录
1、使用requests发送http请求
1-1)发送get请求
1-2)发送 post 请求
1-3)发送 get 请求下载网络图片
1-4)使用 post 上传文件
1-5)自动维护 session 的方式
2、使用 os.popen 执行cmd命令
3、基于 beautifulSoup 的爬虫
3-1)初始化解析器
3-2)查找页面元素
3-2-1)find、findAll
3-2-2)使用css选择器来进行查找
4、socket 通信
5、多线程
多线程改进 socket ,一对多通信:
1、使用requests发送http请求
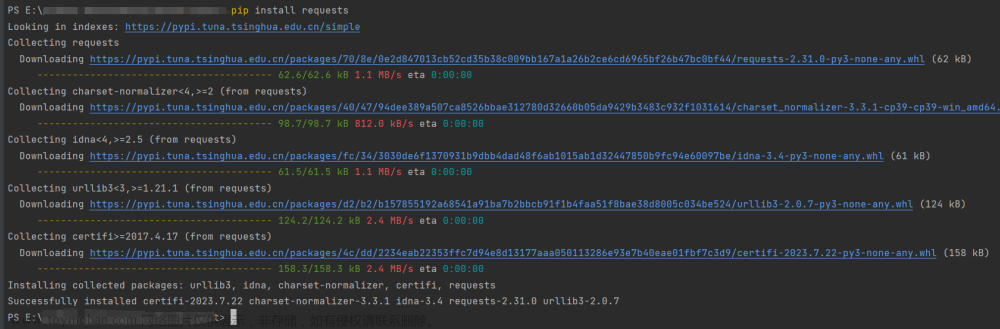
> pip install requests 安装该模块
import requests1-1)发送get请求
params = {}
headers = {}
resq = requests.get('https://www.baidu.com', params=params, headers=headers)
resq.encoding = 'utf-8'
# print(resq.text)              # 返回的数据 html内容
print(resq.headers)             # 响应头
# print(resq.content)             # 返回响应的内容
# print(resq.status_code)         # 返回状态码 200
1-2)发送 post 请求
data = {'name':'张三','age':23,'gender':'男'}
headers = {}
req = requests.post('http://www.test.cn', data=data,headers=headers)
print(req.text)
print(req.headers)
1-3)发送 get 请求下载网络图片
resq = requests.get('https://p.qqan.com/up/2018-5/2018050911304322378.jpg')
with open('./img_download2.png','wb') as f:
    f.write(resq.content)           # resq.content 得到的是二进制流;resq.text 得到的是文本型的响应
1-4)使用 post 上传文件
# 文件上传  先登录,再上传
cookie = resq.cookies             # 获取等录后的cookie
file = {'file':open('G:/test_img.xls', 'rb')}
data = {'name':'testFile'}
res = requests.post(url='http://target.cn', data=data, files=file, cookies=cookie)
print(res.status_code)
print(res.text)
1-5)自动维护 session 的方式
利用 requests.session() 获取到 session 对象,使用 session 对象发送请求,可以维护cookies 和 session,不必自己操作。
session = requests.session()
data = {'user':'admin', password:'123112233'}
req = session.post('http://denglu.cn',data=data)    # 登录

file = {'file':open('G:/test_img.xls', 'rb')}
data = {'name':'testFile'}
res = session.post(url='http://target.cn',data=data,files=file)    # 上传文件
print(res.status_code)
print(res.text)
2、使用 os.popen 执行cmd命令
import os

ipconfig = os.popen('ipconfig').read()      # 使用popen不会直接输出,把执行结果赋值给变量
print(ipconfig)

# os.popen('notepad.exe')         # 打开记事本
os.popen('explorer.exe E:\\')       # 打开资源管理器并定位到 E 盘目录下
3、基于 beautifulSoup 的爬虫
> pip install bs4
> pip install lxml 安装解析器lxml
解析器可以使用:html.parser、lxml、xml、html5lib
from bs4 import BeautifulSoup
import requests

# 淘宝
res = requests.get('https://www.taobao.com/')
res.encoding = 'utf8'
3-1)初始化解析器
# html是 bs4.BeautifulSoup 实例,是经过解析的 HTML 代码
html = BeautifulSoup(res.text, 'lxml')
3-2)查找页面元素
print(html.head.title)          # <title>淘宝</title>
print(html.head.title.string)   # 淘宝
print(html.div)         # 获取到的是文档中的第一个div元素及其所有子元素
print(html.div.div)     # 获取到文档中的第一个div元素下的第一个div子元素
查找页面元素的通用方法:find、findAll、select
1、find、findAll 根据标签、属性等进行查找(find 是查找第一个匹配的;findAll是查找所有,会以列表的形式返回)
2、select 利用css选择器来进行查找:div #id .class
3-2-1)find、findAll
使用标签名来查找
links = html.findAll('a')     # 使用标签名来查找所有的链接
for link in links:
    print(link['href'])
使用类名 class 来查找
# 使用类名来进行查找 注意是 class_
hots = html.find(class_='search-hots-fline')
print(hots)
使用 id 来查找
'''
查找第一个 id=’J_Search‘ 的标签,再逐层往下找
'''
j_search = html.find(id='J_Search')         # 使用id查找
res= j_search.findAll('input')         # 使用标签名查找
print(res)                  # 返回的是包含若干 input 元素的列表
print(res[0])
指定内容 innerText 来查找
# 通过 innerText 进行查找
content = html.find(string='新款连衣裙')
print(content)      # 如果查找到,则返回的是:新款连衣裙
print(content.parent)   # 以 新款连衣裙 为innerText 的标签
指定标签名和属性值来进行查找
 # 返回第一个符合的form表单,data-sg-type属性的值为form
form = html.find('form',{'data-sg-type':'form'})
print(form)
3-2-2)使用css选择器来进行查找
'''
使用css选择器来查找
'''
# 返回 .search-hots-lines 下 .search-hots-fline 标签的全部内容
flines = html.select('.search-hots-lines .search-hots-fline')
print(flines)           # 是列表
print(len(flines))


lis = html.select('.search-hots-lines div a')      # div > div > a
print(lis)                      # 所有符合条件的 a 标签
print(lis[0].string)            # 新款连衣裙
4、socket 通信
服务端:
import socket

s = socket.socket()

# 绑定任何源都可以连接,开放 5544 端口用于该 socket 通信
s.bind(('0.0.0.0', 6660))

# 开始监听
s.listen()

# 只能接受一个客户端的连接,返回的第一个数据代表通信通道,可以回复信息;第二个数据是用户的信息(对方ip地址和端口号)
chanel, client = s.accept()

while True:
    # chanel, client = s.accept()           # 如果在这里接收,则客户端只能发送一次消息,然后循环回到accept时,accept会阻塞当前的连接,等待新的连接
    print('连接方信息:',client, end=' ;')                  # 打印用户ip和端口号
    receive = chanel.recv(1024).decode()        # 解码用户发生过来的信息,最大接收1024字节
    print(f'接受到消息:{receive}')               # 打印用户发过来的信息
    reply = receive.replace('吗','!')
    chanel.send(reply.encode())             # 返回信息
客户端
import socket

s = socket.socket()

s.connect(('192.168.1.11', 6660))       # 目标ip地址,目标端口号

while True:
    msg = input()                       # 在控制台中输入哟啊发送的内容
    s.send(msg.encode())                # 发送
    receive = s.recv(1024)             # 接收返回的信息,10240是接受的最大数据量(字节
    print(f'对方回复:{receive.decode()}')

5、多线程
import random,threading,time

def test(num):
    time.sleep(random.choice([0.1, 0.3, 0.6, 1]))
    print(f'当前线程为:{threading.currentThread().getName()},{num ** 2}')

if __name__ == '__main__':
    print(f'当前执行的线程为:{threading.currentThread().getName()}')
    for i in range(9):
        # 创建一个线程,该线程需要执行的函数是 test,传递的参数为 i
        thread = threading.Thread(target=test, args=(i + 1,))
        thread.start()              # 开始执行该线程
多线程改进 socket ,一对多通信:
服务端:
import threading,socket

s = socket.socket()
s.bind(('0.0.0.0',6660))
s.listen()

def socket_server():
    chanel, client = s.accept()
    while True:
        req = chanel.recv(1024).decode()
        if req == '':
            print(f'{client} 断开了连接')
            break
        print(f'接收到连接:{client};收到消息:{req}')
        str = req.replace('?','.')
        chanel.send(str.encode())
    socket_server()

for i in range(2):
    thread = threading.Thread(target=socket_server)
    thread.start()
几个客户端复用下面的代码:
import socket

s = socket.socket()

s.connect(('192.168.1.2',6660))

while True:
    msg = input()
    s.send(msg.encode())
    res = s.recv(1024).decode()
    print(f'收到对方回复:{res}.')
 文章来源:https://www.toymoban.com/news/detail-689438.html
 文章来源地址https://www.toymoban.com/news/detail-689438.html
到了这里,关于python 笔记(3)——request、爬虫、socket、多线程的文章就介绍完了。如果您还想了解更多内容,请在右上角搜索TOY模板网以前的文章或继续浏览下面的相关文章,希望大家以后多多支持TOY模板网!