import cv2 as cv
import numpy as np
import matplotlib.pyplot as plt

img = cv.imread("../SampleImages/stars.png")
plt.imshow(img[:,:,::-1])

img_contour = img.copy()
#得到灰度图做Canny边缘检测
img_gray = cv.cvtColor(img_contour, cv.COLOR_BGR2GRAY)
edges = cv.Canny(img_gray, 120, 255, 0)
#提取并绘制轮廓
contours,hierarchy = cv.findContours(edges, cv.RETR_TREE, cv.CHAIN_APPROX_NONE)
img_contour = cv.drawContours(img_contour, contours, -1, (0,255,0), 2)
plt.imshow(img_contour, cmap=plt.cm.gray)

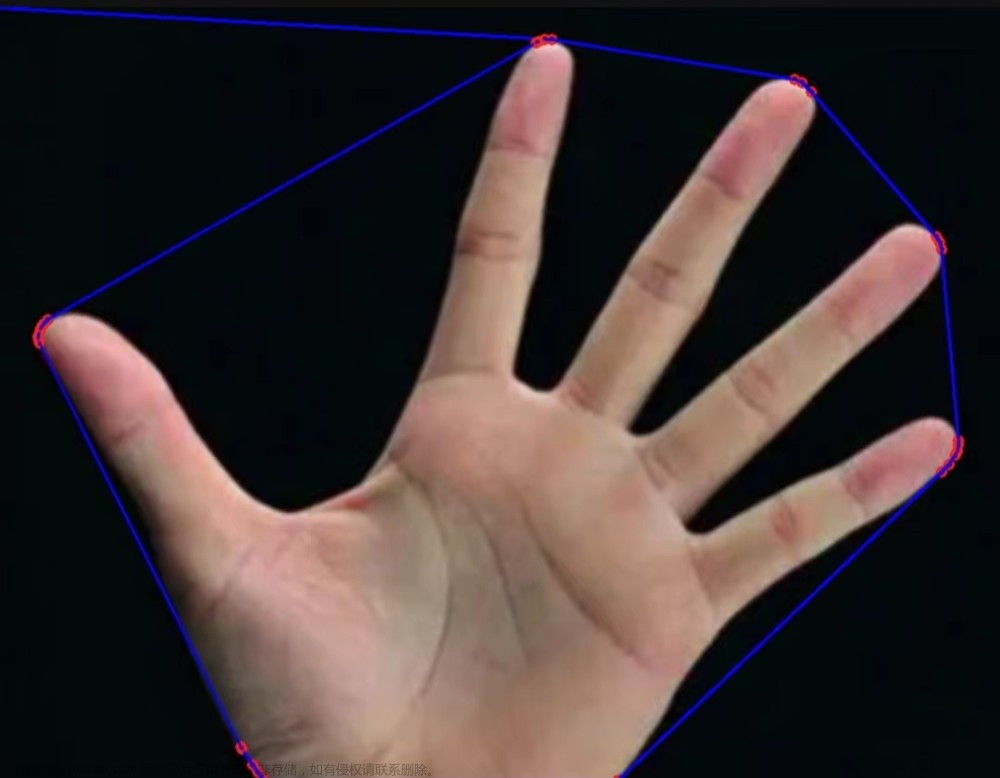
#凸包检测
#hull = cv.convexHull(points, clockwise, returnpoints)
#hull: 输出凸包结果,n*1*2数据结构,n为外包围圈的点的个数
#points: 输入的坐标点,通常为1* n * 2 结构,n为所有的坐标点的数目
#clockwise:转动方向,TRUE为顺时针,否则为逆时针;
#returnPoints:默认为TRUE,返回凸包上点的坐标,如果设置为FALSE,会返回与凸包点对应的轮廓上的点。
#参考资料:https://blog.csdn.net/lovetaozibaby/article/details/103214672
hulls = []
for contour in contours:
    hull = cv.convexHull(contour)
    hulls.append(hull)
img_convex_hull = cv.drawContours(img, hulls, -1, (0,255,0), 2)

plt.imshow(img_convex_hull[:,:,::-1])


 文章来源:https://www.toymoban.com/news/detail-692302.html
 文章来源地址https://www.toymoban.com/news/detail-692302.html
到了这里,关于Python Opencv实践 - 凸包检测(ConvexHull)的文章就介绍完了。如果您还想了解更多内容,请在右上角搜索TOY模板网以前的文章或继续浏览下面的相关文章,希望大家以后多多支持TOY模板网!


