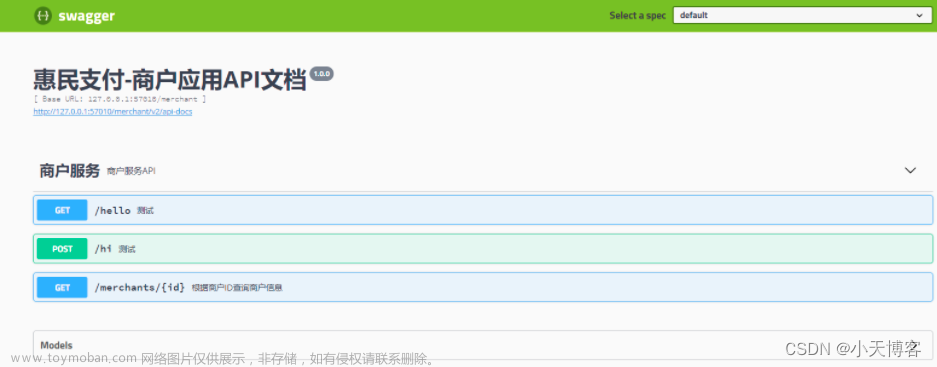
Springboot配置Swagger展示API文档并进行接口测试(doc.html、swagger-ui.html)
一、pom.xml中添加相关的依赖项
<dependency>
    <groupId>io.springfox</groupId>
    <artifactId>springfox-swagger2</artifactId>
    <version>2.9.2</version>
</dependency>
<dependency>
    <groupId>io.springfox</groupId>
    <artifactId>springfox-swagger-ui</artifactId>
    <version>2.9.2</version>
</dependency>
<dependency>
    <groupId>com.github.xiaoymin</groupId>
    <artifactId>swagger-bootstrap-ui</artifactId>
    <version>1.9.6</version>
</dependency>
二、创建一个Swagger配置类
package com.example.demo.config;

import lombok.extern.slf4j.Slf4j;
import org.springframework.context.annotation.Bean;
import org.springframework.context.annotation.Configuration;

import org.springframework.web.servlet.config.annotation.ResourceHandlerRegistry;
import org.springframework.web.servlet.config.annotation.WebMvcConfigurationSupport;
import org.springframework.web.servlet.config.annotation.WebMvcConfigurer;
import springfox.documentation.builders.ApiInfoBuilder;
import springfox.documentation.builders.ParameterBuilder;
import springfox.documentation.builders.PathSelectors;
import springfox.documentation.builders.RequestHandlerSelectors;
import springfox.documentation.schema.ModelRef;
import springfox.documentation.service.ApiInfo;
import springfox.documentation.service.Parameter;
import springfox.documentation.spi.DocumentationType;
import springfox.documentation.spring.web.plugins.Docket;
import springfox.documentation.swagger2.annotations.EnableSwagger2;

import java.util.ArrayList;
import java.util.List;

@Configuration
@EnableSwagger2
@Slf4j
public class SwaggerConfig extends WebMvcConfigurationSupport {

    @Override
    public void addResourceHandlers(ResourceHandlerRegistry registry) {
        registry.addResourceHandler("swagger-ui.html").addResourceLocations("classpath:/META-INF/resources/");
        registry.addResourceHandler("doc.html").addResourceLocations("classpath:/META-INF/resources/");
        registry.addResourceHandler("/webjars/**").addResourceLocations("classpath:/META-INF/resources/webjars/");

    @Bean
    public Docket createRestApi() {
        return new Docket(DocumentationType.SWAGGER_2)
                .apiInfo(apiInfo())
                .select()
                .paths(PathSelectors.any())
                .build();
    }

    private ApiInfo apiInfo() {
        return new ApiInfoBuilder()
                .title("swagger2在线文档测试")
                .description("系统描述")
                .termsOfServiceUrl("服务URL")
                .contact("作者")
                .version("1.0")
                .build();
    }
}
三、创建一个测试接口
package com.example.demo.controller;

import io.swagger.annotations.Api;
import io.swagger.annotations.ApiOperation;
import org.springframework.web.bind.annotation.GetMapping;
import org.springframework.web.bind.annotation.RequestMapping;
import org.springframework.web.bind.annotation.RestController;

@RestController
@RequestMapping("/api")
@Api(tags = "你好")
public class SampleController {

    @ApiOperation("你好")
    @GetMapping("/hello")
    public String sayHello(){
        return "你好";
    }
}
四、访问测试
http://localhost:8080/doc.html
http://localhost:8080/swagger-ui.html 文章来源地址https://www.toymoban.com/news/detail-692504.html
文章来源:https://www.toymoban.com/news/detail-692504.html
到了这里,关于Springboot配置Swagger展示API文档并进行接口测试(doc.html、swagger-ui.html)的文章就介绍完了。如果您还想了解更多内容,请在右上角搜索TOY模板网以前的文章或继续浏览下面的相关文章,希望大家以后多多支持TOY模板网!


