前言
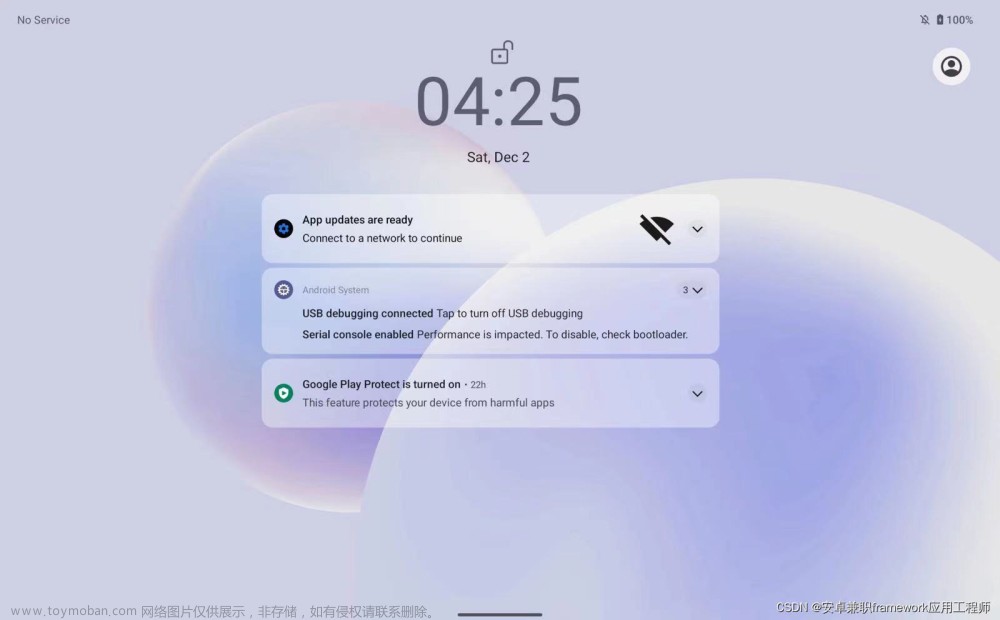
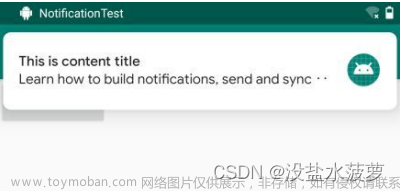
微信小程序封装公共组件——实现NoticeBar 通知栏。走马灯公告栏
一、使用步骤
1.引入库
代码如下(示例):
"usingComponents": {
  "van-notice-bar": "@vant/weapp/notice-bar/index"
}
2.页面代码
index.wxml代码如下(示例):
<view class="notice-bar">

  <view class="notice-title">
    {{title}}
  </view>
  <view>
    <van-notice-bar custom-class="bar" background="#fff" color="#3D3D3D" scrollable text="{{text}}" />
  </view>
</view>
index.ts文章来源:https://www.toymoban.com/news/detail-692874.html
// components/navigation/index.ts
let timers = 0
Component({
  /**
   * 组件的属性列表
   */
  properties: {
    notice: {
      type: Array,
      value: [],
    },
  },

  /**
   * 组件的初始数据
   */
  data: {
    title: '',
    text: '',
  },
  /**
   * 组件的方法列表
   */
  methods: {
    handleInterval(list) {
      let index = 0
      const len = list.length

      this.setData({
        ...list[index],
      })
      if (len < 2) return
      timers ==
        setInterval(() => {
          index = (index + 1) % len
          this.setData({
            ...list[index],
          })
        }, 15000)
    },
  },
  observers: {
    notice(value) {
      this.handleInterval(value)
    },
  },
  lifetimes: {
    attached: function () {
      // 在组件实例进入页面节点树时执行
    },
    detached: function () {
      // 在组件实例被从页面节点树移除时执行
      timers && clearInterval(timers)
    },
  },
})
总结
公告通知栏父组件传notice数组,组件设置了timer可以多条进行轮播文章来源地址https://www.toymoban.com/news/detail-692874.html
到了这里,关于实现NoticeBar 通知栏。走马灯公告栏的文章就介绍完了。如果您还想了解更多内容,请在右上角搜索TOY模板网以前的文章或继续浏览下面的相关文章,希望大家以后多多支持TOY模板网!


