Docker下CentOS7配置IPV6并支持Nginx访问
配置docker
##需要修改docker配置文件,配置支持IPV6,下面的配置仅供参考
{
  "experimental": true,
  "fixed-cidr-v6": "2607:f0d0:1002:51::/66", ## 必填,指定IPV6网段
  "ip6tables": false, ## false 或者不写
  "ipv6": true, ## 必填
  "registry-mirrors": [ ## 推荐配置为国内地址,这里使用的是阿里云地址
    "https://z4j0vmao.mirror.aliyuncs.com"
  ]
}
创建容器
docker run -d --name centos7-port --privileged=true -p 80:80 -p 8080:8080 -p 8088:8088 -v D:/docker/centos/home:/home centos:centos7.9.2009 /usr/sbin/init
| 命令 | 含义 |
|---|---|
| –name centos7-port | 容器名字叫 centos7-port |
| –privileged=true | 获取特权 |
| -p 80:80 -p 8080:8080 -p 8088:8088 | 映射80 8080 8088 三个端口 |
| -v D:/docker/centos/home:/home | 将本机 D:/docker/centos/home 映射到容器的 /home |
| centos:centos7.9.2009 | 指定使用的镜像,没有的先下载 |
| /usr/sbin/init | 初始化容器 |
更新依赖
yum update -y
测试 IPV6地址
查看IPV6地址
sh-4.2# yum install net-tools
sh-4.2# ifconfig
eth0: flags=4163<UP,BROADCAST,RUNNING,MULTICAST>  mtu 1500
        inet 172.17.0.2  netmask 255.255.0.0  broadcast 172.17.255.255
        ## 下面就是IPV6地址,但是注意,这是容器的地址,并是不主机的地址,要访问的也不是这个地址
        inet6 2607:f0d0:1002:51:0:242:ac11:2  prefixlen 66  scopeid 0x0<global>
        inet6 fe80::42:acff:fe11:2  prefixlen 64  scopeid 0x20<link>
        ether 02:42:ac:11:00:02  txqueuelen 0  (Ethernet)
        RX packets 111287  bytes 162126536 (154.6 MiB)
        RX errors 0  dropped 0  overruns 0  frame 0
        TX packets 29610  bytes 1984231 (1.8 MiB)
        TX errors 0  dropped 0 overruns 0  carrier 0  collisions 0

lo: flags=73<UP,LOOPBACK,RUNNING>  mtu 65536
        inet 127.0.0.1  netmask 255.0.0.0
        inet6 ::1  prefixlen 128  scopeid 0x10<host>
        loop  txqueuelen 1000  (Local Loopback)
        RX packets 0  bytes 0 (0.0 B)
        RX errors 0  dropped 0  overruns 0  frame 0
        TX packets 0  bytes 0 (0.0 B)
        TX errors 0  dropped 0 overruns 0  carrier 0  collisions 0

sh-4.2#
使用 ping 命令测试
sh-4.2# ping6 2607:f0d0:1002:51:0:242:ac11:2
PING 2607:f0d0:1002:51:0:242:ac11:2(2607:f0d0:1002:51:0:242:ac11:2) 56 data bytes
64 bytes from 2607:f0d0:1002:51:0:242:ac11:2: icmp_seq=1 ttl=64 time=0.023 ms
64 bytes from 2607:f0d0:1002:51:0:242:ac11:2: icmp_seq=2 ttl=64 time=0.025 ms
64 bytes from 2607:f0d0:1002:51:0:242:ac11:2: icmp_seq=3 ttl=64 time=0.023 ms
64 bytes from 2607:f0d0:1002:51:0:242:ac11:2: icmp_seq=4 ttl=64 time=0.071 ms
64 bytes from 2607:f0d0:1002:51:0:242:ac11:2: icmp_seq=5 ttl=64 time=0.092 ms
64 bytes from 2607:f0d0:1002:51:0:242:ac11:2: icmp_seq=6 ttl=64 time=0.083 ms
^C
--- 2607:f0d0:1002:51:0:242:ac11:2 ping statistics ---
6 packets transmitted, 6 received, 0% packet loss, time 5210ms
rtt min/avg/max/mdev = 0.023/0.052/0.092/0.031 ms
Linux 防火墙开放ipv6的80端口
我测试不需要这样,根据具体以情况选择是否执行
[root@localhost ~]# ip6tables -I INPUT -p tcp --dport 80 -j ACCEPT
[root@localhost ~]# Service ip6tables save
下载Nginx
安装下载工具
yum install wget -y
创建Nginx文件夹
sh-4.2# cd /home/
sh-4.2# mkdir nginx
sh-4.2# cd ./nginx
下载Nginx安装包
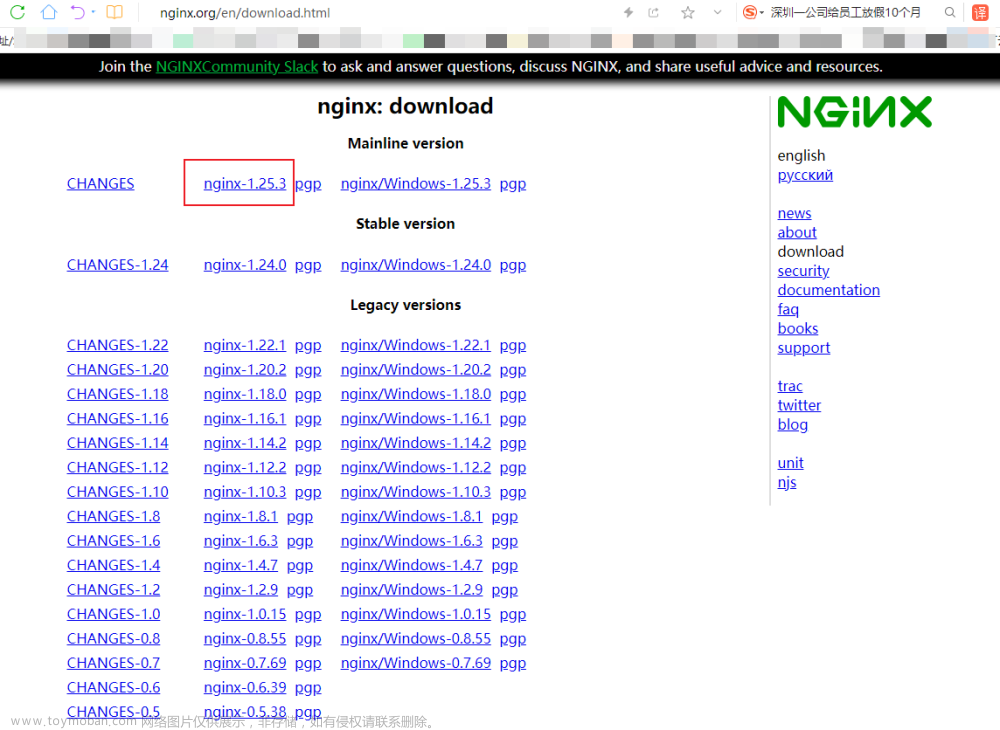
wget https://nginx.org/download/nginx-1.4.6.tar.gz
安装Nginx需要的依赖
yum install -y pcre pcre-devel gcc gcc-c++ zlib zlib-devel openssl openssl-devel iptables-ipv6
安装Nginx
解压安装包
tar -xzvf nginx-1.4.6.tar.gz
创建安装文件夹
sh-4.2# mkdir nginxInstall
sh-4.2# cd ./nginxInstall/
sh-4.2# pwd
/home/nginx/nginxInstall
sh-4.2#
配置安装位置和模块
sh-4.2# cd ./nginx-1.4.6
sh-4.2# pwd
/home/nginx/nginx-1.4.6
sh-4.2#./configure --prefix=/home/nginx/nginxInstall --with-http_stub_status_module --without-http-cache --with-http_ssl_module --with-http_gzip_static_module --with-ipv6
编译并安装
make && make install
配置环境变量
sh-4.2# pwd
/home/nginx/nginx-1.4.6
sh-4.2# ls
CHANGES  CHANGES.ru  LICENSE  Makefile  README  auto  conf  configure  contrib  html  man  objs  src
## 安装编辑器
sh-4.2# yum install vim -y
sh-4.2# vim /etc/profile
## 演示环境是新创建的容器,没有多余的环境变量,增加如下两行
export NGINX_HOME=/home/nginx/nginxInstall
export PATH=$NGINX_HOME/sbin:$PATH
## 刷新环境变量
sh-4.2# source /etc/profile
启动Nginx
sh-4.2# pwd
/home/nginx/nginx-1.4.6
sh-4.2# nginx
sh-4.2# ps -ef|grep nginx
root      2723     1  0 06:47 ?        00:00:00 nginx: master process nginx
nobody    2724  2723  0 06:47 ?        00:00:00 nginx: worker process
root      2726    63  0 06:47 pts/0    00:00:00 grep --color=auto nginx
sh-4.2#
访问测试
由于使用的是虚拟机,并将端口与主机共享,所有使用主机地址测试文章来源:https://www.toymoban.com/news/detail-693489.html
使用主机浏览器访问 http://127.0.0.1/ 出现Nginx 环境页面说明安装正常文章来源地址https://www.toymoban.com/news/detail-693489.html
配置IPV6
sh-4.2# cd /home/nginx/nginxInstall/conf/
sh-4.2# cp nginx.conf nginx.conf.backup
sh-4.2# vim nginx.conf
## 在 nginx.conf 中增加  listen     [::]:80; 如下:
    server {
        listen       80;
        listen     [::]:80;
## 测试Nginx 是否正常
sh-4.2# nginx  -t
nginx: the configuration file /home/nginx/nginxInstall/conf/nginx.conf syntax is ok
nginx: configuration file /home/nginx/nginxInstall/conf/nginx.conf test is successful
## 重新加载Nginx
sh-4.2# nginx -s reload
测试IPV6
使用 curl 测试
sh-4.2# curl -6 -g 'http://[2607:f0d0:1002:51:0:242:ac11:2]:80'
<!DOCTYPE html>
<html>
<head>
<title>Welcome to nginx!</title>
<style>
    body {
        width: 35em;
        margin: 0 auto;
        font-family: Tahoma, Verdana, Arial, sans-serif;
    }
</style>
</head>
<body>
<h1>Welcome to nginx!</h1>
<p>If you see this page, the nginx web server is successfully installed and
working. Further configuration is required.</p>

<p>For online documentation and support please refer to
<a href="http://nginx.org/">nginx.org</a>.<br/>
Commercial support is available at
<a href="http://nginx.com/">nginx.com</a>.</p>

<p><em>Thank you for using nginx.</em></p>
</body>
</html>
使用wget 测试
sh-4.2# wget -6 'http://[2607:f0d0:1002:51:0:242:ac11:2]:80'
--2023-06-12 02:15:23--  http://[2607:f0d0:1002:51:0:242:ac11:2]/
Connecting to [2607:f0d0:1002:51:0:242:ac11:2]:80... connected.
HTTP request sent, awaiting response... 200 OK
Length: 612 [text/html]
Saving to: 'index.html'

100%[=====================================================================================================>] 612         --.-K/s   in 0s

2023-06-12 02:15:23 (146 MB/s) - 'index.html' saved [612/612]

sh-4.2#
使用 telnet 测试
sh-4.2# yum install telnet-server
sh-4.2# yum install telnet.*
sh-4.2# telnet -6 2607:f0d0:1002:51:0:242:ac11:2 80
Trying 2607:f0d0:1002:51:0:242:ac11:2...
Connected to 2607:f0d0:1002:51:0:242:ac11:2.
Escape character is '^]'.
^CConnection closed by foreign host.
sh-4.2#
到了这里,关于Docker下CentOS7配置IPV6并支持Nginx访问的文章就介绍完了。如果您还想了解更多内容,请在右上角搜索TOY模板网以前的文章或继续浏览下面的相关文章,希望大家以后多多支持TOY模板网!

![[服务器-数据库]MongoDBv7.0.4不支持ipv6访问](https://imgs.yssmx.com/Uploads/2024/02/836088-1.png)


