iOS开发Swift-6-深色模式,类与对象,MVC模式,弹出框,闭包-趣味问答App

这篇具有很好参考价值的文章主要介绍了iOS开发Swift-6-深色模式,类与对象,MVC模式,弹出框,闭包-趣味问答App。希望对大家有所帮助。如果存在错误或未考虑完全的地方,请大家不吝赐教,您也可以点击"举报违法"按钮提交疑问。

1.创建趣味问答App项目

iOS开发Swift-6-深色模式,类与对象,MVC模式,弹出框,闭包-趣味问答App,ios,swift,mvc,开发语言

 2.创建一个问题文本,水平居中约束。

创建蓝、红两个按钮,放入Stack View中,给StackView水平居中约束,下边约束,设置两按钮间距为20.

iOS开发Swift-6-深色模式,类与对象,MVC模式,弹出框,闭包-趣味问答App,ios,swift,mvc,开发语言

 设置进度条view与safe View关系为equal width。设置他们的比例为1:13.

iOS开发Swift-6-深色模式,类与对象,MVC模式,弹出框,闭包-趣味问答App,ios,swift,mvc,开发语言

 3.为系统增加深色模式适配(仅限iOS13以上版本)

为Assets中新增新的颜色配置。

iOS开发Swift-6-深色模式,类与对象,MVC模式,弹出框,闭包-趣味问答App,ios,swift,mvc,开发语言

 分别为浅色和深色设置颜色。

iOS开发Swift-6-深色模式,类与对象,MVC模式,弹出框,闭包-趣味问答App,ios,swift,mvc,开发语言

 选中所有文字,设置为名叫Color的颜色。

iOS开发Swift-6-深色模式,类与对象,MVC模式,弹出框,闭包-趣味问答App,ios,swift,mvc,开发语言

 效果:

iOS开发Swift-6-深色模式,类与对象,MVC模式,弹出框,闭包-趣味问答App,ios,swift,mvc,开发语言

 4.利用MVC思想编码。

创建新.swift文件,Question.swift:

import Foundation

class Question {
    var text: String
    var answer: Bool
    init(text: String, answer: Bool){
        self.text = text
        self.answer = answer
    }
}

let queastions = [
    Question(text: "马云是世界首富", answer: false),
    Question(text: "刘强东最早是在中关村卖光盘的", answer: true),
    Question(text: "苹果可以吃", answer: true),
    Question(text: "只要坚持下去就能学好代码", answer: true),
    Question(text: "王思聪是80后", answer: true),
    Question(text: "在国内可以正常访问google", answer: false),
    Question(text: "敲完一万行代码可以变身编程高手", answer: true),
    Question(text: "撒贝宁说清华还行", answer: false),
    Question(text: "一直学习变大牛", answer: true),
    Question(text: "安卓也很好使", answer: true),
    Question(text: "优酷比b站牛", answer: false),
    Question(text: "上班可以摸鱼吗", answer: false),
    Question(text: "这狗iOS系统真的没windows好用啊", answer: true)
]

ViewController.swift:文章来源地址https://www.toymoban.com/news/detail-694894.html

import UIKit

class ViewController: UIViewController {
    var questionIndex = 0
    
    @IBOutlet weak var questionLabel: UILabel!
    
    override func viewDidLoad() {
        super.viewDidLoad()
        // Do any additional setup after loading the view, typically from a nib.
        questionLabel.text = queastions[0].text
    }
    
    @IBAction func answerPressed(_ sender: UIButton) {
        if sender.tag == 1 {
            if queastions[questionIndex].answer == true{
                print("huidazhengque")
            }else{
                print("huidacuowu")
            }
        }else{
            if queastions[questionIndex].answer == true{
                print("huidacuowu")
            }else{
                print("huidazhengque")
            }
        }
        questionIndex += 1
        if questionIndex <= 12{
            questionLabel.text = queastions[questionIndex].text
        }else{
            questionIndex = 0
        }
    }
    
    override func didReceiveMemoryWarning() {
        super.didReceiveMemoryWarning()
        // Dispose of any resources that can be recreated.
    }
}

 5.创建弹窗

ViewController.swift:

import UIKit

class ViewController: UIViewController {
    var questionIndex = 0
    
    @IBOutlet weak var questionLabel: UILabel!
    
    override func viewDidLoad() {
        super.viewDidLoad()
        // Do any additional setup after loading the view, typically from a nib.
        questionLabel.text = queastions[0].text
    }
    
    @IBAction func answerPressed(_ sender: UIButton) {
        if sender.tag == 1 {
            if queastions[questionIndex].answer == true{
                print("huidazhengque")
            }else{
                print("huidacuowu")
            }
        }else{
            if queastions[questionIndex].answer == true{
                print("huidacuowu")
            }else{
                print("huidazhengque")
            }
        }
        questionIndex += 1
        if questionIndex <= 12{
            questionLabel.text = queastions[questionIndex].text
        }else{
            let alert = UIAlertController(title: "漂亮!", message: "您已经完成了所有问题,要再来一遍吗?", preferredStyle: .alert)
            alert.addAction(UIAlertAction(title: "再来一遍", style: .default, handler: { _ in
             
            }))
            self.present(alert, animated: true)
        }
    }
    
    override func didReceiveMemoryWarning() {
        super.didReceiveMemoryWarning()
        // Dispose of any resources that can be recreated.
    }
}

 6.启动测试

iOS开发Swift-6-深色模式,类与对象,MVC模式,弹出框,闭包-趣味问答App,ios,swift,mvc,开发语言iOS开发Swift-6-深色模式,类与对象,MVC模式,弹出框,闭包-趣味问答App,ios,swift,mvc,开发语言iOS开发Swift-6-深色模式,类与对象,MVC模式,弹出框,闭包-趣味问答App,ios,swift,mvc,开发语言

 7.完善再来一遍,整理代码。

ViewController.swift:

import UIKit


class ViewController: UIViewController {
    
    var questionIndex = 0
    
    @IBOutlet weak var questionLabel: UILabel!
    
    override func viewDidLoad() {
        super.viewDidLoad()
        // Do any additional setup after loading the view, typically from a nib.
        questionLabel.text = queastions[0].text
    }
    
    @IBAction func answerPressed(_ sender: UIButton) {
        if sender.tag == 1 {
            if queastions[questionIndex].answer == true{
                print("huidazhengque")
            }else{
                print("huidacuowu")
            }
        }else{
            if queastions[questionIndex].answer == true{
                print("huidacuowu")
            }else{
                print("huidazhengque")
            }
        }
        questionIndex += 1
        
        nextQuestion()
        
    }
    
    func nextQuestion(){
        if questionIndex <= 12{
            questionLabel.text = queastions[questionIndex].text
        }else{
            questionIndex = 0
            let alert = UIAlertController(title: "漂亮!", message: "您已经完成了所有问题,要再来一遍吗?", preferredStyle: .alert)
            let action = UIAlertAction(title: "再来一遍", style: .default, handler: { _ in
                self.questionLabel.text = queastions[0].text
            })
            alert.addAction(action)
            //
            present(alert, animated: true)
            
        }
    }
    
    override func didReceiveMemoryWarning() {
        super.didReceiveMemoryWarning()
        // Dispose of any resources that can be recreated.
    }

}

到了这里,关于iOS开发Swift-6-深色模式,类与对象,MVC模式,弹出框,闭包-趣味问答App的文章就介绍完了。如果您还想了解更多内容,请在右上角搜索TOY模板网以前的文章或继续浏览下面的相关文章,希望大家以后多多支持TOY模板网!

本文来自互联网用户投稿,该文观点仅代表作者本人,不代表本站立场。本站仅提供信息存储空间服务,不拥有所有权,不承担相关法律责任。如若转载,请注明出处: 如若内容造成侵权/违法违规/事实不符,请点击违法举报进行投诉反馈,一经查实,立即删除!

领支付宝红包 赞助服务器费用

相关文章

  • selenium-弹出框、下拉框

            对js使用的alert、confirm 以及 prompt定位也是项目中常见的,比如弹出提 示框“确定”等。要定位这类提示框具体思路是switch_to_alert()方法定位 alert/confirm/prompt,然后使用text/accept/dismiss/send_keys这一系列动作。 driver.switch_to.alert.accept()         #点击ok driver.switch_t

    2024年02月02日
    浏览(44)
  • jQuery实现简单弹出框

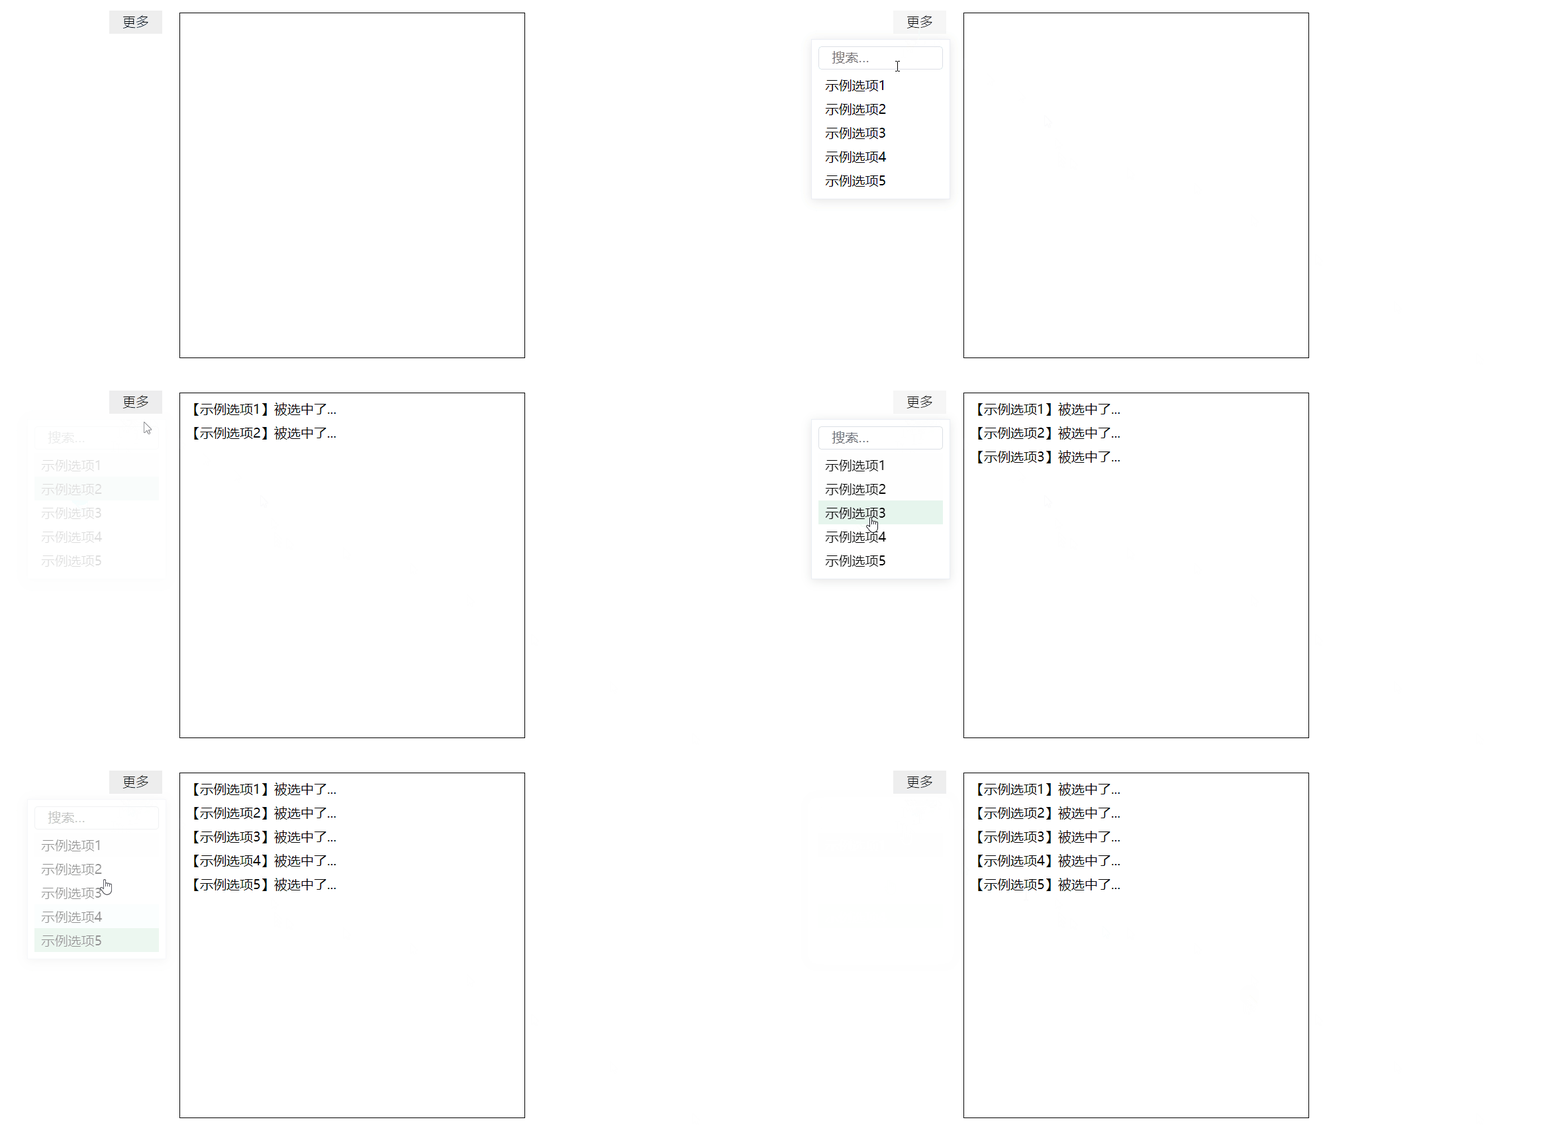
    1、点击“更多”出现弹出框 2、点击下拉列表触发回调 3、点击空白区域收起弹出框 PS:鼠标右键效果图`另存为`到本地 ,再将图片后缀gif改为rar即可得到完整代码压缩包。 1、提前声明弹出标识做判断; 2、通过jQuery的has()、is()或其他类似方法判断点击的是弹出层以外的空白

    2024年02月11日
    浏览(28)
  • 【微信小程序 uniapp】 ws-wx-privacy 微信隐私保护弹出框 隐私协议弹出框

    插件地址 (https://mp.weixin.qq.com/wxamp/basicprofile/index?token=1956320193lang=zh_CN) 4. 将调试基础库改为 3.0.0以上。 微信开发者工具-详情-本地设置-调试基础库 5. 页面 使用示例 仅有在指引中 声明所处理的用户信息 ,才可以调用平台提供的对应接口或组件。若未声明,对应接口或组件将

    2024年02月08日
    浏览(38)
  • 微信小程序实现气泡弹出框

    这个组件可以实现 引用别人的组件,上面github可以很好的实现气泡弹窗效果 show:function(){ //如果show值为true,则更改为false 反之设置true if(this.data.show){ this.setData({ show:false }) }else{ this.setData({ show:true }) } }, he(){ console.log(“sadasdd”) this.setData({ show:!this.show }) wx.navigateTo({ url: ‘/p

    2024年02月09日
    浏览(36)
  • 点击空白处弹出框取消

    新建click-outside.js文件 全局使用在main.js中引入,我这里是在assets/js文件中,引入时按照自己的路径引入 页面使用,在弹框元素上添加v-clickoutside=\\\"事件名\\\"  在methods中写相应的逻辑

    2024年02月08日
    浏览(26)
  • 用Axure RP 9制作弹出框

    1.准备文本框  下拉列表   按钮   动态面板  如图  2.先把下拉列表放好 再放动态面板覆盖  3.点动态面板 进入界面 如图 4.给按钮添加交互 3个按钮一样的 如图 5.提交按钮添加交互 如图

    2024年01月23日
    浏览(34)
  • vue 弹出框 引入另一个vue页面

    为什么要这么做,适用于在一个页面逻辑比较多的时候,可以搞多个页面,防止出错 index页面点击解约按钮,弹出框 进入jieyue.vue 核心代码 代码截图 jieyue.vue就是常规代码了 参考博客

    2024年02月12日
    浏览(24)
  • 【多窗口,弹出框】UI自动化测试

     目录 一、弹出框实战 二、Sina实战 三、QQ邮箱错误信息的验证 四、新浪邮箱错误信息的验证 五、忘记密码的验证 多窗口 1、在UI自动化测试中经常会遇到Alert弹出框的场景。Alert类是对话框的处理,主要是对alert警告框。confirm确认框,promp消息对话框。 text():获取alert的文本

    2024年02月03日
    浏览(24)
  • element dialog弹出框层级错乱问题

    需要加modal-append-to-body 默认为true,遮罩层是否插入至 body 元素上,若为 false,则遮罩层会插入至 Dialog 的父元素上。 为false时的HTML结构   为true时的HTML结构   出现弹框层级错乱问题时可以modal-append-to-body是否设置为false了。  

    2024年02月15日
    浏览(26)
  • 在弹出框内三个元素做水平显示

    最终效果图要求是这样:  js代码: 因为这个框里只有这三个元素,所以其实只要父元素加display:flex就好了,子元素不用管 .popup : 这是一个 CSS 类选择器,用于选择具有 class=\\\"popup\\\" 的元素。在这里,它选择了一个具有 class 为 \\\"popup\\\" 的弹出窗口。 这里的父元素指的其实就是p

    2024年02月09日
    浏览(23)

觉得文章有用就打赏一下文章作者

支付宝扫一扫打赏

博客赞助

微信扫一扫打赏

请作者喝杯咖啡吧~博客赞助

支付宝扫一扫领取红包,优惠每天领

二维码1

领取红包

二维码2

领红包