授权流程
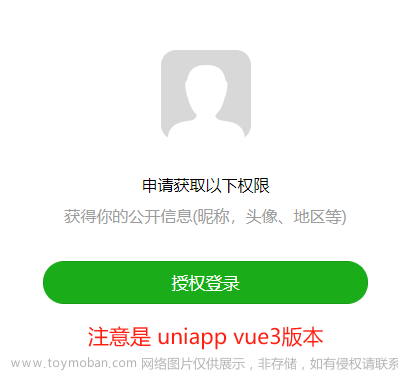
小程序中的部分接口,比如地理位置、录音、摄像头、用户信息等,需要用户授权后,才可以调用。把这些接口按使用范围分成多个 scope ,用户选择对 scope 来进行授权,当授权给一个 scope 之后,其对应的所有接口都可以直接使用。
此类接口调用时:
- 如果用户未接受或拒绝过此权限,会弹窗询问用户,用户点击同意后方可调用接口;
- 如果用户已授权,可以直接调用接口;
- 如果用户已拒绝授权,则不会出现弹窗,而是直接进入接口 fail 回调。请开发者兼容用户拒绝授权的场景。
获取用户授权的流程可以分为三个步骤:
1、请求授权:
通过 wx.authorize({ scope, success, fail }) 向用户请求某权限
常用scope列表:
| scope | 描述 |
|---|---|
| scope.userLocation | 地理位置(需要在app.json中配置权限说明) |
| scope.record | 录音 |
| scope.camera | 摄像头 |
| scope.userInfo | 用户信息 |
2、授权状态校验
wx.getSetting({success}) 获取用户授权状态, 返回值中只会出现小程序已经向用户请求过的权限
wx.getSetting({
  success (res) {
    console.log(res.authSetting)
    // res.authSetting = {
    //   "scope.userInfo": true,
    //   "scope.userLocation": true
    // }
  }
 })
3、再次请求授权
如果用户拒绝授权,再次使用 wx.authorize() 弹出授权框这种交互不友好。此时,可以打开小程序设置界面,引导用户打开授权。
调用 wx.openSetting 打开设置界面,引导用户开启授权。设置界面只会出现小程序已经向用户请求过的权限。
注意: 只能通过点击行为打开授权界面
代码示例(原生小程序):
app.json中配置获取地理位置权限说明
{
  "pages": [
    "pages/launch/launch",
    "pages/recordAuth/recordAuth",
    ...
  ],
  "window": {
    "pageOrientation": "portrait",
    "navigationBarTextStyle": "black",
    "navigationBarTitleText": "EasyScan",
    "navigationBarBackgroundColor": "#f8f8f8",
    "backgroundColor": "#f8f8f8"
  },
  "permission": {
    "scope.userLocation": {
      "desc": "你的位置信息将用于小程序视频通话位置展示"
    }
  },
  "sitemapLocation": "sitemap.json"
}
小程序需要授权的页面添加以下逻辑:文章来源:https://www.toymoban.com/news/detail-698305.html
const app = getApp()

Page({
  // 页面的初始数据
  data: {},
  onShow: function() {
    //授权
    this.getAuth()
  },
  // 获取用户授权
  getAuthorize: function (type) {
    return new Promise((resolve, reject) => {
      wx.authorize({
        scope: `scope.${type}`,
        success: () => {},
        fail: () => {
          console.log(`您未允许使用${type}权限`)
        },
        complete: () => {
          resolve()
        }
      })
    })
  },
  // 设置当前小程序需要使用的用户权限
  getAuth: async function () {
    let that = this
    try {
      //摄像头
      await that.getAuthorize("camera")
      //麦克风
      await that.getAuthorize("record")
      //地理位置
      await that.getAuthorize("userLocation")

      //权限校验
      wx.getSetting({
        success: res => {
          if (res.authSetting["scope.camera"] && res.authSetting["scope.record"] && res.authSetting["scope.userLocation"]) {
            console.log("授权获取成功")
          } else {
            wx.showModal({
              title: '警告',
              content: '您未完成相应授权,部分功能无法使用。完成授权后请重启小程序',
              showCancel: false,
              success: function (res) {
                if (res.confirm) {
                  wx.navigateTo({
                    url: '/pages/recordAuth/recordAuth',
                  })
                }
              }
            })
          }
        }
      })
    } catch (err) {
      console.log("设置当前小程序需要使用的用户权限err: ", err)
    }
  }
})
recordAuth.wxml 中添加按钮,引导用户打开设置页面文章来源地址https://www.toymoban.com/news/detail-698305.html
<button open-type="openSetting">授权设置</button>
到了这里,关于微信小程序授权流程的文章就介绍完了。如果您还想了解更多内容,请在右上角搜索TOY模板网以前的文章或继续浏览下面的相关文章,希望大家以后多多支持TOY模板网!


