1.下载依赖
npm i @wangeditor/editor @wangeditor/editor-for-vue2.插件版本

3.使用
引入css和组件
import '@wangeditor/editor/dist/css/style.css' // 引入 css
import { Editor, Toolbar } from '@wangeditor/editor-for-vue'
配置方法
// 富文本实例对象
const editorRef = shallowRef()
// 菜单配置
const toolbarConfig = ref({})
// 编辑器配置
const editorConfig = ref({
  placeholder: '请输入内容...',
  readOnly: false,  // 只读
  MENU_CONF: {
    // 配置上传图片
    uploadImage: {
      server: 'http://111.198.10.15:21409/minio/file/upload', // 配置图片上传地址
      maxFileSize: 2 * 1024 * 1024, // 10M  图片大小限制
      fieldName: 'multipartFile', // 上传名字
      allowedFileTypes: [], // 选择文件时的类型限制,默认为 ['image/*'] 。如不想限制,则设置为 []
      // 自定义上传参数,传递图片时需要带一些参数过去写在这。参数会被添加到 formData 中,一起上传到服务端。
      // meta: {
      //   image_class_id: "2",
      //   file_type: "1",
      // },
      // 自定义设置请求头,比如添加token之类的
      // headers: {
      //     Accept: 'text/x-json',
      //     otherKey: 'xxx'
      // },
      // 上传进度的回调函数,可以用来显示进度条
      onProgress(progress: any) {
        // progress 是 0-100 的数字
        console.log('progress', progress)
      },
      // // 单个文件上传成功之后
      // onSuccess(file, res) {
      //     console.log(`${file.name} 上传成功`, res)
      // },

      // 单个文件上传失败
      onFailed(file: any, res: any) {
        console.log(`${file.name} 上传失败`, res)
      },

      // 上传错误,或者触发 timeout 超时
      onError(file: any, err: any, res: any) {
        console.log(`${file.name} 上传出错`, err, res)
      },

      // 插入图片到富文本编辑器回显
      customInsert(res: any, insertFn: any) {
        console.log()
        // res 即服务端的返回结果
        getPhotoUrl(res.data[0]).then((res) => {
          const url = res.data
          const alt = ''
          const href = res.data
          // 从 res 中找到 url alt href ,然后插入图片
          insertFn(url, alt, href)
        })
      },
    },
    // 配置上传视频
    uploadVideo: {
      server: 'http://111.198.10.15:21409/minio/file/upload', // 配置视频上传地址
      maxFileSize: 5 * 1024 * 1024, // 5M  视频大小限制
      fieldName: 'multipartFile', // 上传名字
      // 最多可上传几个文件,默认为 5
      // maxNumberOfFiles: 1,
      allowedFileTypes: [], // 选择文件时的类型限制,默认为 ['video/*'] 。如不想限制,则设置为 []
      // 自定义上传参数,传递图片时需要带一些参数过去写在这。参数会被添加到 formData 中,一起上传到服务端。
      // meta: {
      //   type: 1,
      // },
      // 自定义设置请求头,比如添加token之类的
      // headers: {
      //     Accept: 'text/x-json',
      //     otherKey: 'xxx'
      // },
      // metaWithUrl: false, // 将 meta 拼接到 url 参数中,默认 false
      // withCredentials: true, // 跨域是否传递 cookie ,默认为 false
      // 上传之前触发
      onBeforeUpload(file: any) {
        // file 选中的文件,格式如 { key: file }
        return file
        // 可以 return
        // 1. return file 或者 new 一个 file ,接下来将上传
        // 2. return false ,不上传这个 file
      },

      // 上传进度的回调函数,可以用来显示进度条
      onProgress(progress: any) {
        // progress 是 0-100 的数字
        console.log('progress', progress)
      },

      // // 单个文件上传成功之后
      onSuccess(file: any, res: any) {
        console.log(`${file.name} 上传成功`, res)
      },

      // 单个文件上传失败
      onFailed(file: any, res: any) {
        console.log(`${file.name} 上传失败`, res)
      },

      // 上传错误,或者触发 timeout 超时
      onError(file: any, err: any, res: any) {
        console.log(`${file.name} 上传出错`, err, res)
      },

      // 插入图片到富文本编辑器回显
      customInsert(res: any, insertFn: any) {
        console.log(res, '视频插入')
        // res 即服务端的返回结果
        // let url = res.data.url;
        // let poster = res.data.poster;
        // 从 res 中找到 url poster ,然后插入
        // 参数url是视频地址,poster是视频封面图片,后端如果不返回,可以考虑写死一个固定的封面图
        getPhotoUrl(res.data[0]).then((res) => {
          const url = res.data
          // 从 res 中找到 url alt href ,然后插入图片
          insertFn(url, '')
        })
      },
    },
  },
})
const onCreated = (editor: any) => {
  editorRef.value = editor
  nextTick(() => {
    editorRef.value = editor // 一定要用 Object.seal() ,否则会报错
  })
}
模板(标签)中插入
<div style="border: 1px solid #dcdfe6;width: 100%;border-radius: 4px;">
          <toolbar
            style="border-bottom: 1px solid #dcdfe6;width: 100%;border-radius: 4px;"
            :editor="editorRef"
            :default-config="toolbarConfig"
            mode="default"
          />
          <editor
            v-model="ruleForm.noticeContent"
            style="height: 300px; overflow-y: hidden;"
            :default-config="editorConfig"
            mode="default"
            @onCreated="onCreated"
          />
        </div>
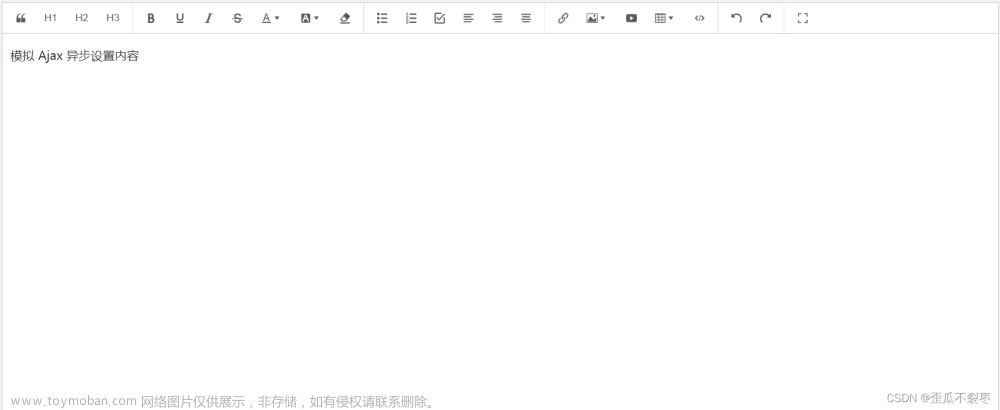
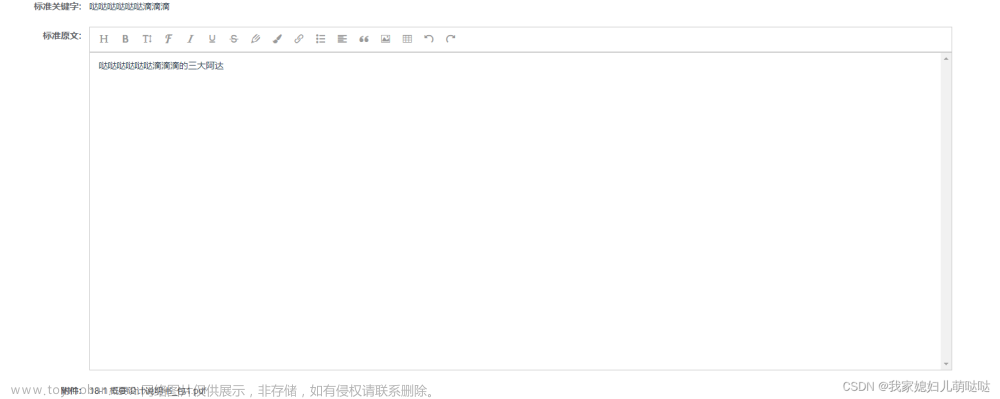
效果
 文章来源:https://www.toymoban.com/news/detail-698684.html
文章来源地址https://www.toymoban.com/news/detail-698684.html
到了这里,关于vue3项目使用富文本编辑器-wangeditor的文章就介绍完了。如果您还想了解更多内容,请在右上角搜索TOY模板网以前的文章或继续浏览下面的相关文章,希望大家以后多多支持TOY模板网!

