在home.view中添加代码

<template>
  <div>
    <div class="common-layout">
      <el-container>
        <el-header class="common-header flex-float">
          <div class="flex">
            <img class="logo" src="../assets/logo.png" alt="" />
            <h1 class="title">商铺后台管理系统</h1>
          </div>

          <el-button type="danger">退出</el-button>
        </el-header>
        <el-container>
          <!-- 侧边栏 -->
          <el-aside class="common-aside" width="200px">
            <!-- 菜单 -->
            <el-menu background-color="none" text-color="#fff" :router="true">
              <testItem v-for="menu in menuList" :menu="menu" :key="menu.id" :index="menu.id+''"></testItem>
            </el-menu>
          </el-aside>
          <el-main><router-view></router-view></el-main>
        </el-container>
      </el-container>
    </div>
  </div>
</template>
<script setup>
import { reactive } from 'vue'
let menuList = reactive([
{
authname: "随便管理",
id: 1,
children: [
]
},
{
authname: "用户管理",
id: 2,
children: [
{
authname: "二级用户1",
id: 12,
children: []
},
{
authname: "二级用户2",
id: 13,
children: [
{
id: 14,
authname: "三级用户1"
}
]
}
]
},
{
authname: "订单管理",
id: 3,
children: [
{
authname: "二级订单1",
id: 15,
children: []
},
{
authname: "二级订单2",
id: 16,
children: [
{
id: 17,
authname: "三级订单1",
children:[
{
id:18,
authname:"四级",
children:[
{
id:20,
authname:"五级",
children:[]
}
]
}
]
}
]
}
]
}
])
</script><style >
.el-container {
height: 100vh;
overflow: hidden;
}
.common-header {
background: rgb(63 67 72);
}
.common-aside {
background: rgb(48, 55, 65);
}
.logo {
width: 60px;
}
.title {
color: #fff;
}
</style>2 创建一个全局组件

<template lang="">

        <el-menu-item :index="menu.id+''"  v-if="!menu.children || menu.children.length == 0" >
            <image src="../assets/logo.png" style="width:30px;height:30px;"/>
            <span>{{ menu.authname }}</span>
        </el-menu-item>
        <el-sub-menu v-else >
                <template #title>
                    <image src="../assets/logo.png" style="width:30px;height:30px;"/>
                  <span>{{ menu.authname }}</span>
                </template>

                <!-- 二级菜单 -->
            <el-menu-item-group v-if=" menu.children&& menu.children.length>0">
                <testItem  v-for="item in menu.children" :key="item.id" :index="item.id+''" :menu="item"></testItem>
            </el-menu-item-group>
            <testItem v-else  v-for="item in menu.children" :key="item.id" :index="item.id+''" :menu="item"></testItem>

        </el-sub-menu>


</template>

<script>

export default {
    name: 'testItem',
    props: {
        menu: Object
    }
}
</script>


<style lang="">

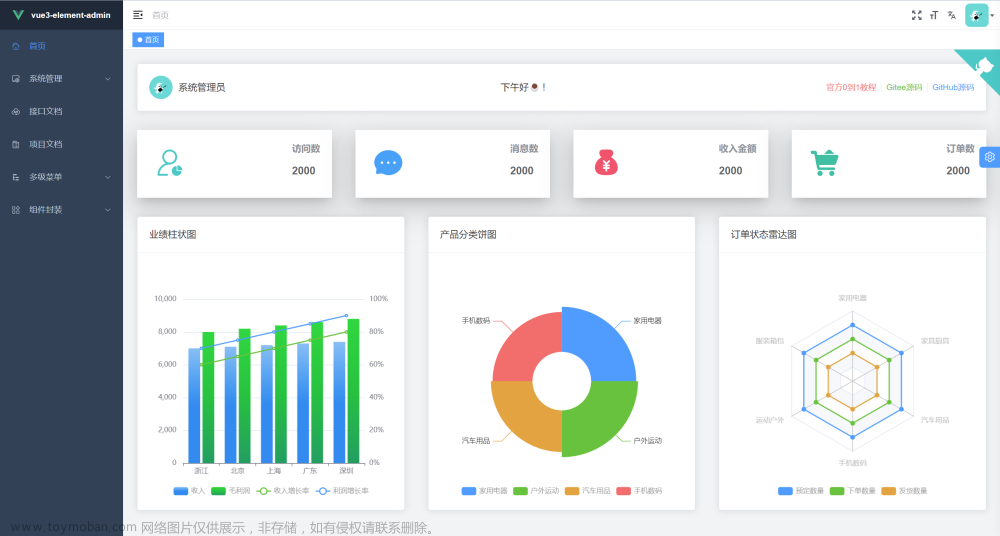
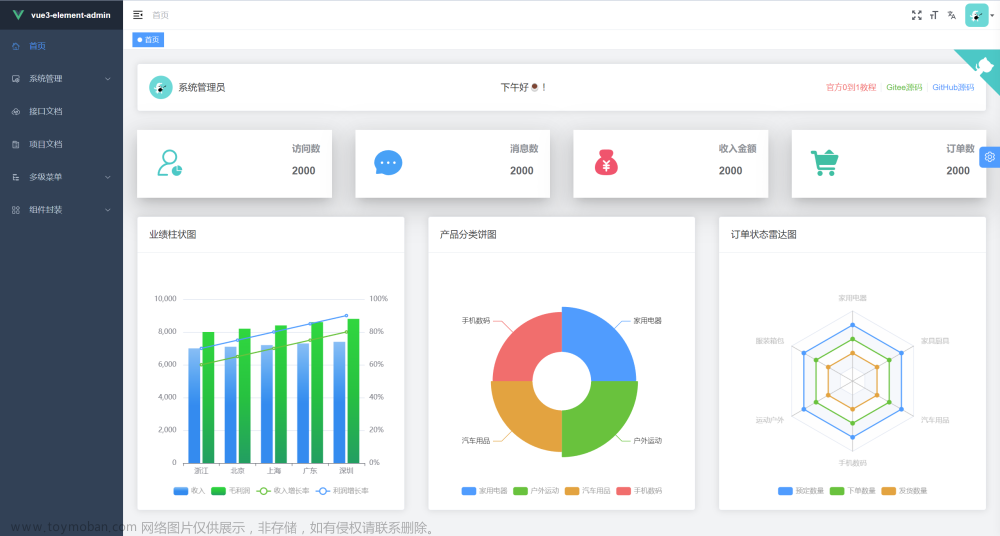
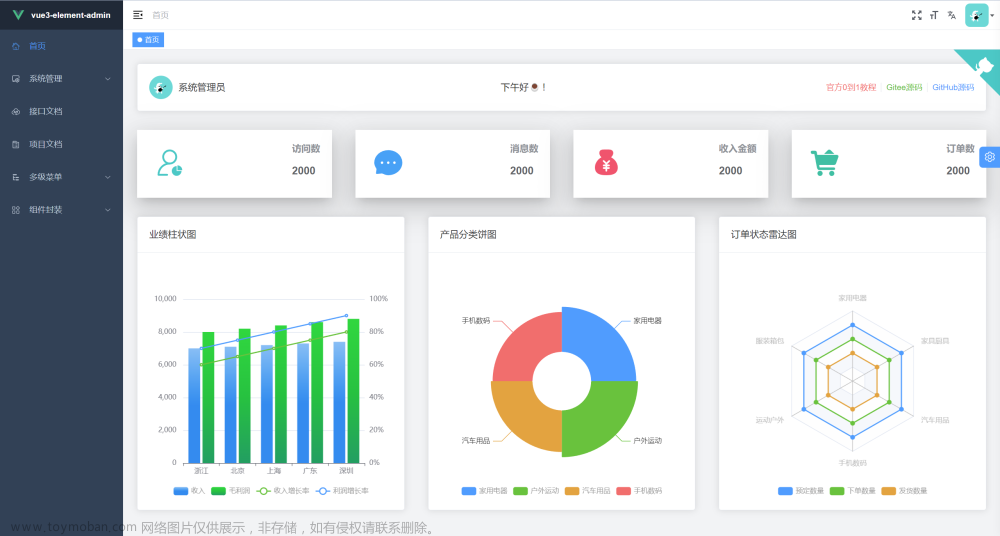
</style>效果如图文章来源:https://www.toymoban.com/news/detail-699703.html
 文章来源地址https://www.toymoban.com/news/detail-699703.html
到了这里,关于Vue3后台管理系统Element-plus_侧边栏制作_无限递归的文章就介绍完了。如果您还想了解更多内容,请在右上角搜索TOY模板网以前的文章或继续浏览下面的相关文章,希望大家以后多多支持TOY模板网!


![[Vue3 博物馆管理系统] 使用Vue3、Element-plus tabs组件构建选项卡功能](https://imgs.yssmx.com/Uploads/2024/02/703298-1.png)


