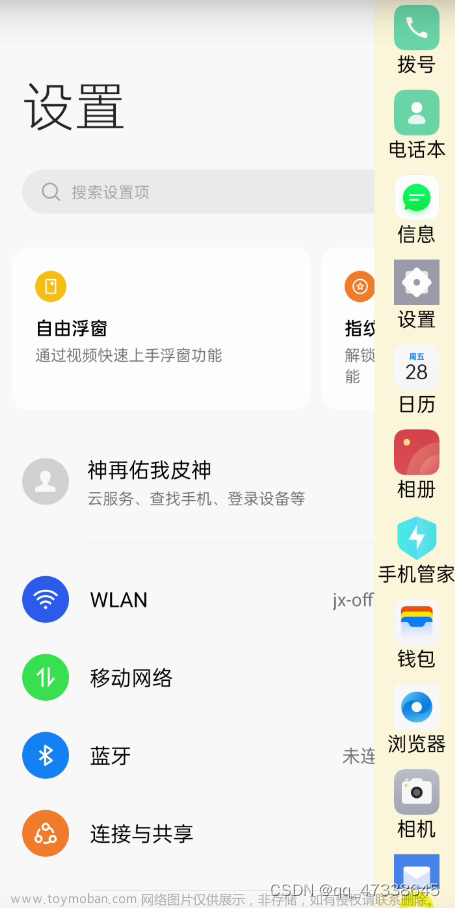
1. 先看效果:
2. 话不多说直接撸吧:
-
原理:先给body元素添加style,再根据天气现象动态更改style

-
开撸:
-
创建src/assets/style/variables.less 使用 @XXX:var(–XXX,‘style’) 声明系列变量,之后添加其他变量直接增加即可(由于之后要配置颜色,默认值可以先给" ")
也可以声明一下常用的class,方便全局使用(这里已.backgroundCard 为例)
// 默认的主题颜色
@backgroundImg: var(--backgroundImg, ''); //背景
@backgroundCard: var(--backgroundCard, ''); //卡片背景
@backgroundTab: var(--backgroundTab, ''); //底部tab背景
@backgroundDeep: var(--backgroundDeep, ''); //小时累计背景
@backgroundDeepTextColor: var(--backgroundDeepTextColor, ''); //小时累计字体颜色
@textColorStyle: var(--textColorStyle, ''); //卡片内的(包括不限于温度,降水,风)值得颜色
@textColorStyleBottom: var(--textColorStyleBottom, ''); //卡片内的(包括不限于温度,降水,风)值下面的描述颜色
@backgroundCardLine: var(--backgroundCardLine, ''); //卡片标题下面的线条
@colorStopsOffset1: var(--colorStopsOffset1, ''); //echarts折线图渐变色0%处
@colorStopsOffset2: var(--colorStopsOffset2, ''); //echarts折线图渐变色100%处
@lineStyleClor: var(--lineStyleClor, ''); echarts折线颜色
@backgroundPrecipitation: var(--backgroundPrecipitation, ''); //降水按钮背景
@r: 25rem;
//首页卡片
.backgroundCard {
  position: relative;
  padding: 14 / @r;
  border-radius: 14 / @r;
  background-color: @backgroundCard;
  text-align: center;
  font-size: 13 / @r;
  color: #fff;
  margin-bottom: 14 / @r;
}
- 创建src/config/model.ts 声明所有类型主题themes
//定义主题使用条件及强制使用时间
export const weatherType: any = [
  { typeNames: ['默认底部tabber'], theme: 'defaultTabbar', mandatoryUsageTime: [] },
  { typeNames: ['晴'], theme: 'default', mandatoryUsageTime: [] },
  {
    typeNames: [
      '雨',
      '阴',
      '阵雨',
      //...
    ],
    theme: 'rain',
    mandatoryUsageTime: []
  },
  { typeNames: ['夜晚'], theme: 'dark', mandatoryUsageTime: ['22:00:00', '7:00:00'] }
]
// 定义主题色变量值
// 默认使用default(蓝色);  '雾'使用rain(灰色);
// 在mandatoryUsageTime[开始时间,第二天结束时间]之间使用dark
export const themes: any = {
  defaultTabbar: {
    backgroundCard: 'rgba(35,115,191,0.8)',
    backgroundTab: 'rgba(35,115,191,0.8)',
    textColorStyle: '#FFDE3D'
  },
  default: {
    backgroundImg: 'url(/images/weatherBg/img-qinbtian.png)',
    backgroundCard: 'rgba(35, 115, 191, 0.80)',
    backgroundTab: '#2373BF',
    backgroundDeep: '#1C6CB7',
    backgroundDeepTextColor: '#00A4FF',
    backgroundPrecipitation: 'rgba(35, 115, 191, 0.80)',
    textColorStyle: '#FFDE3D',
    backgroundCardLine: 'rgba(255,255,255,.2)',
    textColorStyleBottom: '#95bde3',
    colorStopsOffset1: 'rgba(110, 186, 255,1)',
    colorStopsOffset2: 'rgba(255,255,255,0)',
    lineStyleClor: '#00A4FF'
  },
  dark: {
    backgroundImg: 'url(/images/weatherBg/img-wanshang.png)',
    backgroundCard: 'rgba(16, 4, 77, 0.80)',
    backgroundTab: '#10044D',
    backgroundDeep: '#281A72',
    backgroundDeepTextColor: '#D9D9D9',
    backgroundPrecipitation: 'rgba(16, 4, 77, 0.80)',
    textColorStyle: '#EB6ECC',
    backgroundCardLine: 'rgba(255,255,255,.2)',
    textColorStyleBottom: '#918ca9',
    colorStopsOffset1: 'rgba(235, 110, 204,1)',
    colorStopsOffset2: 'rgba(255,255,255,0)',
    lineStyleClor: '#EB6ECC'
  },
  rain: {
    backgroundImg: 'url(/images/weatherBg/img-yingtian.png)',
    backgroundCard: 'rgba(82, 102, 126, 0.80)',
    backgroundTab: '#52667E',
    backgroundDeep: '#4D617B',
    backgroundDeepTextColor: '#B5B5B5',
    backgroundPrecipitation: 'rgba(82, 102, 126, 0.8)',
    textColorStyle: '#64D2FE',
    backgroundCardLine: 'rgba(255,255,255,.2)',
    textColorStyleBottom: '#adb7c4',
    colorStopsOffset1: 'rgba(110, 186, 255,1)',
    colorStopsOffset2: 'rgba(255,255,255,0)',
    lineStyleClor: '#00A4FF'
  }
}
- 创建src/config/weatherTheme.ts 进行逻辑处理
import { themes, weatherType} from './model'
import { store, pinia } from '@src/store'
import { ref } from 'vue'
import dayjs from 'dayjs'
import * as webStorage from '@src/utils/web-storage'

/**
 * 传入天气现象名称更改主题
 * @param typeName 天气现象名称
 */
export function changeTheme(typeName) {
  const day = dayjs().format('YYYY-MM-DD')
  const dayAdd1 = dayjs().add(1, 'days').format('YYYY-MM-DD')
  const nowTime_ = new Date().getTime()
  let theme = 'default'
  for (let i = 0; i < weatherType.length; i++) {
    const ele = weatherType[i]
    store.system.useThemeStore(pinia).changeIsDark(false)
    //有强制使用时间先使用强制时间 ['21:00:00', '10:00:00']
    if (ele.mandatoryUsageTime.length && typeName != '默认底部tabber') {
      const sTime = `${day} ${ele.mandatoryUsageTime[1]}` //2023-08-09 22:00:00
      const eTime = `${day} ${ele.mandatoryUsageTime[0]}` //2023-08-10 10:00:00
      const sTime_ = dayjs(sTime).valueOf() //2023-08-09 09:44:00
      const eTime_ = dayjs(eTime).valueOf()
      if (nowTime_ >= sTime_ && nowTime_ <= eTime_) {
      } else { //使用夜晚风格
        setTheme(ele.theme)
        store.system.useThemeStore(pinia).changeIsDark(true)
        return
      }
    } else {
      if (ele.typeNames.includes(typeName)) theme = ele.theme
    }
  }
  setTheme(theme)
}

// 修改页面中的样式变量值
const changeStyle = (obj: any, themeName: string) => {
  //存入主题类型
  store.system.useThemeStore(pinia).changeThemeType(themeName)
  for (const key in obj) {
    document.getElementsByTagName('body')[0].style.setProperty(`--${key}`, obj[key])
    //存入主题色
    store.system.useThemeStore(pinia).changeWeatherThemeObj(`--${key}`)
  }
}
// 改变主题的方法
export const setTheme = (themeName: any) => {
  const themeConfig = themes[themeName]
  changeStyle(themeConfig, themeName)
}
- 使用:再需要改变主题的页面或者逻辑中使用changeTheme()方法即可(这里已首次进入的.vue文件为例)
//首先使用上次的主题
const weatherThemeName = webStorage.getLocalStorage(`weatherThemeName`)
changeTheme(weatherThemeName || '晴'
)
//我业务的逻辑是动态获取天气现象,根据天气现象的不同使用不同的主题,这里可以改成自己的逻辑(方法有筛检)
const getWeatherInfo = async (time, posInfo) => {
  await api.windRain
    .weatherLiveBypoint() //自己的方法
    .then(res => {
      if (!res.code && res.data) {
        const data = res.data
        //只有再首页“风雨”模块使用,防止底部切换过快
        if (router.value.meta.title == pageStore.defaultname) {
          //每次将天气现象存到storage里,下次进来直接取
          webStorage.setLocalStorage('weatherThemeName', data.wpName)
          changeTheme(data.wpName || '晴')
        }
      }
      emit('getWeatherInfoData', weatherInfoData)
    })
}

getWeatherInfo()
//css使用,这里只是一部分,在相应的class后直接使用之前定义的方法即可
<style lang="less" scoped>
.page-wind-rain {
  width: 100%;
  height: 100%;
  background-image: @backgroundImg;
  background-size: 100% 100%;
  background-color: @backgroundCard;
}
</style>
-
vite.config.ts配置
最后将我们定义的variable.less在css预处理器中配置
-
大功告成!!!文章来源:https://www.toymoban.com/news/detail-700240.html
 文章来源地址https://www.toymoban.com/news/detail-700240.html
到了这里,关于利用less实现多主题切换(配合天气现象)的文章就介绍完了。如果您还想了解更多内容,请在右上角搜索TOY模板网以前的文章或继续浏览下面的相关文章,希望大家以后多多支持TOY模板网!


