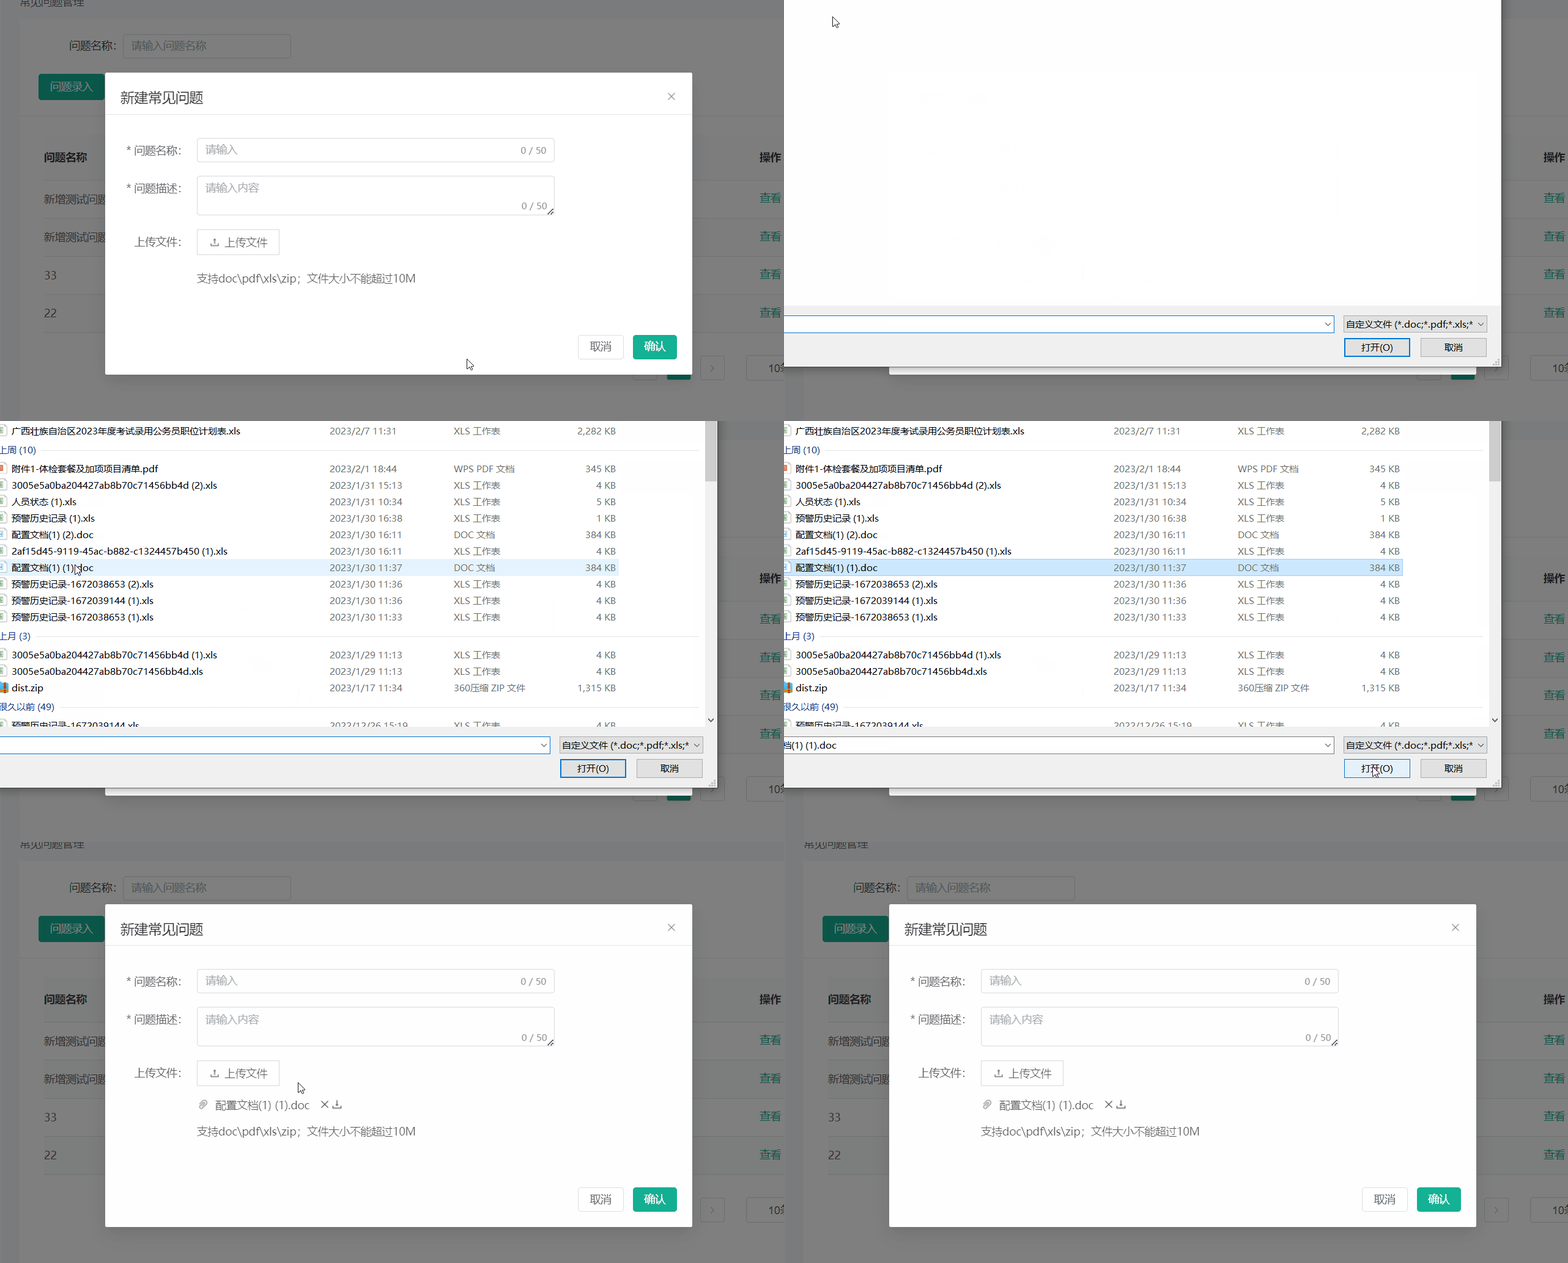
第一种
直接用,图片路径自己换一下
<template>
	<view class="uPImg">
		<view class="Img">上传照片 :</view>
		<view class="shangchuan">
			<view class="sc2" v-for="(item, index) in imgList" :key="index">
				<image class="del" @click="del(index)" src="../../../static/property/paymentUpload.png" mode="">
				</image>
				<image class="Img3" :src="item" mode=""></image>
			</view>
			<view class="sc2" v-if="imgList.length < 3" @click="upload">
				<image class="sc3" src="../../../static/property/paymentUpload.png" mode=""></image>
			</view>
		</view>
	</view>
</template>

<script>
	export default {
		data() {
			imgList: [],
		},
		methods {
			// 点击上传图片
			upload() {
					uni.chooseImage({
						count: 1, //默认9
						sizeType: ['original', 'compressed'], //可以指定是原图还是压缩图,默认二者都有
						sourceType: ['album'], //从相册选择
						loop: true,
						success: res => {
							console.log(res);
							if (res.tempFilePaths.length != 0) {
								this.imgList.push(res.tempFilePaths[0]);
							}
							console.log(JSON.stringify(res.tempFilePaths));
							var tempFilePaths = res.tempFilePaths;

							console.log(tempFilePaths);
							console.log(tempFilePaths[0]);
							uni.uploadFile({
								url: 'http://douzhuoqianshouba.xieenguoji.com/api/ajax/upload',
								filePath: tempFilePaths[0],
								name: 'file',
								success: uploadFileRes => {
									console.log('上传图片', JSON.parse(uploadFileRes.data));
								},
								fail(err) {
									console.log(err);
								}
							});
						}
					});
				},

				// // 删除图片
				del(index) {
					this.imgList.splice(index, 1);
					console.log(this.imgList);
				},
		}
	}
</script>

<style>
</style>
第二种封装方法
封装组件upload.vue
直接用,图片路径自己换一下
<template>
	<view></view>
</template>

<script>
export default {
	data() {
		return {
			/*需要返回的图片*/
			imageList:[]
		};
	},
	onLoad() {},
	props:['num'],
	mounted() {
		this.chooseImageFunc();
	},
	methods: {

		/*打开相机或者相册,选择图片*/
		chooseImageFunc() {
			let self=this;
			uni.chooseImage({
				count: self.$props.num || 9, //默认9
				sizeType: ['original', 'compressed'], //可以指定是原图还是压缩图,默认二者都有
				sourceType: ['album', 'camera'], //从相册选择
				success: function(res) {
					self.uploadFile(res.tempFilePaths);
				},
				fail:function(res){
					self.$emit('getImgs',null);
				},
				complete:function(res){

				}
			});
		},

		/*上传图片*/
		uploadFile: function(tempList) {
			let self = this;
			let i = 0;
			let img_length=tempList.length;
			let params = {
				token: uni.getStorageSync('token'),
                app_id: self.getAppId()
			};
			uni.showLoading({
			    title: '图片上传中'
			});
			tempList.forEach(function(filePath, fileKey) {
				uni.uploadFile({
					url: self.websiteUrl + '/index.php?s=/api/file.upload/image',
					filePath: filePath,
					name: 'iFile',
					formData: params,
					success: function(res) {
						let result = typeof res.data === 'object' ? res.data : JSON.parse(res.data);
						if (result.code === 1) {
							self.imageList.push(result.data);
						}else{
							self.showError(result.msg);
						}
					},
					complete: function() {
						i++;
						if (img_length === i) {
							uni.hideLoading();
							// 所有文件上传完成
							self.$emit('getImgs',self.imageList);
						}
					}
				});
			});
		}
	}
};
</script>

<style></style>
使用组件
引入上面upload.vue文章来源:https://www.toymoban.com/news/detail-706937.html
<template>
	<view class=" payment_right">
		<!-- 	<image src="../../../static/property/paymentUpload.png" mode=""></image>
					<!-- 封装完整的上传图片start -->
		<view class="uploadBox d-s-e">
			<view class="item" v-for="(imgs,img_num) in images" :key="img_num" @click="deleteFunc(imgs)">
				<image :src="imgs.file_path || imgs" mode="aspectFit"></image>
			</view>
			<view class="item d-c-c d-stretch" v-if="images.length<1">
				<!-- 			<view class="upload-btn d-c-c d-c flex-1" @click="openUpload()">
								<image src="../../../static/property/paymentUpload.png"></image>
							</view> -->
				<view class="  flex-1" @click="openUpload()">
					<image width="100px" height="100px" src="../../../static/property/paymentUpload.png">
					</image>
				</view>
			</view>
		</view>
		<Upload v-if="isUpload" @getImgs="getImgsFunc"></Upload>
		<!-- 封装完整的上传图片end -->

	</view>
</template>

<script>
	import Upload from '@/components/upload/upload.vue';
	export default {
		components: {
			Upload,
		},
		data() {
			// 封装的完整的上传图片start
			images: [],
			isUpload: false,
			// 封装的完整的上传图片end
		},
		methods {
			// 封装的完整的上传图片start
			// 上传微信收款码 删除图片
			deleteFunc(e) {
					this.images.splice(e, 1);
				},
				/*获取图片*/
				getImgsFunc(e) {
					let self = this;
					self.isUpload = false;
					if (e && typeof(e) != 'undefined') {
						let this_length = self.images.length,
							upload_length = e.length;
						if (this_length + upload_length < 2) {
							self.images = self.images.concat(e);
						} else {
							let leng = 1 - this_length;
							for (let i = 0; i < leng; i++) {
								self.images.push(e[i]);
							}
						}
					}

					this.pay_image = e[0].file_path
					// console.log(e, '获取所有图片');
					console.log(e[0].file_path, '图片路径');

				},
				/*上传*/
				openUpload() {
					this.isUpload = true;
					// console.log('打开');
				},
				// 封装完整的上传图片end
		}
	}
</script>

<style lang="scss" scoped>
	.payment_right {
		// width: 440rpx;
		// height: 220rpx;

		.uploadBox .item {
			width: 220rpx;
			height: 220rpx;
		}
	}
</style>
第三种实战
图片
 文章来源地址https://www.toymoban.com/news/detail-706937.html
代码
<template>
	<view class="box">
		<!-- 图片上传 -->
		<view class="bindingBox">
			<view class=" payment_rightSSS">
				<view class="shangchuan">
					<view class="sc2" v-for="(item, index) in imgList" :key="index">
						<view @click="del(index)" class="dells">
						</view>
						<img class="shangchuan_img" :src="item" mode="aspectFit"></img>
					</view>
					<view class="sc2 gray6 imgUploads" v-if="imgList.length < 1" @click="getUpload">
						<image src="../../../../static/property/paymentUpload.png">
						</image>
					</view>
				</view>
			</view>
		</view>

		<div class="buttonBox">
			<view class="bindingModifyBtn" @click="getUpload">
				修改
			</view>
			<view class="bindingSubmitBtn" @click="bankSubmit">
				提交
			</view>
		</div>
	</view>
</template>

<script>
	export default {
		components: {},
		data() {
			return {
				imgList: [],
			}
		},
		onShow() {},

		mounted() {},
		onLoad() {},
		methods: {
		// 打开相册
			getUpload() {
				let self = this;
				uni.chooseImage({
					count: 1, //默认9
					sizeType: ['original', 'compressed'], //可以指定是原图还是压缩图,默认二者都有
					sourceType: ['album'], //从相册选择
					loop: true,
					success: function(res) {
						self.uploadFile(res.tempFilePaths);
						// console.log(res,'路径啊啊啊啊啊');
					},
				});
			},
			/*上传图片 */
			uploadFile: function(tempList) {
				let self = this;
				let i = 0;
				let img_length = tempList.length;
				let params = {
					token: uni.getStorageSync('token'),
					app_id: self.getAppId()
				};
				uni.showLoading({
					title: '图片上传中'
				});
				tempList.forEach(function(filePath, fileKey) {
					uni.uploadFile({
						url: self.websiteUrl + '/index.php?s=/api/file.upload/image',
						filePath: filePath,
						name: 'iFile',
						formData: params,
						success: function(res) {
							// let result = typeof res.data === 'object' ? res.data :
							// 	JSON.parse(res.data);
							// if (result.code === 1) {
							// 	self.imgList.push(result.data);
							// } else {
							// 	self.showError(result.msg);
							// }


							console.log(res);

							let list = JSON.parse(res.data);
							let filePath = list.data.file_path;

							// 图片赋值到里面
							// self.imgList.push(list.data.file_path);


							// uniapp图片上传判断一个数组长度空上传,不为空修改
							if (self.imgList.length == []) {
								self.imgList.push(list.data.file_path);
							} else if (self.imgList.length !== []) {
								self.imgList = [list.data.file_path]
							}


							// console.log(list.data.file_path, '路径路径路径路径');
							// console.log(self.imgList, 'datadataself.imgList数据');
						},
						complete: function() {
							i++;
							if (img_length === i) {
								uni.hideLoading();
								// 所有文件上传完成
								// self.$emit('getImgs', self.imgList);
								self.imgList
							}
						}
					});
				});
			},
			// // 删除图片
			del(index) {
				this.imgList.splice(index, 1);
				uni.removeStorageSync('file_path');
				// console.log(this.imgList);
			},

			// 提交修改调用接口上传图片参数
			bankSubmit() {

				let self = this;

				if (self.imgList == 0) {
					uni.showToast({
						title: '请上传微信收款码',
						duration: 2000,
						icon: 'none'
					});
					return;
				}


				uni.showModal({
					title: '提示',
					content: '您确定提交吗?',
					success: function(o) {

						if (o.confirm) {
							uni.showLoading({
								title: '正在处理'
							});
							self._post(
								'user.user/bindUserWithdrawData', {
									type: '1',
									// wx_code_pic:self.imgList
									wx_code_pic: self.imgList.join()
								},
								function(res) {
									uni.hideLoading();
									uni.showToast({
										title: '操作成功',
										duration: 2000,
										icon: 'success'
									});
									uni.setStorageSync('file_path', String(self.imgList));
									// 存本地
									// uni.setStorageSync('filePath', String(self.imgList));
								}
							);
						}
					}
				});
			}
		},

	}
</script>

<style lang="scss" scoped>
	.bindingBox {
		// display: flex;
		// flex-direction: column;
		// padding: 0 32rpx;
		// box-sizing: border-box;

		// display: flex;
		// justify-content: space-between;
		// align-items: center;
		// padding: 30rpx 20rpx;
		// box-sizing: border-box;
		// font-size: 30rpx;
		background-color: #FFFFFF;

		.payment_rightSSS {
			// .uploadBox .item {
			// 	width: 220rpx;
			// 	height: 220rpx;
			// }
			display: flex;
			justify-content: center;
			align-items: center;

			.shangchuan {
				width: 300rpx;
				height: 300rpx;

				// border: 1rpx solid red;
				.sc2 {
					position: relative;
					// border: 1rpx solid lightseagreen;

					.shangchuan_img {
						// width: 200rpx;
						width: 300rpx;
						height: 300rpx;
						position: relative;

						// left: 52rpx;
						z-index: 9;
					}

					.dells {
						position: absolute;
						width: 100%;
						height: 100%;
						// border: 1rpx solid red;
						z-index: 10;
					}
				}

				.imgUploads {
					width: 300rpx;
					height: 300rpx;

					img {
						width: 100%;
						height: 100%;
						border: 1rpx solid deeppink;
					}
				}
			}
		}
	}

	.buttonBox {
		display: flex;
		justify-content: space-between;
		align-items: center;
		padding: 0 32rpx;
		margin: 100rpx auto;

		.bindingModifyBtn {
			background-color: red;
			width: 160px;
			height: 48px;
			line-height: 48px;
			opacity: 1;
			border-radius: 8px;
			border: none;
			font-size: 14px;
			color: #FFFFFF;
			text-align: center;
		}

		.bindingSubmitBtn {
			background-color: red;
			width: 160px;
			height: 48px;
			line-height: 48px;
			opacity: 1;
			border-radius: 8px;
			border: none;
			font-size: 14px;
			color: #FFFFFF;
			text-align: center;
		}
	}
</style>
到了这里,关于前端vue点击图片上传(带封装方法)的文章就介绍完了。如果您还想了解更多内容,请在右上角搜索TOY模板网以前的文章或继续浏览下面的相关文章,希望大家以后多多支持TOY模板网!


