一、原理
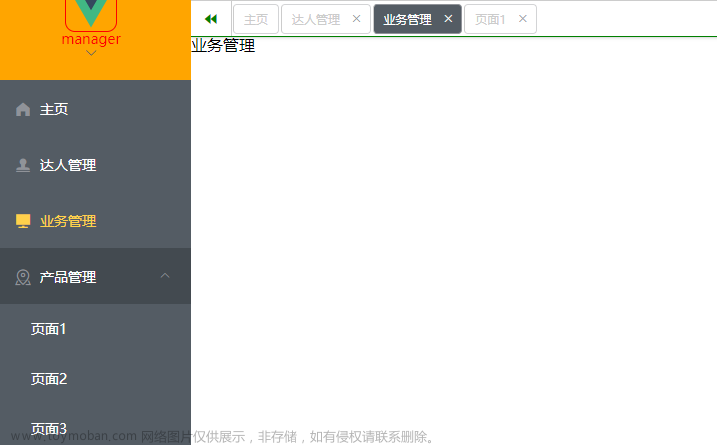
根据v-for遍历菜单参数,渲染导航栏。
使用Element UI 的 Container 布局容器和NavMenu导航菜单组件,使用router-view存放二级路由出口。
二、效果

三、实现案例
html:
  <el-container>
    <el-aside
      class="aside flex-shrink-0"
      style="width:260px;height: 100%;"
    >

    <el-menu
      class="border-r-0"
      style="height: 100%;"
      router
      :default-active="menuActive"
      @select="menuChange"
    >
      <template v-for="(item,index) in menuList">
        <el-submenu
          :key="item.dictValue"
          :index="item.dictValue"
        >
          <template slot="title">
            <i class="el-icon-document" />
            <span>{{ item.dictLabel }}</span>
          </template>
          <el-menu-item
            v-for="child in item.children"
            :key="`${child.dictValue}`"
            :index="`${child.dictValue}`"
            :route="{ name: child.dictValue }"
          >
            <i class="el-icon-document" />
            <span slot="title">{{ child.dictLabel }}</span>
          </el-menu-item>
        </el-submenu>
      </template>
    </el-menu>
    </el-aside>
    < !-- 二级路由出口 -->
    <router-view />
  </el-container>
js:
export default {
  name: 'test',
  components: {
  },
  data() {
    const menuList = [
      {
        dictLabel: '导航一',
        dictValue: '1',
        children: [
          { dictLabel: '分组一', dictValue: 'group1Item1'},
        ],
      },
      {
        dictLabel: '导航二',
        dictValue: '2',
        children: [
          { dictLabel: '分组一', dictValue: 'group2Item1'},
        ],
      },
    ]
    return {
      menuList,
      menuActive: menuList[0].children[0]?.dictValue,
    };
  },
  watch: {
    '$route.path': function watch() {
      const { name, params } = this.$route;
      this.menuActive = `${name}${params.type || ''}`;
    },
  },
  mounted() {
    // 刷新页面时默认展示当前路由
    const { name, params } = this.$route;
    this.menuActive =  `${name}${params.type || ''}`;
  },
  methods: {
    menuChange(index) {
      this.menuActive = index;
    },
  },
};
router/index.js:
配置路由文章来源:https://www.toymoban.com/news/detail-714155.html
      {
        path: 'test',
        name: 'test',
        meta: {
          title: '菜单',
        },
        redirect: '/test/group1Item1', // 默认页面
        component: () => import('@/test/index.vue'),
        children: [
          {
            path: 'group1Item1',
            name: 'group1Item1',
            meta: {
              title: '导航一分组一',
            },
            component: () => import('@/test/group1Item1.vue'),
          },
          {
            path: 'group2Item1',
            name: 'group2Item1',
            meta: {
              title: '导航二分组一',
            },
            component: () => import('@/test/group2Item1.vue'),
          }
        ]
      },
文章来源地址https://www.toymoban.com/news/detail-714155.html
到了这里,关于element ui NavMenu 实现侧边栏导航菜单的文章就介绍完了。如果您还想了解更多内容,请在右上角搜索TOY模板网以前的文章或继续浏览下面的相关文章,希望大家以后多多支持TOY模板网!


