什么是Jenkins?
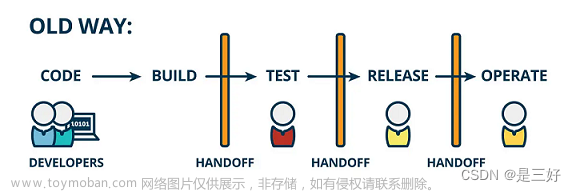
Jenkins是一款开源 CI&CD 软件,用于自动化各种任务,包括构建、测试和部署软件。Jenkins 支持各种运行方式,可通过系统包、Docker 或者通过一个独立的 Java 程序。
Jenkins的下载与安卓
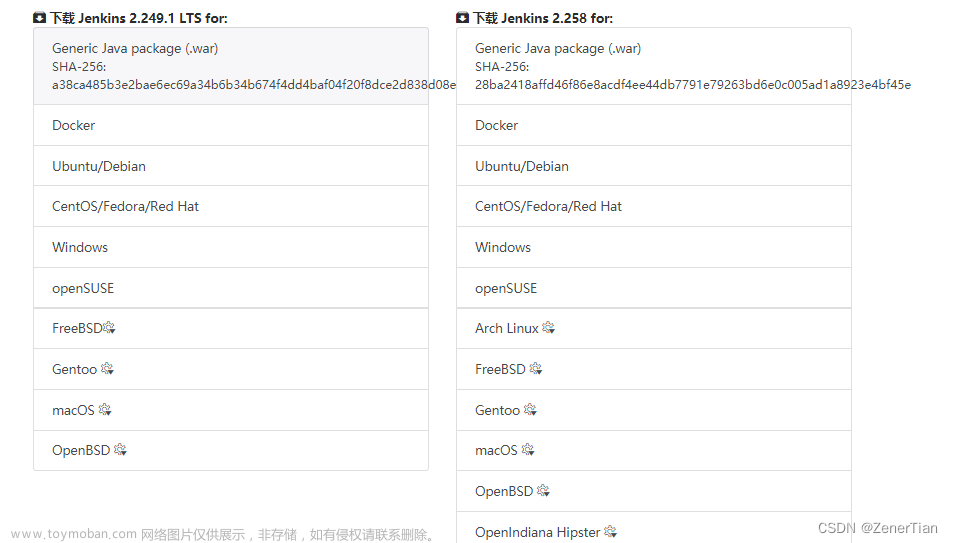
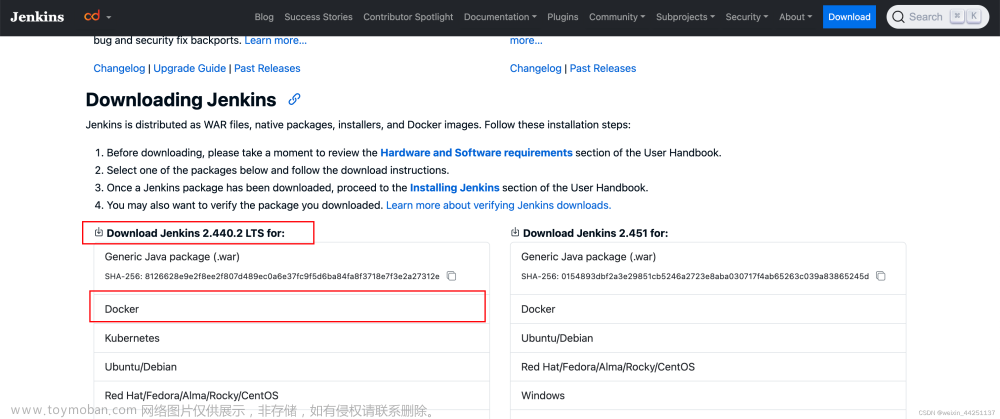
直接搜索jenkins进入官网下在LTS(稳定版本)下载地址:https://www.jenkins.io/download/
下载完成打开执行文件,点击下一步,修改安装目录,

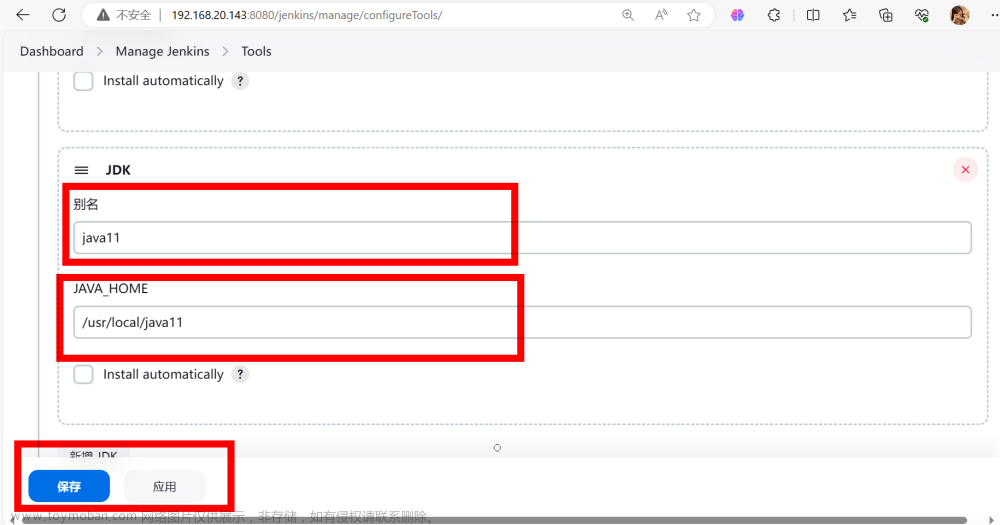
下载JavaJDK,选中目录然后一直点击next完成安装

安装完成后 在网页打开 http://localhost:8080 端口号是安装时所选的端口号

按提示找到密码输入,然后直接安装推荐插件,安装完成设置账号密码


配置本地的jenkins路径用于访问

然后访问配置路径 http://localhost:8080/ 输入账号密码进入

unity 相关配置
找到插件配置,添加Unity3d插件


找到全局配置 配置unity 安装路径


新建项目
输入项目名称,选着项目类型,创建

配置项目
- 项目描述
- 项目显示名称
- 丢弃旧的构建(Discard old builds)
- 参数化构建过程(This project is parameterized)
- 使用自定义的工作空间(unity项目根目录)
- 定时构建(Build periodically)
- 添加window命令行(Build Steps/Execute Windows batch command)
- 添加unity版本(Build Steps/Invoke Unity3d Editor)
- 项目归档(Archive the artifacts)将打包出来的东西进行储存
一下会使用到window 命令行,对于命令行不熟悉的可以看下这篇文章:Window 命令行与bat批处理文件总结
使用到的命令在里面都能找到

SVN Server 下载与安装
Downloads | VisualSVN

创建SVN目录 右键Repositories->Create New Repository


右键 Uers 创建用户

本地SVN下载:Downloads · TortoiseSVN

下载后安装,文件夹下右键 SVN ->CheckOut,填入的路基是SVNServer项目路径

SVN 命令行
- svn commit -m * 上传全部文件
- svn add * 添加全部文件
- svn update 更新目录所有文件及文件更新
- svn cleanup 解锁
- svn revert * 还原文件
Jenkins SVN更新配置
添加构建化参数,项目地址:

添加命令行构建步骤:
- svn 更新命令
- 执行unity编辑器函数

-projectpath %WorkPath% -quit -batchmode -executeMethod BuildApp.Build -logFile "D:\log.txt"-
-projectpath %WorkPath% 工程路径
-
-quit 执行完后退出编辑器
-
-batchmode 执行unity的时候不会弹出Unity编辑器框
-
-executeMethod BuildApp.Build 编辑器方法
-
-logFile "D:\log.txt" 执行jenkins log输出位置
添加参数并将Jenkins参数传递给Unity

将参数传递给Unity:
使用定义的变量名加入到命令行中 Name=$Name
-projectpath %WorkPath% -quit -batchmode -executeMethod BuildApp.BuildAndroid Name=$Name Version=$Version HotCount=$HotCount ChanelType=$ChanelType -logFile "D:\log.txt"Unity接收命令行参数并解析:
主要还是这段代码:
string[] parameters = Environment.GetCommandLineArgs();
public class BuildSettingCfg
{
    public string Name = "Res";
    public string Version = "1.0.1";
    public int HotCount = 1;
    public ChannelType ChannelType = ChannelType.OVERSEAS_SDK;    // 渠道宏定义
}

public enum ChannelType
{
    BAIBAO,
    OVERSEAS_SDK
}
public static BuildSettingCfg GetBuildSettingCfg()
{
// 获取命令行参数
string[] parameters = Environment.GetCommandLineArgs();
BuildSettingCfg buildSettingCfg = new BuildSettingCfg();
for (int i = 0; i < parameters.Length; i++)
{
string str = parameters[i];
string[] paramArr = str.Split('=');
if (paramArr.Length <= 1)
{
Debug.Log(paramArr.Length+":" + paramArr[0]);
continue;
}
string param = paramArr[1];
if(str.StartsWith("Name"))
{
buildSettingCfg.Name = param;
}
else if(str.StartsWith("Version"))
{
buildSettingCfg.Version = param;
}
else if(str.StartsWith("HotCount"))
{
buildSettingCfg.HotCount = Convert.ToInt32(param);
}
else if (str.StartsWith("ChannelType"))
{
buildSettingCfg.ChannelType = (ChannelType)Enum.Parse(typeof(ChannelType), param);
}
}
return buildSettingCfg;
}设置解析后的对象,并设置Unity
public static void SetAndroidSetting(BuildSettingCfg cfg)
{
PlayerSettings.productName = cfg.Name;
PlayerSettings.bundleVersion = cfg.Version;
PlayerSettings.Android.bundleVersionCode = cfg.HotCount;
// 原有宏定义
string symbol = PlayerSettings.GetScriptingDefineSymbolsForGroup(BuildTargetGroup.Android);
// 移除原来的渠道宏定义
symbol = symbol.Replace(ChannelType.BAIBAO.ToString(), string.Empty)
.Replace(ChannelType.OVERSEAS_SDK.ToString(), string.Empty);
PlayerSettings.SetScriptingDefineSymbolsForGroup(BuildTargetGroup.Android,symbol + ";" + cfg.ChannelType.ToString());
}打包完成,压缩安装包
添加压缩命令行:

打包需要时将apk文件路径保存到BuildName.txt文件中文章来源:https://www.toymoban.com/news/detail-714942.html
@echo off
cd /d E:
cd E:\RAR解压软件
for /F "delims=;" %%i in (%WorkPath%\Build\BuildName.txt) do set name=%%i
WinRAR.exe a -r -ep1 %name%.rar %name%.apk
echo %name%.apk压缩完成
pause- 进入压缩软件安装的盘符
- 进入压缩软件根目录
- 读取文件路径
- 对读取的文件进行压缩
贴一下buildApp代码吧文章来源地址https://www.toymoban.com/news/detail-714942.html
public class BuildApp
{
public static string VERSION_File_PATH = Application.dataPath + "/Resources/Version.xml";
public static string AppName = "MyApp";
public static string VERSION = "1.0.1";
public static string PackageName = "DefaultCompany.ResourceManager";
public static string ABMD5RootPath = Application.dataPath + "/../ABMD5/";
public static string BuildPath = Directory.GetParent(Application.dataPath) + "/Build/";
[MenuItem("Tools/一键打包PC")]
public static void BuildPC()
{
// SaveVersion(VERSION,PackageName);
BuildPipeline.BuildPlayer(EditorBuildSettings.scenes, BuildPath + AppName, BuildTarget.StandaloneWindows64,
BuildOptions.None);
}
public static string GetABMD5FilePath()
{
return string.Format("%s%s/%s", ABMD5RootPath, EditorUserBuildSettings.activeBuildTarget.ToString(), VERSION);
}
public static void SaveVersion(string version, string packageName)
{
VersionInfo info = XmlSerializerOpt.DeserializeFile<VersionInfo>(VERSION_File_PATH);
info.Version = version;
info.PackageName = packageName;
XmlSerializerOpt.SaveSerializerFile(VERSION_File_PATH,info);
AssetDatabase.Refresh();
}
[MenuItem("Tools/一键打包Android")]
public static void BuildAndroid()
{
// 获取命令行配置
BuildSettingCfg buildSettingCfg = GetBuildSettingCfg();
// 设置命令行
SetAndroidSetting(buildSettingCfg);
string appName = buildSettingCfg.Name + "_" + DateTime.Now.ToString("yyyy_MM_dd_hh_mm") + ".apk";
string appFullName = BuildPath + "Android/" + appName;
SaveAppName(appFullName.Replace(".apk",string.Empty));
BuildPipeline.BuildPlayer(EditorBuildSettings.scenes, appName, BuildTarget.Android,
BuildOptions.None);
}
public static void SaveAppName(string appFullName)
{
StreamWriter sr = File.CreateText(BuildPath + "BuildName.txt");
sr.Write(appFullName);
sr.Close();
}
public static BuildSettingCfg GetBuildSettingCfg()
        {
            // 获取命令行参数
            string[] parameters = Environment.GetCommandLineArgs();
            BuildSettingCfg buildSettingCfg = new BuildSettingCfg();
            for (int i = 0; i < parameters.Length; i++)
            {
                string str = parameters[i];
                string[] paramArr = str.Split('=');
                if (paramArr.Length <= 1)
                {
                    Debug.Log(paramArr.Length+":" +  paramArr[0]);
                    continue;
                }
                string param = paramArr[1];
                if(str.StartsWith("Name"))
                {
                    buildSettingCfg.Name = param;
                }
                else if(str.StartsWith("Version"))
                {
                    buildSettingCfg.Version = param;
                }
                else if(str.StartsWith("HotCount"))
                {
                    buildSettingCfg.HotCount = Convert.ToInt32(param);
                }
                else if (str.StartsWith("ChannelType"))
                {
                    buildSettingCfg.ChannelType = (ChannelType)Enum.Parse(typeof(ChannelType), param);
                }
            }

            return buildSettingCfg;
        }
        public static void SetAndroidSetting(BuildSettingCfg cfg)
        {
            PlayerSettings.productName = cfg.Name;
            PlayerSettings.bundleVersion = cfg.Version;
            PlayerSettings.Android.bundleVersionCode = cfg.HotCount;

            // 原有宏定义
            string symbol = PlayerSettings.GetScriptingDefineSymbolsForGroup(BuildTargetGroup.Android);
            // 移除原来的渠道宏定义
            symbol = symbol.Replace(ChannelType.BAIBAO.ToString(), string.Empty)
                     .Replace(ChannelType.OVERSEAS_SDK.ToString(), string.Empty);

            PlayerSettings.SetScriptingDefineSymbolsForGroup(BuildTargetGroup.Android,symbol + ";" + cfg.ChannelType.ToString());
        }
}到了这里,关于Unity 基于Jenkins自动化打包流程的文章就介绍完了。如果您还想了解更多内容,请在右上角搜索TOY模板网以前的文章或继续浏览下面的相关文章,希望大家以后多多支持TOY模板网!


