CentOS 编译安装 nginx
修改 yum 源地址为 阿里云
curl -o /etc/yum.repos.d/CentOS-Base.repo https://mirrors.aliyun.com/repo/Centos-7.repo
yum makecache
升级内核和软件
yum -y update
安装常用软件和依赖
yum -y install gcc gcc-c++ make cmake zlib zlib-devel openssl openssl-devel pcre-devel vim net-tools man wget tar
创建用户用户组
groupadd nginx
useradd nginx -g nginx -s /sbin/nologin -M
下载并编译安装
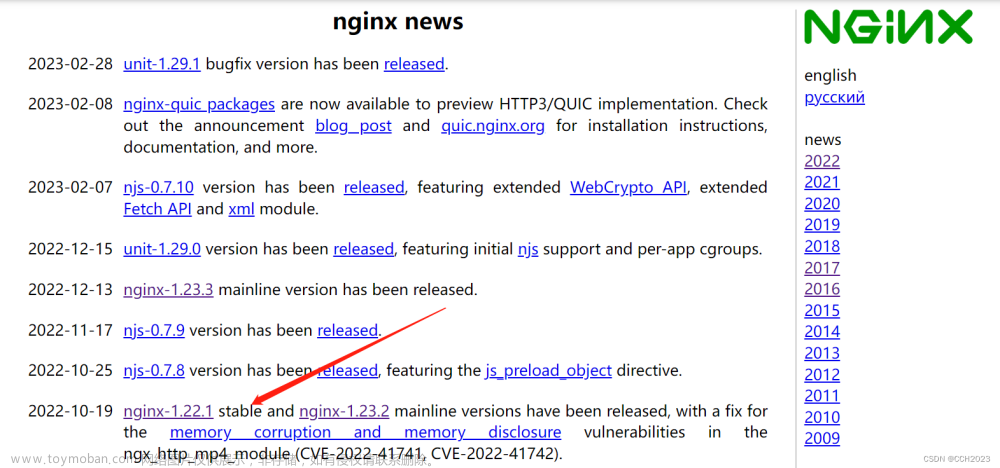
下载
wget https://nginx.org/download/nginx-1.24.0.tar.gz
解压
tar -zxvf nginx-1.24.0.tar.gz
进入nginx源代码目录
cd nginx-1.24.0
预编译
./configure --prefix=/usr/local/nginx \
 --user=nginx --group=nginx \
 --with-http_stub_status_module --with-http_ssl_module \
 --with-http_realip_module --with-http_gzip_static_module \
 --with-file-aio --with-http_realip_module
验证 是否 成功
echo $?
编译
make -j4
验证 是否 成功
echo $?
安装
make -j4 install
验证 是否 成功
echo $?
ls 以下为验证程序步骤可忽略
/usr/local/nginx/sbin/nginx -v

/usr/local/nginx/sbin/nginx -t

# 启动nginx
/usr/local/nginx/sbin/nginx

# 重新载入配置文件
/usr/local/nginx/sbin/nginx -s reload

# 快速关闭 Nginx
/usr/local/nginx/sbin/nginx -s stop

# 关闭Nginx
/usr/local/nginx/sbin/nginx -s quit
编写启动脚本
cd /usr/lib/systemd/system/
vim nginx.service
[Unit]
Description=nginx
After=network.target remote-fs.target nss-lookup.target

[Service]
Type=forking
PIDFile=/usr/local/nginx/logs/nginx.pid
ExecStartPost=/bin/sleep 0.1
ExecStartPre=/usr/local/nginx/sbin/nginx -t -c /usr/local/nginx/conf/nginx.conf
ExecStart=/usr/local/nginx/sbin/nginx -c /usr/local/nginx/conf/nginx.conf
ExecReload=/bin/kill -s HUP $MAINPID
ExecStop=/bin/kill -s QUIT $MAINPID
PrivateTmp=true

[Install]
WantedBy=multi-user.target
# systemctl start|stop|reload|restart|status nginx.service

# 重新加载服务文件
systemctl daemon-reload

# 启动 nginx 服务
systemctl start nginx.service

# 开机自启:
systemctl enable nginx.service

# 关闭开机自启:
systemctl disable nginx.service
防火墙开放端口
–zone 作用域
–add-port=80/tcp 添加端口
–permanent 永久生效
firewall-cmd --zone=public --add-port=80/tcp --permanent
firewall-cmd --reload
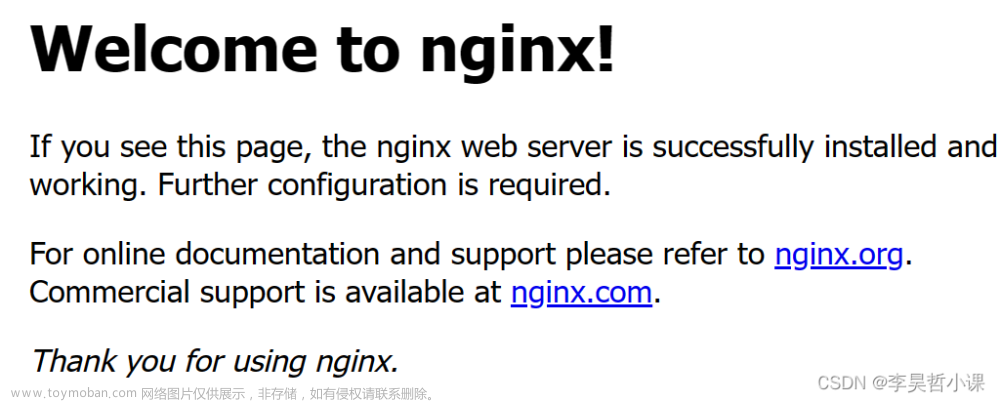
浏览器访问测试
http://服务器IP地址文章来源:https://www.toymoban.com/news/detail-716840.html
 文章来源地址https://www.toymoban.com/news/detail-716840.html
到了这里,关于CentOS 编译安装 nginx的文章就介绍完了。如果您还想了解更多内容,请在右上角搜索TOY模板网以前的文章或继续浏览下面的相关文章,希望大家以后多多支持TOY模板网!

