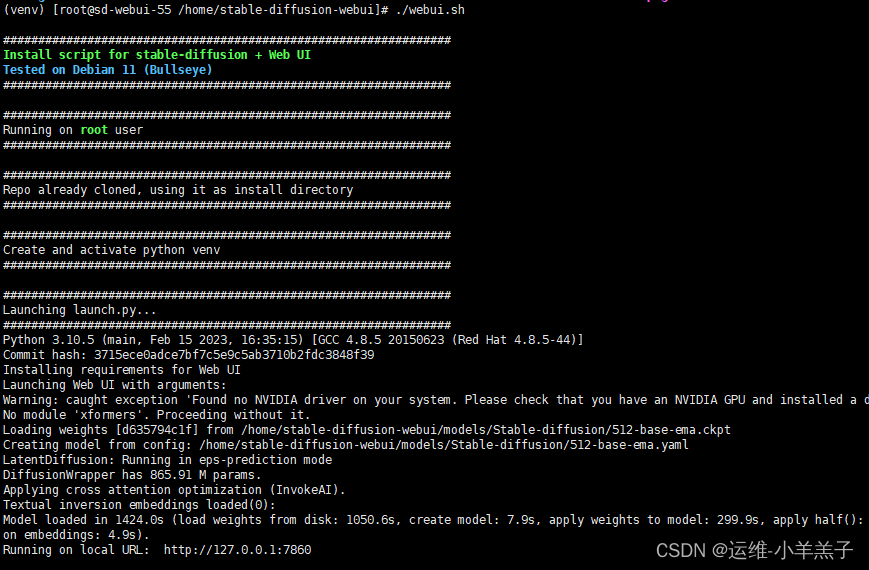
参考:https://www.jianshu.com/p/ff81bb76158a
一、安装最新版 git
yum install libcurl-devel curl-devel -y# 安装依赖库
yum -y install zlib-devel perl-ExtUtils-MakeMaker asciidoc xmlto openssl-devel curl-devel libcurl-devel
# 下载安装包
wget https://www.kernel.org/pub/software/scm/git/git-2.42.0.tar.xz --no-check-certificate
# 解压安装包,进入目录
tar -vxf git-2.42.0.tar.xz
cd git-2.40.0
# 编译、安装
./configure
make -j4 && make -j4 install
# 查看是否安装成功
git --version
二、其余步骤:详看参考链接
遇到的问题:
1、git clone 比较慢
解决办法:设置代理 https://blog.csdn.net/dszgf5717/article/details/130735389
2、pip install 比较慢
解决办法:更换源或设置代理 https://blog.csdn.net/dszgf5717/article/details/53138298
3、无法使用GPU
Torch is not able to use GPU; add --skip-torch-cuda-test to COMMANDLINE_ARGS variable to disable this check解决办法:一般是 pytorch 装的版本不对,重装
i、先卸载原来的
pip uninstall torch torchvision torchaudioii、安装与显卡相匹配的版本
pytorch 官网 https://pytorch.org/get-started/locally/
参考文章:https://blog.csdn.net/weixin_41803482/article/details/109231249
4、运行报错
OSError: Can't load tokenizer for 'openai/clip-vit-large-patch14'. If you were trying to load it from 'https://huggingface.co/models', make sure you don't have a local directory with the same name. Otherwise, make sure 'openai/clip-vit-large-patch14' is the correct path to a directory containing all relevant files for a CLIPTokenizer tokenizer.
解决办法:
手动下载 https://huggingface.co/openai/clip-vit-large-patch14/tree/main
下载文件为:
1、config.json
2、flax_model.msgpack
3、merges.txt
4、preprocessor_config.json
5、pytorch_model.bin
6、special_tokens_map.json
7、tokenizer.json
8、tokenizer_config.json
9、vocab.json

在项目目录下创建(stable-diffusion-webui)

mkdir -p openai/clip-vit-large-patch14

把以上九个文件放到新文件夹下
5、运行报错
# 报错1

ImportError: libX11.so.6: cannot open shared object file: No such file or directory

# 报错2

ImportError: libXext.so.6: cannot open shared object file: No such file or directory
解决办法:
yum install libX11 libXext -y6、运行报错
Cannot locate TCMalloc (improves CPU memory usage)解决办法:文章来源:https://www.toymoban.com/news/detail-717601.html
yum install gperftools gperftools-devel -y参考文章:https://blog.csdn.net/weixin_57451673/article/details/133919472文章来源地址https://www.toymoban.com/news/detail-717601.html
到了这里,关于Centos7 部署 Stable Diffusion的文章就介绍完了。如果您还想了解更多内容,请在右上角搜索TOY模板网以前的文章或继续浏览下面的相关文章,希望大家以后多多支持TOY模板网!


