话不多说,先上代码
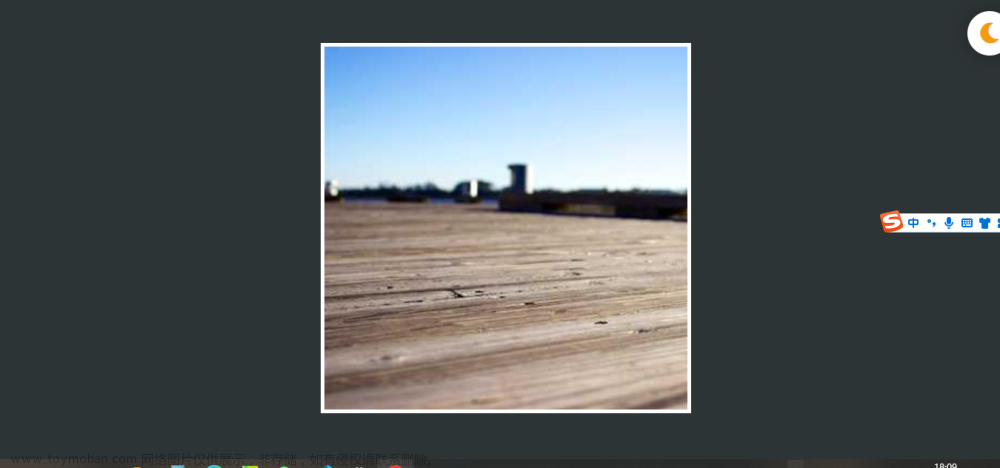
先看原图:

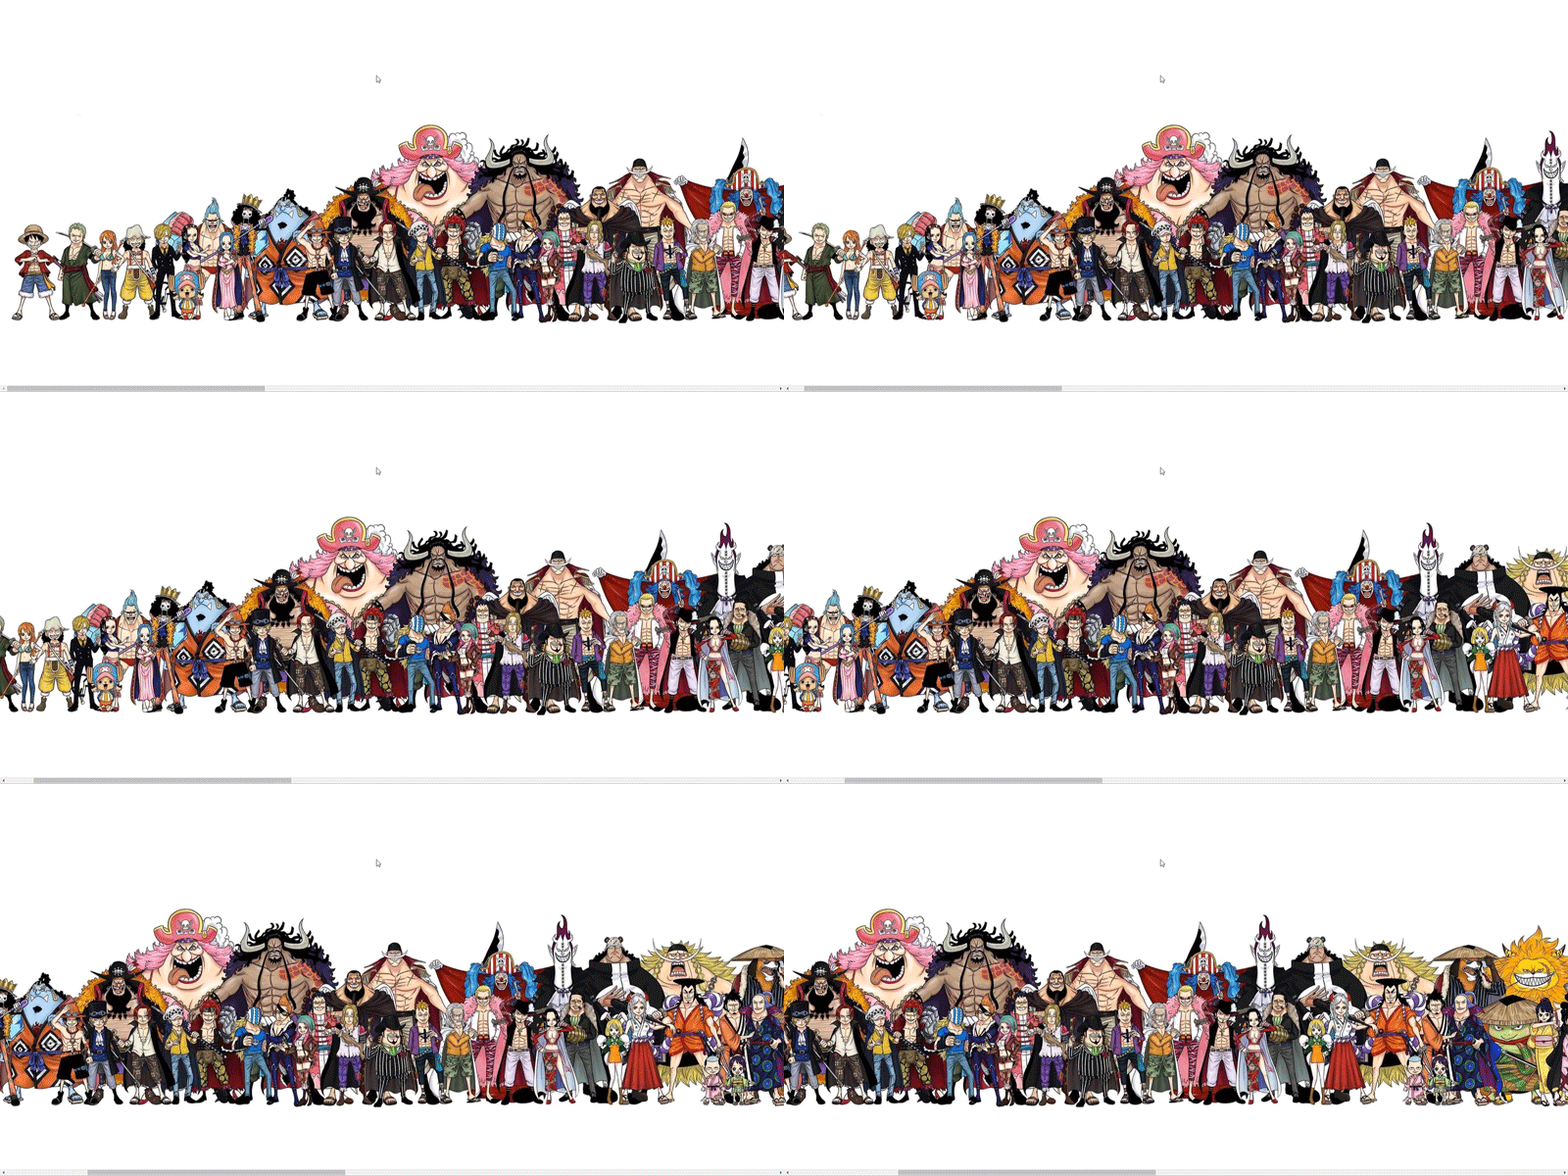
再看 鼠标放上去后的图:
 文章来源:https://www.toymoban.com/news/detail-718449.html
是不是明显感觉到 人物头像突出了一些,而且还增加了阴影部分的效果呢?
直接上代码!!!
<!--由于我的 img 标签放的是循环后的图片,你可以按照你的数据自行修改  -->
<div class="swiper-slide newly-slide newly-hover speakerList--q4JTz">
	<a class="baseLink--8q29k" target="_blank" href="要跳转的路径">
		<div class="speaker--r2ijq">
      		<div class="speakerPicBox--QeEr9">
           		<div>
           			<img src="图片路径" class="teacher-img" />
        		</div>
           </div>
       </div>
	</a>
</div>

<!--CSS  可能会有多出来的css,可以忽略掉,多出来的css 是图片右侧的文字的样式...-->
<style>
.speaker--r2ijq{
   box-sizing: border-box;
   cursor: pointer;
   display: flex;
   padding: 8px 12px;
   width: 397px;
}
.speakerProfile--oCOCh{
 flex: 1 1;
 margin-left: 12px;
 overflow: hidden;
}
.speakerName--bKQtn{
 font-size: 22px;
 font-weight: 600;
 line-height: 22px;
 margin-bottom: 8px;
 overflow: hidden;
 text-overflow: ellipsis;
 white-space: nowrap;
 word-break: break-all;
 text-align: left;
 cursor: pointer;
 color: #535353;
 line-height: 33px;
 font-family: SourceHanSansCN-Bold, SourceHanSansCN;
 font-weight: bold;
}
.speakerDesc--vo1ea{
 -webkit-box-orient: vertical;
 -webkit-line-clamp: 2;
 color: #606060;
 display: -webkit-box;
 font-weight: 400;
 line-height: 22px;
 overflow: hidden;
 word-break: break-all;
 text-align: left;
 margin-top: 20px;
 width: 225px;
 height: 44px;
 max-width:225px;
 font-size: 12px;
 font-family: PingFangSC-Regular, PingFang SC;
 cursor: pointer;
}

.speakerList--q4JTz .speaker--r2ijq:hover .speakerPicBox--QeEr9:before{
   background-color: rgba(50,51,53,.1);
   bottom: 0;
   content: "";
   left: 0;
   margin: auto;
   position: absolute;
   right: 228px;
   top: 0;
   z-index: 1;
   width: 144px;
   height: 148px;
   border-radius: 12px;
}
.speakerList--q4JTz .speakerPicBox--QeEr9{
   border-radius: 12px;
   flex-basis: 144px;
   height: 148px;
   overflow: hidden;
}
.speaker--r2ijq:hover .teacher-img {
 transform: scale(1.1);
}
.speaker--r2ijq:hover .speakerName--bKQtn{
 color: #EA7336;
}
.teacher-more{
 display: inline-block;
 padding-top: 60px;
 float: right;
}
.teacher-more>a{
 color: #A3A3A3 !important;
}
.teacher-more>a:hover{
 color: #ff7020!important;
}
</style>
大功告成,如上代码,就是鼠标滑过后,头像或图片突出的代码,快去试试吧!
 文章来源地址https://www.toymoban.com/news/detail-718449.html
到了这里,关于HTML,CSS实现鼠标划过头像,头像突出变大(附源码)的文章就介绍完了。如果您还想了解更多内容,请在右上角搜索TOY模板网以前的文章或继续浏览下面的相关文章,希望大家以后多多支持TOY模板网!


