目录
一、Button是什么?
二、使用步骤
1.demo
一、Button是什么?
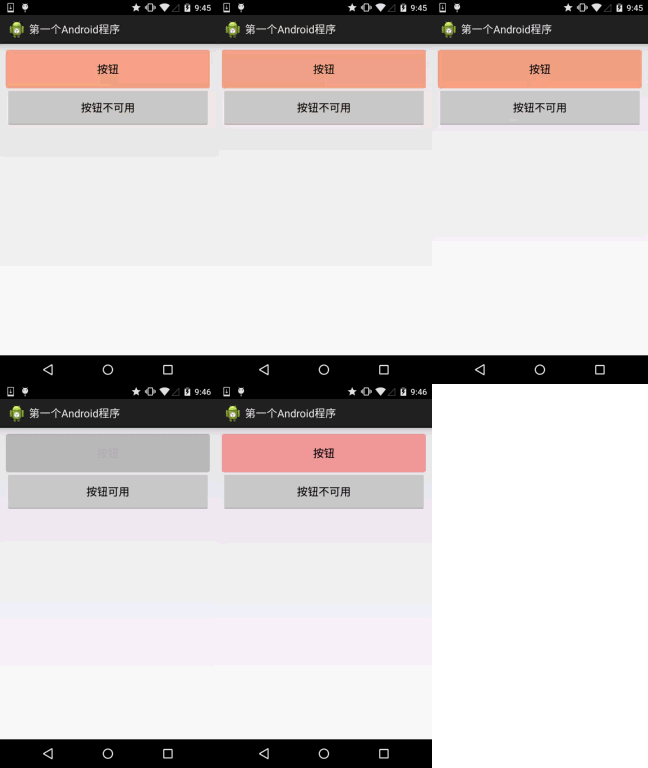
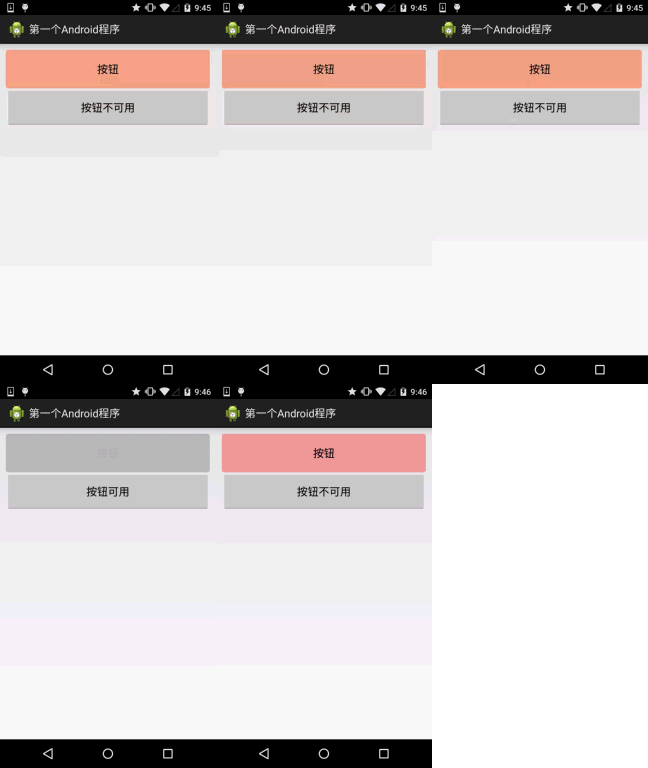
Button控件具有许多属性可以用来自定义其外观和行为。以下是Button控件常用的参数属性及其详解:
-
android:id:设置Button的唯一标识符。在代码中可以使用这个ID引用Button。 -
android:layout_width:指定Button的宽度,可以使用以下值:- "wrap_content":根据按钮内部内容自适应宽度。
- "match_parent":填充父布局的宽度。
- 具体数值(如"100dp"):设置具体的宽度值。
-
android:layout_height:指定Button的高度,可以使用以下值:- "wrap_content":根据按钮内部内容自适应高度。
- "match_parent":填充父布局的高度。
- 具体数值(如"50dp"):设置具体的高度值。
-
android:text:设置Button显示的文本内容。 -
android:textColor:设置Button文本的颜色。- 可以是具体颜色值(如"#FF0000"表示红色)。
- 可以是指向颜色资源的引用(如"@color/red"),资源文件中定义对应的颜色值。
-
android:textSize:设置Button文本的大小。- 可以是具体数值(如"14sp")。
- 也可以是指向尺寸资源的引用。
-
android:background:设置Button的背景,可以使用以下值:- 可以是具体颜色值(如"#FF0000"表示红色)。
- 可以是指向图片资源的引用(如"@drawable/button_bg"),使用图片作为背景。
-
android:padding:设置Button的内容与边框之间的内边距,可以使用以下值:- 具体数值(如"10dp"):设置相同的上下左右内边距。
- 四个数值(如"5dp, 10dp, 5dp, 10dp"):分别设置上、右、下、左方向的内边距。
-
android:gravity:设置Button中文本内容的对齐方式。- 可以使用以下值组合来实现不同的对齐方式:
- "center":在水平和垂直方向上居中对齐。
- "left":在水平方向上左对齐。
- "right":在水平方向上右对齐。
- "top":在垂直方向上顶部对齐。
- "bottom":在垂直方向上底部对齐。
- 可以使用以下值组合来实现不同的对齐方式:
-
android:onClick:设置Button点击事件的回调方法。文章来源:https://www.toymoban.com/news/detail-719275.html- 在代码中需要定义对应的方法,并在该属性中指定方法名。
- 点击Button时,系统会调用指定的方法进行响应。
这些是常用的。文章来源地址https://www.toymoban.com/news/detail-719275.html
二、使用步骤
1.demo
<?xml version="1.0" encoding="utf-8"?>
<androidx.constraintlayout.widget.ConstraintLayout xmlns:android="http://schemas.android.com/apk/res/android"
    xmlns:app="http://schemas.android.com/apk/res-auto"
    xmlns:tools="http://schemas.android.com/tools"
    android:layout_width="match_parent"
    android:layout_height="match_parent"
    tools:context=".DictionaryTableActivity">
    <LinearLayout
        android:layout_width="match_parent"
        android:layout_height="match_parent"
        tools:ignore="MissingConstraints">
        <Button
            android:id="@+id/button_2"
            android:layout_width="match_parent"
            android:layout_height="wrap_content"
            android:gravity="center"
            android:text="button hello world"
            tools:ignore="MissingConstraints" />
    </LinearLayout>
</androidx.constraintlayout.widget.ConstraintLayout>
public class DictionaryTableActivity extends AppCompatActivity implements View.OnClickListener {


    @Override
    protected void onCreate(Bundle savedInstanceState) {
        super.onCreate(savedInstanceState);
        setContentView(R.layout.activity_dictionary_table);
        Button button = (Button) findViewById(R.id.button_2);
        button.setOnClickListener(this);
    }
    @SuppressLint("NonConstantResourceId")
    @Override
    public void onClick(View view) {
        switch (view.getId()){
            case R.id.button_2:
                Toast.makeText(DictionaryTableActivity.this,"Hello world",Toast.LENGTH_LONG).show();
                break;
            default:
                break;
        }
    }
到了这里,关于[Android studio] 第6节 Button控件的文章就介绍完了。如果您还想了解更多内容,请在右上角搜索TOY模板网以前的文章或继续浏览下面的相关文章,希望大家以后多多支持TOY模板网!


![[Android Studio] 导入安卓Android项目教程](https://imgs.yssmx.com/Uploads/2024/02/761780-1.png)


