一、ui界面制作
1.安装pyside6
终端中使用如下命令安装pyside6
pip install pyside6
2.使用Qt Designer制作ui界面
在python安装目录下使用designer制作ui界面,
另存为.ui文件
3.界面转换(.ui文件 --> .py文件)
终端中使用如下命令进行界面转换,将ui文件转换为py文件才能使用pyside6-uic xxx.ui -o xxx.py
4.python代码中使用ui界面
方式1:
from PySide6.QtWidgets import QApplication, QWidget, QListWidget, QVBoxLayout
# 从Checkin.py(转换后的ui界面文件)中导入对应的类
from Checkin import Ui_Form

# 这里MyWindow继承的类要与所制作的界面的类型一致(如制作时选择QMainWindow则这里也要继承QMainWindow)
class MyWindow(QWidget):
    def __init__(self):
        super().__init__()
        # 使用ui界面
        self.ui = Ui_Form()
        self.ui.setupUi(self)

if __name__ == '__main__':
    app = QApplication([])
    window = MyWindow()
    window.show()
    app.exec()
方式2:
from PySide6.QtWidgets import QApplication, QWidget, QListWidget, QVBoxLayout
from Checkin import Ui_Form

# 多继承,继承setupUi方法,然后直接调用setupUi方法
class MyWindow(QWidget, Ui_Form):
    def __init__(self):
        super().__init__()
        self.setupUi(self)


if __name__ == '__main__':
    app = QApplication([])
    window = MyWindow()
    window.show()
    app.exec()
二、为各控件绑定交互逻辑
为各个控件写具体的交互逻辑
三、打包可执行程序
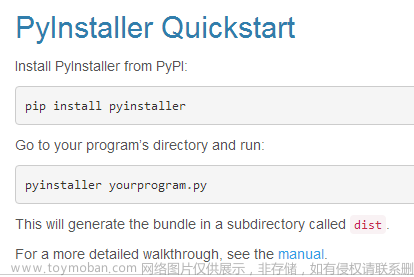
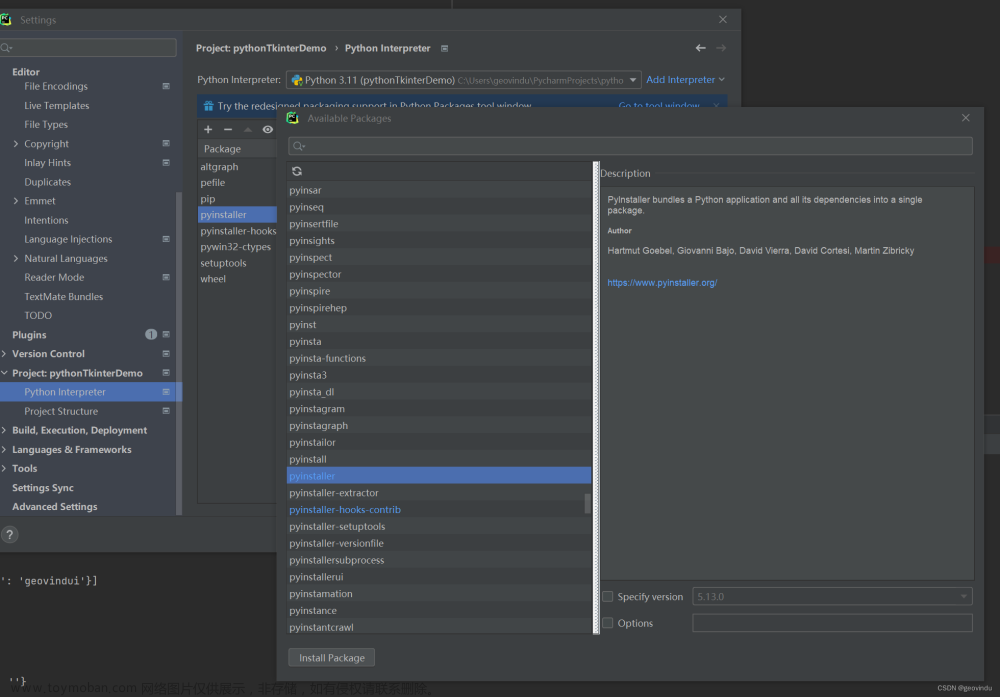
1.安装pyinstaller
pip install pyinstaller
可能出现连接超时安装不上的情况,可以切换源进行下载
 文章来源:https://www.toymoban.com/news/detail-722960.html
pip install -i http://pypi.douban.com/simple/ pyinstaller
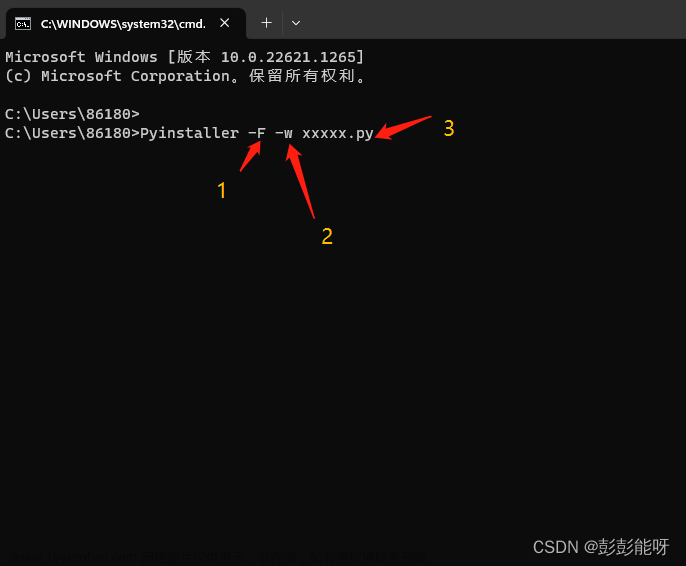
2.打包程序
#打包成多个文件
pyinstaller -D xxxxx.py
#打包成多个文件,且隐藏命令行窗口
pyinstaller -D xxxxx.py
#打包成单个文件
pyinstaller -F xxxxx.py
#打包成单个文件,且隐藏命令行窗口
pyinstaller -F xxxxx.py
执行完成后在目录下会出现以下3种文件:
build 文件夹是存放打包时临时文件用的(没用)
dist 文件夹存放了打包好的应用(其中的exe文件就是可执行程序)
xxxxx.spec 内容是 PyInstaller 根据我们的命令行生成的打包参数文章来源地址https://www.toymoban.com/news/detail-722960.html
到了这里,关于【爬虫】python打包可执行程序(ui界面制作完成后)的文章就介绍完了。如果您还想了解更多内容,请在右上角搜索TOY模板网以前的文章或继续浏览下面的相关文章,希望大家以后多多支持TOY模板网!


