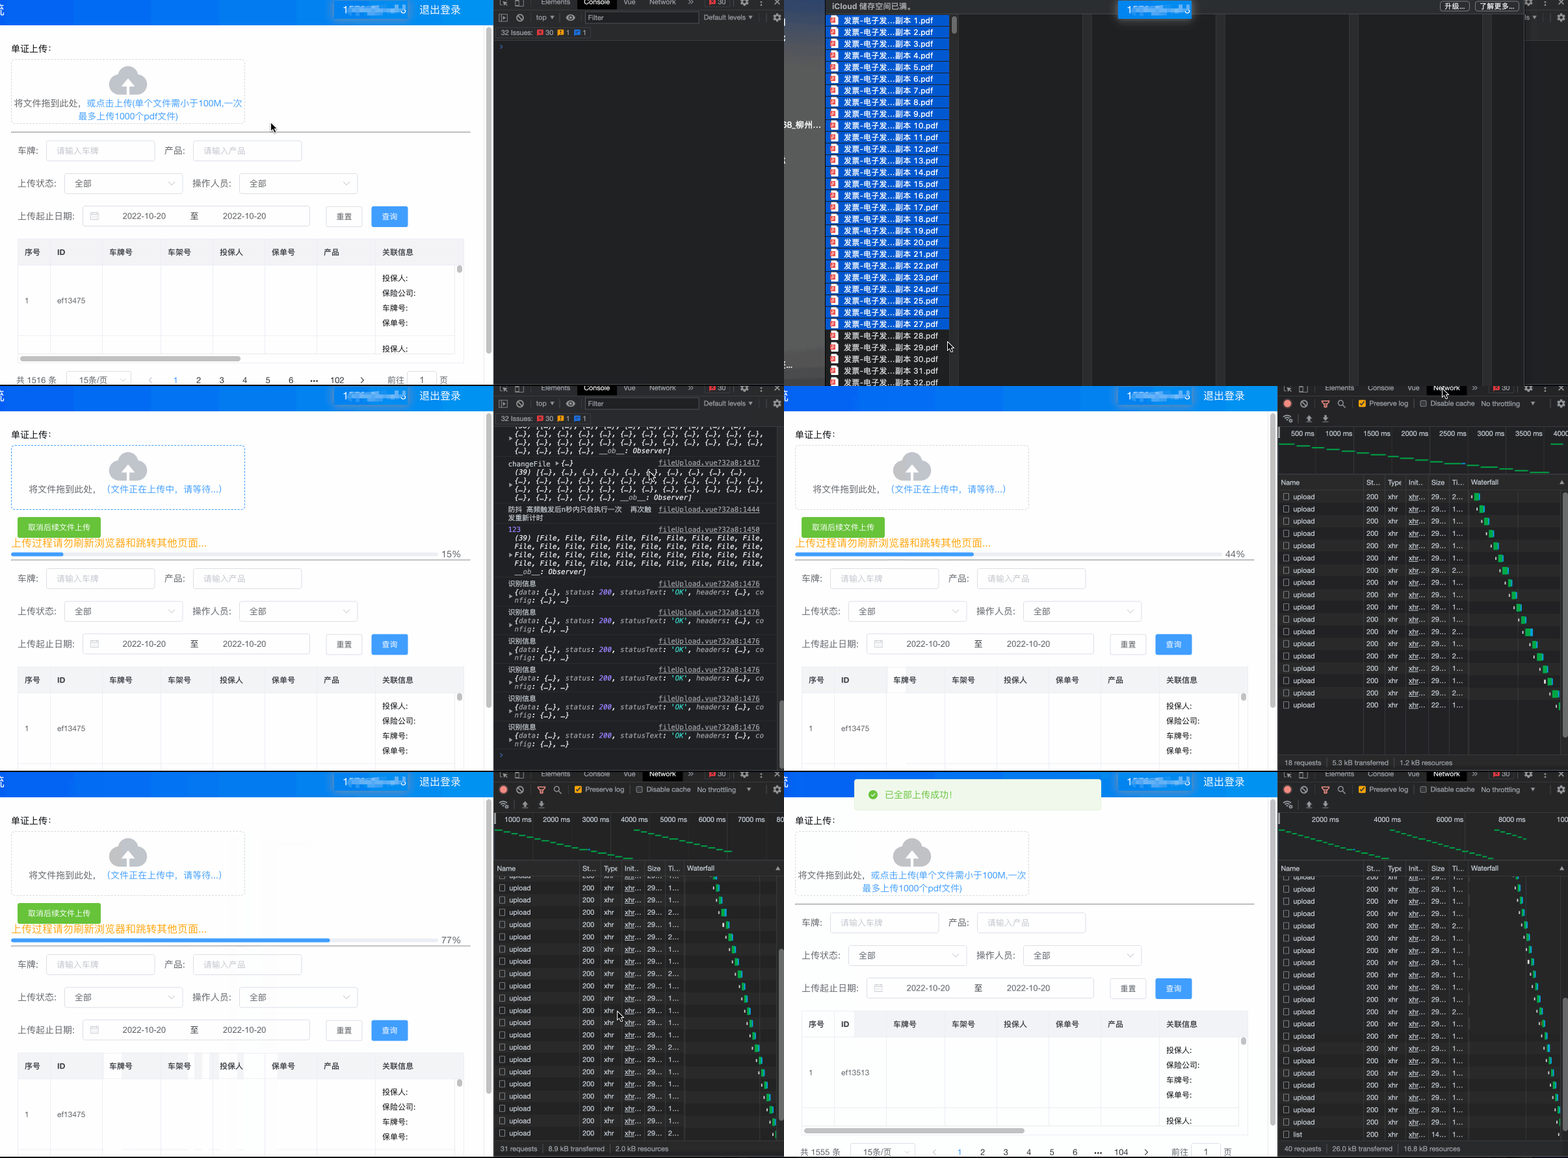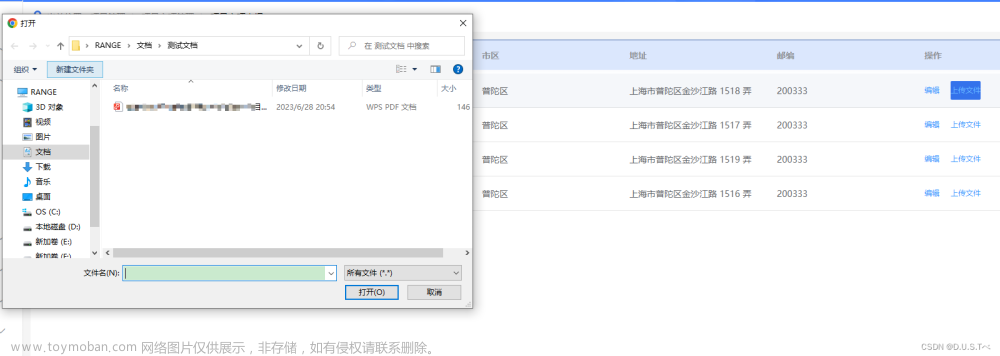

背景:如图一所示,最下面有一个黄色上传文件按钮,为手动上传而且上传区域有上传文件和上传文件夹的区分
所以需要在点击了上传文件夹做特殊处理使得el-upload可以上传文件夹
一、template区域
                        <el-upload
                          class="upload-file"
                          drag
                          multiple
                          ref="uploadRef"
                          :directory="true"
                          v-show="uploadTypeIndex != 2 && fileArray.length == 0 && !isUpload"
                          :file-list="fileArray"
                          :auto-upload="false"
                          :show-file-list="false"
                          :before-upload="handleBeforeUpload"
                          :http-request="handleUploadFile"
                          :on-change="handleFileChange"
                          accept="application/vnd.openxmlformats-officedocument.wordprocessingml.document, application/vnd.openxmlformats-officedocument.spreadsheetml.sheet, application/pdf, text/plain, text/markdown"
                        >
                          <div class="upload-node w-full h-full" @click="handlePreview">
                            <app-svg-icon icon-name="filled-add" class="w-48 h-48 cursor-pointer upload-node-icon" />

                          </div>
                        </el-upload>
二、逻辑区域
01.在拖拽上传的区域绑定一个点击事件handlePreview,(注意不要直接绑定在el-upload区域,会被触发到两次)
const handlePreview = () => {
  let inputDom: any = null
  nextTick(() => {
    if (document.querySelector('.el-upload__input') != null) {
      inputDom = document.querySelector('.el-upload__input')
      if (uploadTypeIndex.value == 1) {
        inputDom.webkitdirectory = true
      } else {
        inputDom.webkitdirectory = false
      }
    }
  })
}
//点击上传文件夹就将document.querySelector('.el-upload__input')获取到的webkitdirectory 设置为true,选择文件时浏览器就会只筛选文件夹
//点击上传文件就将document.querySelector('.el-upload__input')获取到的webkitdirectory 设置为false
02.此时在el-upload的上传文件方法下面就可以请求后端上传文件
:http-request="handleUploadFile"// 上传文件
const handleUploadFile = ({ file }) => {
console.log(file, '---fie')
//有几个文件就触发了几次
uploadFileFunc(file)
}
function uploadFileFunc(file: any) {
const formData = new FormData()
formData.append('field1', '111')
formData.append('file', file)
formData.append('field2', '222')
//此次携带参数请求
axios({
url: 'yourUrl',
method: 'POST',
headers: {
'Content-Type': 'application/x-www-form-urlencoded',
},
data: formData,
}).then(res => {
if (res != null && res.status == 200) {
//成功后的逻辑
}
})
}此时我发现我点击上传单个文件或者选取多个文件上传时是可以成功上传的,在handleUploadFile事件中打印的file长这样:webkitRelativePath:" "
上传文件夹时,打印出来的file长这样:webkitRelativePath: "新建文件夹/111111111111111111.txt"
后端直接返回提示 说找不到该文件,所以怀疑就是因为文件path的原因,所以直接将file的webkitRelativePath改为空字符串即可
但是由于file 对象的属性是只读的,所以无法直接修改 file.webkitRelativePath 的值。如果想在前端上传文件夹时去掉文件的路径信息,可以使用 File 构造函数创建一个新的文件对象,只保留文件本身,而不包含路径信息。文章来源:https://www.toymoban.com/news/detail-723319.html
修改后的代码如下文章来源地址https://www.toymoban.com/news/detail-723319.html
// 上传文件
const handleUploadFile = ({ file }) => {
  console.log(file, '---fie')
  let fieClone = new File([file], file.name)//这里就可以文件夹中的每个文件都创建为一个新的 File 对象,并且只保留文件本身
  //有几个文件就触发了几次
  uploadFileFunc(fieClone)//传新的File对象
}

function uploadFileFunc(file: any) {

  const formData = new FormData()
  formData.append('field1', '111')
  formData.append('file', file)
  formData.append('field2', '222')
  //此次携带参数请求
 axios({
    url: 'yourUrl',
    method: 'POST',

    headers: {
      'Content-Type': 'application/x-www-form-urlencoded',
    },
    data: formData,


  }).then(res => {
    if (res != null && res.status == 200) {
      //成功后的逻辑
    }
  })
}
到了这里,关于el-upload实现上传文件夹的文章就介绍完了。如果您还想了解更多内容,请在右上角搜索TOY模板网以前的文章或继续浏览下面的相关文章,希望大家以后多多支持TOY模板网!


