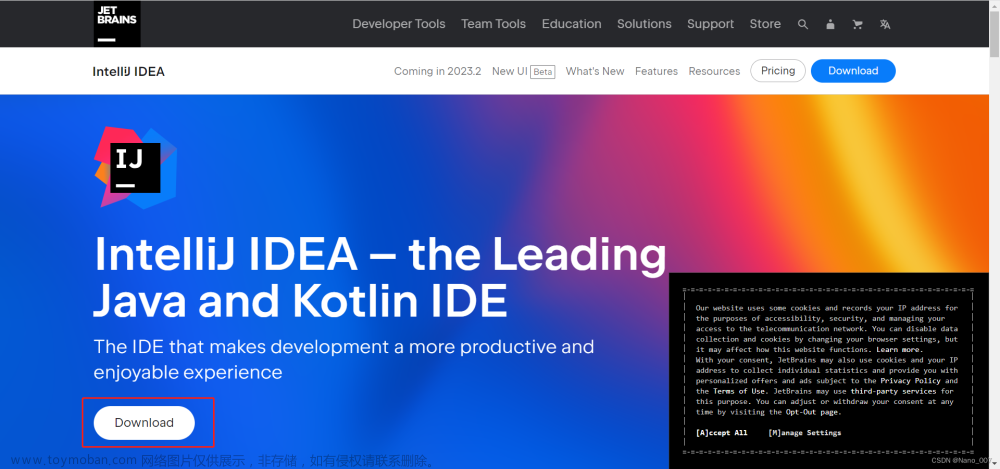
1第一步:下载IntelliJ idea 代码编辑器
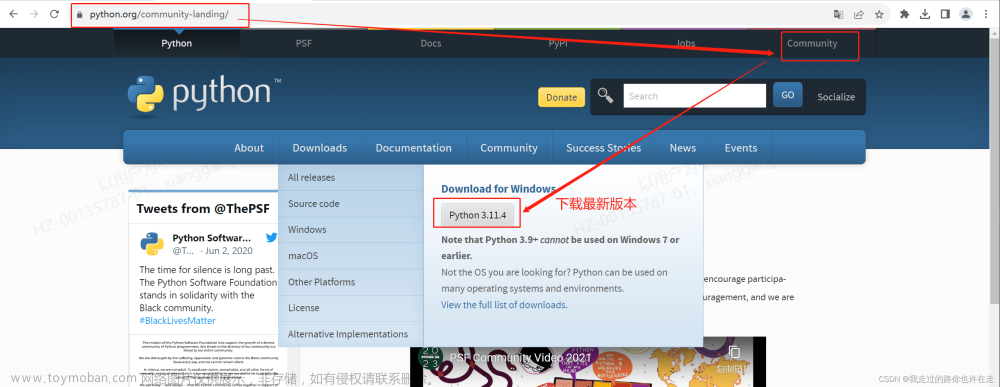
2第二步:下载浏览器Chrome
3第三步:下载JDK
4第四步:配置环境变量(1JAVA_HOME 2 path)
5第五步:下载Maven
6第六步:配置环境变量(1MAVEN_HOME 2path)
7第七步:下载与浏览器版本匹配的ChromeDriver
8第八步: 在 Idea里面设置 JDK , Maven
9 第九步:创建工程 project


10 第十步:pom.xml文件中写依赖(1 需要什么包去maven仓库下载依赖,拿整个dependancy 2在工程中terminal中执行 mvn clean install命令,并去maven块刷新工程和包)
11.drive
【笔记】chromedriver下载与安装方法_谷歌驱动_逸峰轻云的博客-CSDN博客
cucumebr:
Cucumber&selenium学习--工程搭建_cucumber和selenium 依赖-CSDN博客
自动化测试实战:Cucumber+Selenium测试场景应用 - 知乎
idea kubernetes插件 配置 idea cucumber插件_mob6454cc780924的技术博客_51CTO博客
Junit:
idea插件完成junit代码生成,和springboot代码示例_junitgenerator_weisian151的博客-CSDN博客
注意事项:
1 Runner文件写在test目录下
2 maven文件下conf文件夹下的settings.xml 加阿里云镜像
<mirror>
<id>alimaven</id>
<name>aliyun maven</name>
<url>http://maven.aliyun.com/nexus/content/groups/public/</url>
<mirrorOf>central</mirrorOf>
</mirror>文章来源:https://www.toymoban.com/news/detail-723775.html
3 配置maven本地仓库文章来源地址https://www.toymoban.com/news/detail-723775.html
<project xmlns="http://maven.apache.org/POM/4.0.0" xmlns:xsi="http://www.w3.org/2001/XMLSchema-instance"
  xsi:schemaLocation="http://maven.apache.org/POM/4.0.0 http://maven.apache.org/xsd/maven-4.0.0.xsd">
  <modelVersion>4.0.0</modelVersion>

  <groupId>org.example</groupId>
  <artifactId>JSCTesting</artifactId>
  <version>1.0-SNAPSHOT</version>
  <packaging>jar</packaging>

  <name>JSCTesting</name>
  <url>http://maven.apache.org</url>

  <properties>
    <project.build.sourceEncoding>UTF-8</project.build.sourceEncoding>
    <logging.verson>1.2</logging.verson>
    <selenium.version>4.13.0</selenium.version>
  </properties>

  <dependencies>
    <dependency>
      <groupId>junit</groupId>
      <artifactId>junit</artifactId>
      <version>3.8.1</version>
      <scope>test</scope>
    </dependency>
    <dependency>
      <groupId>org.apache.maven.plugins</groupId>
      <artifactId>maven-resources-plugin</artifactId>
      <version>2.4.3</version>
    </dependency>
    <dependency>
      <groupId>commons-logging</groupId>
      <artifactId>commons-logging</artifactId>
      <version>${logging.verson}</version>
    </dependency>
    <!-- https://mvnrepository.com/artifact/org.seleniumhq.selenium/selenium-java -->
    <dependency>
      <groupId>org.seleniumhq.selenium</groupId>
      <artifactId>selenium-java</artifactId>
      <version>${selenium.version}</version>
    </dependency>
    <!-- https://mvnrepository.com/artifact/org.seleniumhq.selenium/selenium-api -->
    <dependency>
      <groupId>org.seleniumhq.selenium</groupId>
      <artifactId>selenium-api</artifactId>
      <version>${selenium.version}</version>
    </dependency>

    <!-- https://mvnrepository.com/artifact/org.seleniumhq.selenium/selenium-chrome-driver -->
    <dependency>
      <groupId>org.seleniumhq.selenium</groupId>
      <artifactId>selenium-chrome-driver</artifactId>
      <version>4.13.0</version>
    </dependency>
    <!-- https://mvnrepository.com/artifact/org.seleniumhq.selenium/selenium-firefox-driver -->
    <dependency>
      <groupId>org.seleniumhq.selenium</groupId>
      <artifactId>selenium-firefox-driver</artifactId>
      <version>4.13.0</version>
    </dependency>

    <dependency>
      <groupId>org.apache.httpcomponents</groupId>
      <artifactId>httpclient</artifactId>
      <version>4.5.2</version>
    </dependency>
    <dependency>
      <groupId>com.aventstack</groupId>
      <artifactId>extentreports</artifactId>
      <version>3.0.6</version>
    </dependency>

    <dependency>
      <groupId>org.dom4j</groupId>
      <artifactId>dom4j</artifactId>
      <version>2.0.0</version>
    </dependency>
    <!-- https://mvnrepository.com/artifact/log4j/log4j -->
    <dependency>
      <groupId>log4j</groupId>
      <artifactId>log4j</artifactId>
      <version>1.2.17</version>
    </dependency>
    <!-- https://mvnrepository.com/artifact/commons-email/commons-email -->
    <dependency>
      <groupId>commons-email</groupId>
      <artifactId>commons-email</artifactId>
      <version>1.1</version>
    </dependency>

    <dependency>
      <groupId>org.uncommons</groupId>
      <artifactId>reportng</artifactId>
      <version>1.1.4</version>
    </dependency>


    <!--report -->
   <dependency>
     <groupId>net.masterthought</groupId>
     <artifactId>cucumber-reporting</artifactId>
     <version>5.6.1</version>
   </dependency>
    <!-- report  -->
    <dependency>
      <groupId>com.google.code.gson</groupId>
      <artifactId>gson</artifactId>
      <version>2.8.6</version>
    </dependency>
    <!-- Junit -->
    <dependency>
      <groupId>junit</groupId>
      <artifactId>junit</artifactId>
      <version>4.12</version>
    </dependency>
    <!--  cucumber dependency  -->
     <dependency>
       <groupId>io.cucumber</groupId>
       <artifactId>cucumber-junit</artifactId>
       <version>7.14.0</version>
     </dependency>
    <dependency>
      <groupId>io.cucumber</groupId>
      <artifactId>cucumber-java</artifactId>
      <version>7.14.0</version>
    </dependency>
    <dependency>
      <groupId>io.cucumber</groupId>
      <artifactId>cucumber-gherkin</artifactId>
      <version>7.14.0</version>
    </dependency>

  </dependencies>
 </project>
到了这里,关于selenium +IntelliJ+firefox/chrome 环境全套搭配的文章就介绍完了。如果您还想了解更多内容,请在右上角搜索TOY模板网以前的文章或继续浏览下面的相关文章,希望大家以后多多支持TOY模板网!


