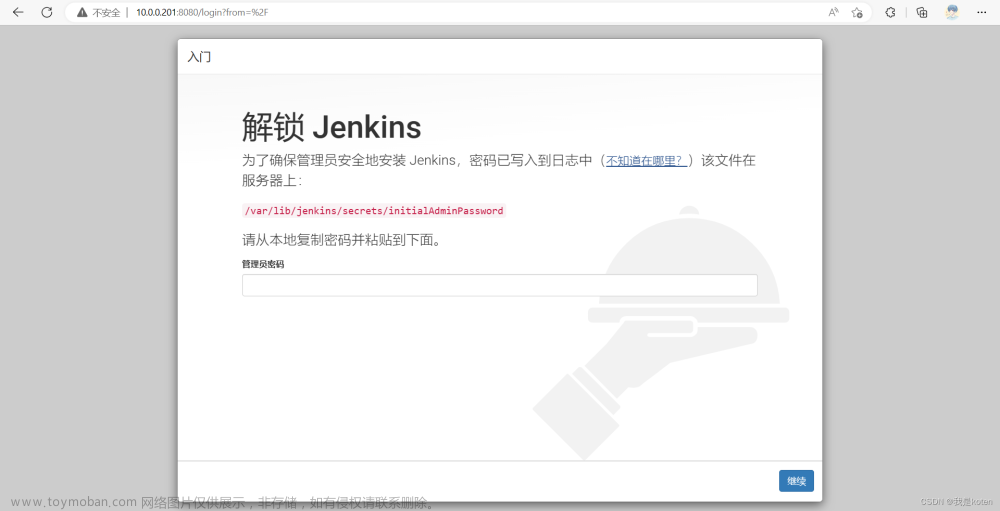
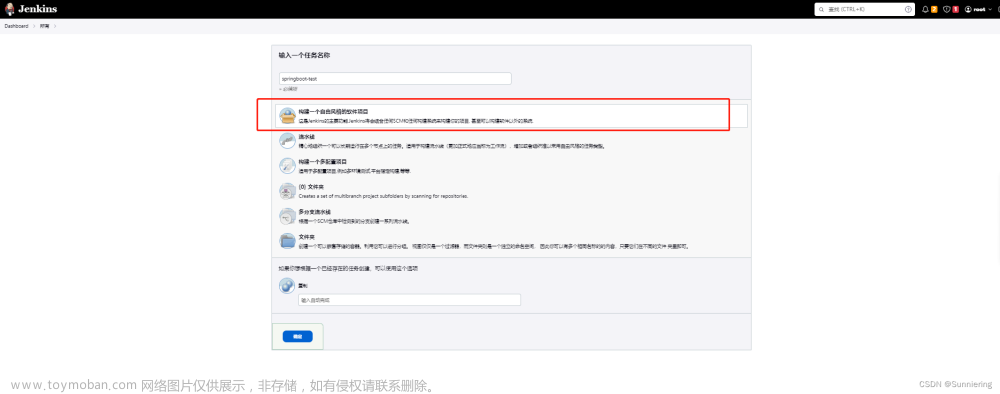
在Jenkins 中先创建一个任务名称

然后进行下一步,放一个项目

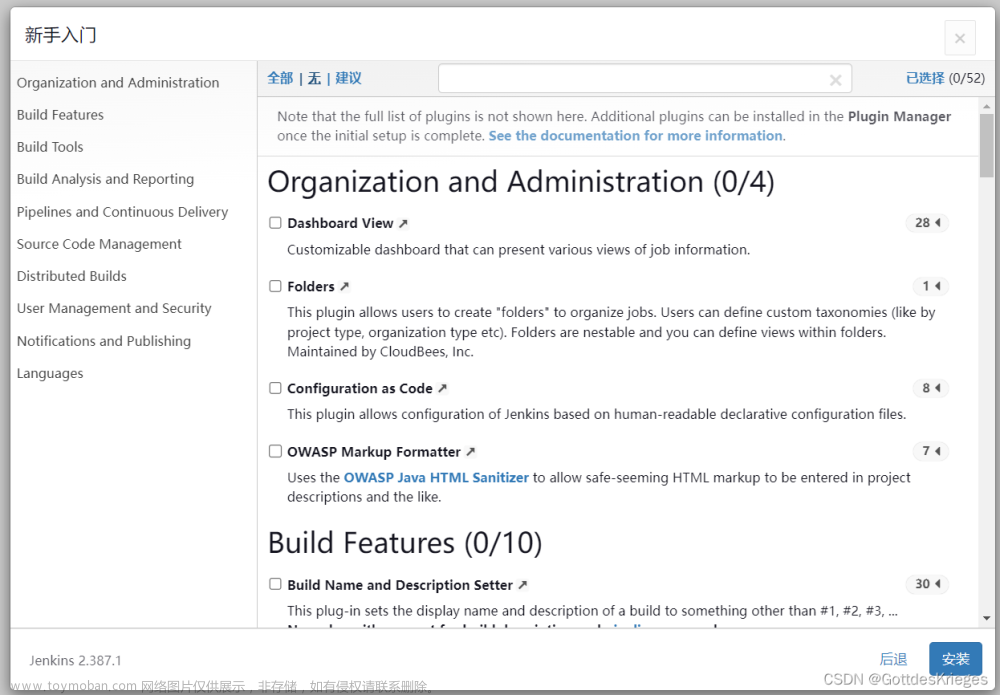
填写一些参数
参数1:
参数2:
参数3: 参数4:
参数4:

点击保存就行了
配置脚本
// git
def git_url = 'http://gitlab.xxxx.git'
def git_auth_id = 'GITEE_RIVERBIED'

// harbor
def harbor_host = '10.0.165.17:5000'
def harbor_project = 'test'
def harbor_crt_id = 'HARBOR_CRT_ID'

// k8s shf
def k8s_crt_id = 'KUBE_CONFIG_FILE_ID'
def k8s_namespace = 'test-web'

// common
def api_name = 'test-web'
def docker_file_path= ''
def docker_image = "${harbor_host}/${harbor_project}/${api_name}:${SERVICE_VERSION}-${ENVIRONMENT.toLowerCase()}"
def service_node_port = ''
def current_timespan = System.currentTimeMillis().toString()


pipeline {
    agent any
    tools {
      nodejs 'nodejs14.15.1'
    }
    stages {
        stage('参数初始化+代码拉取') {
            steps {
                script {
                            api_name = "test-web"
                            docker_file_path = "Dockerfile"
                            docker_image = "${harbor_host}/${harbor_project}/${api_name}-${ENVIRONMENT.toLowerCase()}:${SERVICE_VERSION}_${current_timespan}"
                            service_node_port = "30992"
                }
               dir("${ENVIRONMENT.toLowerCase()}") {
               // 如果是公开仓库,可以直接使用 git url: "${git_url}" 拉取代码
                git branch: BRANCH, credentialsId: "${git_auth_id}", url: "${git_url}"
               }
            }
        }

        stage('依赖安装') {
            steps {
                dir("${ENVIRONMENT.toLowerCase()}") {
                sh (script: """
                npm install --registry=https://registry.npm.taobao.org
                """)
                }
            }
        }

         stage('代码编译') {
            steps {
                dir("${ENVIRONMENT.toLowerCase()}") {
                sh (script: """
                npm run build
                """)
                }
            }
        }

        stage('镜像构建') {
            steps {
                dir("${ENVIRONMENT.toLowerCase()}") {
                sh (script: """
                oldImage=\$(docker images ${harbor_host}/${harbor_project}/${api_name}:${SERVICE_VERSION}  | grep ${api_name} | awk \'{ print \$1":"\$2 }\')
                if [ -z \$oldImage ]; then
                    echo "正常构建镜像"
                else
                     echo "删除存在镜像"
                     docker rmi \$oldImage
                fi
                """)
                sh 'pwd'
                // 生成镜像
                sh "docker build -t ${docker_image}  -f ${docker_file_path} ."
                // 查看镜像
                sh "docker images ${harbor_host}/${harbor_project}/${api_name}"
                }
            }
        }
        stage('镜像上传') {
            steps {
                withCredentials([usernamePassword(credentialsId: "${harbor_crt_id}", passwordVariable: 'harbor_password', usernameVariable: 'harbor_user_name')]) {
                sh (script: """
                # 登录镜像仓库
                HARBOR_PASSWORD=${harbor_password} && echo "\$HARBOR_PASSWORD" | docker login ${harbor_host}  -u ${harbor_user_name} --password-stdin
                # 推送镜像
                docker push ${docker_image}
                # 登出
                docker logout ${harbor_host}
                # 删除镜像
                docker rmi ${docker_image}
                """)
                }
            }
        }
        stage('发布到K8S') {
         steps {
            dir("${ENVIRONMENT.toLowerCase()}") {
            sh """
            api_name=${api_name}
            deploy_api_name=\${api_name}
            export REGISTRY_HOST_IMAGE=${docker_image}
            export SERVICE_NAME=\${deploy_api_name}
            export SERVICE_VERSION=\${SERVICE_VERSION}
            export SERVICE_DEPLOYNAME_NAME=\${deploy_api_name}-deployment
            export ASPNETCORE_ENVIRONMENT=${ENVIRONMENT}
            export SERVICE_SERVICE_NAME=\${deploy_api_name}-service
            export SERVICE_SERVICE_PORT_NAME=\${deploy_api_name}-port
            export SERVICE_SERVICE_SELECT_NAME=\${deploy_api_name}
            export SERVICE_SERVICE_NODE_PORT=${service_node_port}
            export SERVICE_REPLICAS=${REPLICAS}
            export K8S_DEPLOY_NAMESPACE=${k8s_namespace}

            envsubst < deploy/k8s-master/template/api-deployment.yaml > deploy/k8s-master/template/api-real-deployment.yaml
            echo 'deployment发布内容'
            cat deploy/k8s-master/template/api-real-deployment.yaml

            envsubst < deploy/k8s-master/template/api-service.yaml > deploy/k8s-master/template/api-real-service.yaml
            echo 'service发布内容'
            cat deploy/k8s-master/template/api-real-service.yaml
          """
          withKubeConfig([credentialsId: "${k8s_crt_id}"]) {
            sh 'kubectl apply -f deploy/k8s-master/template/api-real-deployment.yaml'
            sh 'kubectl apply -f deploy/k8s-master/template/api-real-service.yaml'
          }
        }
        }
       }
    }
}
在harbor网站里创建一个项目对应harbor_project 与脚本相互对应,
如果不创建,镜像创建不成功

在下面这个网站里创建一个k8s_namespace 与上面的脚本相互对应,
如果不创建,发布到k8s会报错

然后还有一个Dockerfile文件
FROM nginx
COPY dist/ /var/test/html/
COPY dockerConf/default.conf /etc/nginx/conf.d/
EXPOSE 80
EXPOSE 443
然后还要在dockerConf文件夹下创建一个default.conf文件
server {
    listen 80;
    server_name "";
    gzip on;
    gzip_min_length 1k;
    gzip_buffers 4 16k;
    gzip_http_version 1.1;
    gzip_comp_level 6;
    gzip_types text/plain application/javascript application/x-javascript text/css application/css application/xml application/xml+rss text/javascript application/x-httpd-php ima
    gzip_disable "MSIE [1-6]\.";
    gzip_vary on;
	access_log  /var/log/nginx/access.log;
	location / {
                      root   /var/test/html/;
                      index  index.html index.htm;
                      if (!-e $request_filename) {
                          rewrite ^(.*)$ /index.html?s=\$1 last;
                          break;
                      }
               }
}
各种配置完之后,运行一下 文章来源:https://www.toymoban.com/news/detail-723920.html
接下来,成功会变成这样,如果失败了,会在具体的哪一步报错,根据错误信息去修改,有时候网速慢,会在下载依赖的时候就会报错
这就成了
文章来源地址https://www.toymoban.com/news/detail-723920.html
到了这里,关于Jenkins+vue发布项目的文章就介绍完了。如果您还想了解更多内容,请在右上角搜索TOY模板网以前的文章或继续浏览下面的相关文章,希望大家以后多多支持TOY模板网!


