【Proteus仿真】基于DHT11的温湿度测量,LCD1602显示
测试工具
软件:Proteus8.13
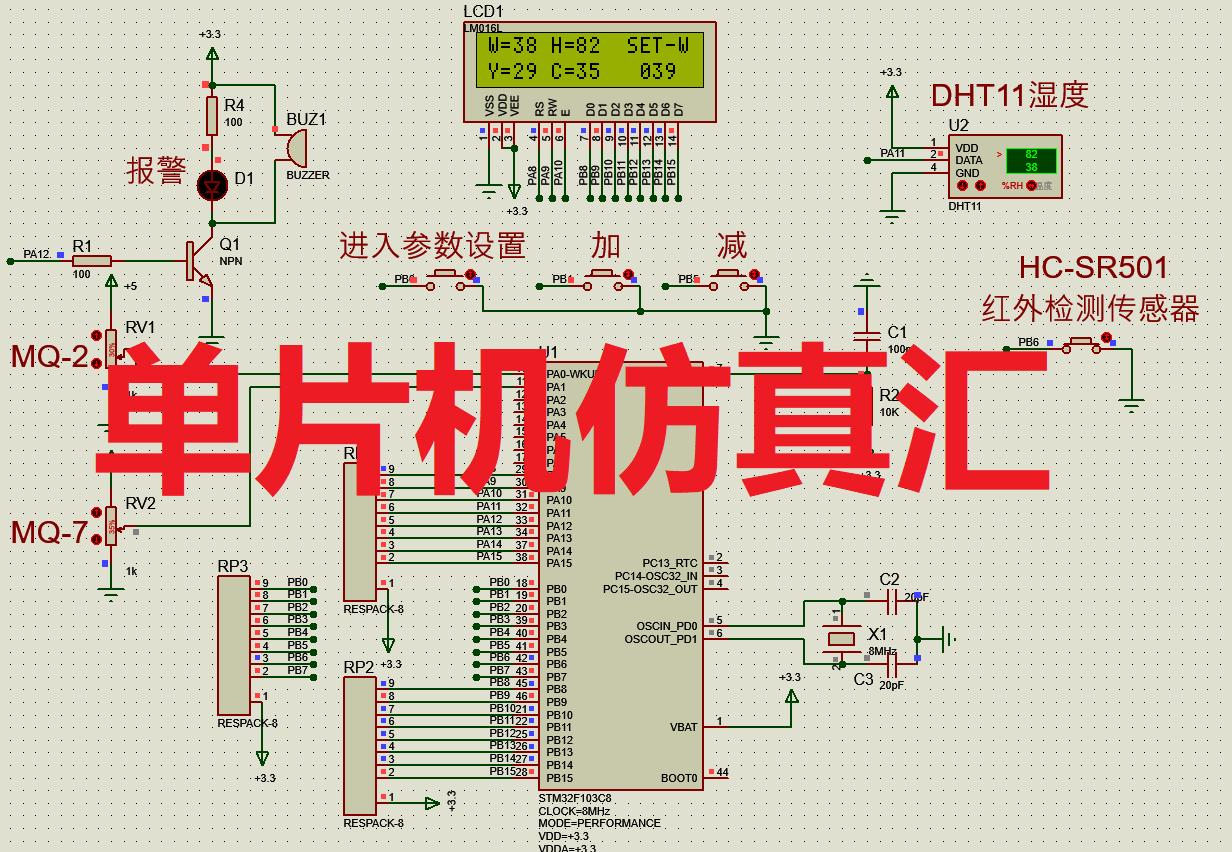
仿真器件:蜂鸣器警报,按键输入,DHT11温湿度,传感器LCD1602显示。
功能叙述
利用DHT11检测环境中的温湿度,并实时显示到LCD1602上,且在实时显示数据的后面,还显示有当前设定的预警上限值。实时数据一旦大于设定的预警上限的值,就会触发蜂鸣器。独立按键,可以改变温湿度的上限预警值。
仿真图示
仿真运行原图
原理图在未运行仿真时,LCD1602有点显示不出,运行了就能显示了。

原图中数据加标注
代码节选
代码跨越库有点多,这里就先放预览图。具体的可以看文件。
还粘贴了部分代码(不贴部分代码,字数少了,不给发)

/**************************************************************************************
实验名称:DHT11温湿度检测(LCD1602显示)
接线说明:DHT11温湿度模块-->单片机IO
		  VCC-->5V
		  DATA-->P2.3
		  GND-->GND
实验现象:下载程序后,LCD1602上显示DHT11温湿度传感器采集的温度和湿度值
***************************************************************************************/
#include "public.h"
#include "lcd1602.h"
#include "dht11.h"

//LCD1602引脚配置:
sbit LCD_RS=P2^6;
sbit LCD_RW=P2^5;
sbit LCD_EN=P2^7;
#define LCD_DataPort P0

sbit P10=P1^0;
sbit P11=P1^1;
sbit P12=P1^2;
sbit P13=P1^3;
sbit P14=P1^4;

//LCD1602函数声明:
void LCD_Init();
void LCD_ShowChar(unsigned char Line,unsigned char Column,char Char);
void LCD_ShowString(unsigned char Line,unsigned char Column,char *String);
void LCD_ShowNum(unsigned char Line,unsigned char Column,unsigned int Number,unsigned char Length);
void LCD_ShowSignedNum(unsigned char Line,unsigned char Column,int Number,unsigned char Length);
void LCD_ShowHexNum(unsigned char Line,unsigned char Column,unsigned int Number,unsigned char Length);
void LCD_ShowBinNum(unsigned char Line,unsigned char Column,unsigned int Number,unsigned char Length);
//要用函数声明
void Button1();	//按钮1检测
void Button2();	//按钮2检测
void Button3();	//按钮3检测
void Button4();	//按钮4检测
void BUZ_Use(char Num);		//蜂鸣器控制
void Delay(unsigned int xms);

/*******************************************************************************
变量区
*******************************************************************************/
int temp_Max=30;
int humi_Max=90;

/*******************************************************************************
* 函 数 名       : main
* 函数功能		 : 主函数
* 输    入       : 无
* 输    出    	 : 无
*******************************************************************************/
void main()
{
	u8 temp=0,humi=0;
	u8 i=0;
	u8 temp_buf[3],humi_buf[3];

	lcd1602_init();
	while(DHT11_Init())	//检测DHT11是否存在
	{
		lcd1602_show_string(0,0,"Error");
	}
	lcd1602_show_string(0,0,"Temp:   C");
	lcd1602_show_string(0,1,"Humi:   %RH");


	while(1)
	{
		Button1();	//按钮1检测
		Button2();	//按钮2检测
		Button3();	//按钮3检测
		Button4();	//按钮4检测
		i++;
		if(i%200==0)
		{
			DHT11_Read_Data(&temp,&humi);
			temp_buf[0]=temp/10+0x30;
			temp_buf[1]=temp%10+0x30;
			temp_buf[2]='\0';
			lcd1602_show_string(6,0,temp_buf);
			LCD_ShowNum(1,14,temp_Max,2);

			humi_buf[0]=humi/10+0x30;
			humi_buf[1]=humi%10+0x30;
			humi_buf[2]='\0';
			lcd1602_show_string(6,1,humi_buf);
			LCD_ShowNum(2,14,humi_Max,2);
		}
		delay_ms(1);
		if(temp>=temp_Max || humi>=humi_Max)
		{
			BUZ_Use(0);
		}
		else
		{
			BUZ_Use(1);
		}
	}
}

//蜂鸣器控制
//0:响声   1:不响
void BUZ_Use(char Num)
{
	switch(Num)
	{
		case 0:
			P10=0;
		break;
		case 1:
			P10=1;
		break;
	}
}

void Button1()
{
	if(P11==0)			//如果Button1按键按下
	{
		Delay(20);		//延时消抖
		//按键1事件
		temp_Max--;
		while(P11==0);	//松手检测
		Delay(20);		//延时消抖
	}
}

void Button2()
{
	if(P12==0)			//如果Button1按键按下
	{
		Delay(20);		//延时消抖
		//按键2事件
		temp_Max++;
		while(P12==0);	//松手检测
		Delay(20);		//延时消抖
	}
}

void Button3()
{
	if(P13==0)			//如果Button1按键按下
	{
		Delay(20);		//延时消抖
		//按键3事件
		humi_Max--;
		while(P13==0);	//松手检测
		Delay(20);		//延时消抖
	}
}

void Button4()
{
	if(P14==0)			//如果Button1按键按下
	{
		Delay(20);		//延时消抖
		//按键4事件
		humi_Max++;
		while(P14==0);	//松手检测
		Delay(20);		//延时消抖
	}
}
void Delay(unsigned int xms)
{
	unsigned char i, j;
	while(xms)
	{
		i = 2;
		j = 239;
		do
		{
			while (--j);
		} while (--i);
		xms--;
	}
}
问题答疑
时间为2024/1/2,有部分读者在使用工程时出现了编译后无法使用的问题,随后我进行尝试没发现问题,工程能正常运行。
关于【Proteus仿真】DHT11+LCD1602问题答疑文章来源:https://www.toymoban.com/news/detail-724882.html
工程源码
链接:https://pan.baidu.com/s/12pteUJCeVncpl9nny5l3Ow
提取码:n9b9文章来源地址https://www.toymoban.com/news/detail-724882.html
到了这里,关于【Proteus仿真】基于DHT11的温度测量,LCD1602显示的文章就介绍完了。如果您还想了解更多内容,请在右上角搜索TOY模板网以前的文章或继续浏览下面的相关文章,希望大家以后多多支持TOY模板网!


