Unity 日历插件组件-日期选择器2D(二)

这篇具有很好参考价值的文章主要介绍了Unity 日历插件组件-日期选择器2D(二)。希望对大家有所帮助。如果存在错误或未考虑完全的地方,请大家不吝赐教,您也可以点击"举报违法"按钮提交疑问。

提示:源码附在文后~大家互相学习

unity 日历插件,Unity2D,unity,c#,源码软件

目录

前言

一、组件结构

二、使用步骤

1.脚本列表

2.绑定说明

1.外层作为总控制层

2.选择日期模块

总结


前言

刚开始使用Unity开发项目,目前工作需求以Unity2D开发为主!发现在以Unity开发的管理系统中,时常要用到日期选择的工具!所以归类提炼不同的实现方式。这款日期选择组件基本实现灵活选择、设置日期(年月日格式)!方便每次使用!


一、组件结构

unity 日历插件,Unity2D,unity,c#,源码软件

二、使用步骤

1.脚本列表

unity 日历插件,Unity2D,unity,c#,源码软件

2.绑定说明

1.外层作为总控制层

绑定DatePickerUI脚本,控制选择时间反显、反显格式以及时间清空功能。

注释:绑定位置为下图显示!

unity 日历插件,Unity2D,unity,c#,源码软件

DatePickerUI核心代码


        protected override void Awake()
        {
            //info_tex = this.transform.Find("info_tex").GetComponent<Text>();
            _dateText = this.transform.Find("startDate_tex").GetComponent<Text>();
            _enddateText = this.transform.Find("endDate_tex").GetComponent<Text>();
            _calendar = this.transform.Find("calendarUIper").GetComponent<CalendarUI>();
            _endcalendar = this.transform.Find("endcalendarUIper").GetComponent<CalendarUI>();
            transform.Find("startCalendar_but").GetComponent<Button>().onClick.AddListener(() =>
            {
                //info_tex.text = "";
                _calendar.gameObject.SetActive(true);
                _endcalendar.gameObject.SetActive(false);
                _calendar.onDayClick.AddListener(dateTime => { DateTime = dateTime; });
                transform.Find("calendarUIper/title/clear_but").GetComponent<Button>().onClick.AddListener(()=> { refreshDateText("1"); });
            });
            transform.Find("endCalendar_but").GetComponent<Button>().onClick.AddListener(() =>
            {
                //info_tex.text = "";
                _endcalendar.gameObject.SetActive(true);             
                _calendar.gameObject.SetActive(false);
                _endcalendar.onDayClick.AddListener(dateTime => { EndDateTime = dateTime; });
                transform.Find("endcalendarUIper/title/clear_but").GetComponent<Button>().onClick.AddListener(() => { refreshEndDateText("1"); });
            }); 
        }

        public void refreshDateText(String i)
        {
            if ("".Equals(i))
            {
                switch (_calendar.CalendarType)
                {
                    case E_CalendarType.Day:
                        _dateText.text = DateTime.Year + "-" + DateTime.Month + "-" + DateTime.Day;
                        break;
                    case E_CalendarType.Month:
                        _dateText.text = DateTime.Year + "-" + DateTime.Month;
                        break;
                    case E_CalendarType.Year:
                        _dateText.text = DateTime.Year + "";
                        break;
                }
            }
            else {
                _dateText.text = "";
            }    
            _calendar.gameObject.SetActive(false);
        }

        public void refreshEndDateText(String i)
        {
            if ("".Equals(i))
            {
                switch (_endcalendar.CalendarType)
                {
                    case E_CalendarType.Day:
                        _enddateText.text = EndDateTime.Year + "-" + EndDateTime.Month + "-" + EndDateTime.Day;
                        break;
                    case E_CalendarType.Month:
                        _enddateText.text = EndDateTime.Year + "-" + EndDateTime.Month;
                        break;
                    case E_CalendarType.Year:
                        _enddateText.text = EndDateTime.Year + "";
                        break;
                }
            }
            else {
                _enddateText.text = "";
            }
            _endcalendar.gameObject.SetActive(false);
        }

2.选择日期模块

绑定CalendarUI脚本,是实现日期列表加载、切换、选择功能。

注释:绑定位置为下图显示!

unity 日历插件,Unity2D,unity,c#,源码软件

CalendarUI核心代码

 private void OnTimeButtonClick()
        {
            if (CalendarType == E_CalendarType.Month)
                CalendarType = E_CalendarType.Year;
            if (CalendarType == E_CalendarType.Day)
            {
                CalendarType = E_CalendarType.Month;
                calendarTypeChange(false);
            }
            Refresh();
        }
 private void OnNextButtonClick()
        {
            if (CalendarType == E_CalendarType.Day)
                m_selectDT = m_selectDT.AddMonths(1);
            else if (CalendarType == E_CalendarType.Month)
                m_selectDT = m_selectDT.AddYears(1);
            else
                m_selectDT = m_selectDT.AddYears(12);
            Refresh();
        }
        private void OnLastButtonClick()
        {
            if (CalendarType == E_CalendarType.Day)
                m_selectDT = m_selectDT.AddMonths(-1);
            else if (CalendarType == E_CalendarType.Month)
                m_selectDT = m_selectDT.AddYears(-1);
            else
                m_selectDT = m_selectDT.AddYears(-12);
            Refresh();
        }
  private void WeekGenerator(GameObject weekPrefab, Transform parent)
        {
            for (int i = 0; i < 7; i++)
            {
                GameObject week = prefabGenerator(weekPrefab, parent);
                week.GetComponent<Text>().text = getWeekName(i.ToString());
            }
            Destroy(weekPrefab);
        }
        private void DayGenerator(GameObject dayPrefab, Transform parent)
        {
            for (int i = 0; i < 42; i++)
            {
                GameObject day = prefabGenerator(dayPrefab, parent);
                DMY dmy = day.AddComponent<DMY>();
                day.GetComponent<Button>().onClick.AddListener(() =>
                {
                    m_selectDT = dmy.DateTime;
                    onDayClick.Invoke(dmy.DateTime);
                    Refresh();
                });
                _daysPool.Add(dmy);
            }
            Destroy(dayPrefab);
        }
        private void MonthGenerator(GameObject monthPrefab, Transform parent)
        {
            for (int i = 0; i < 12; i++)
            {
                GameObject month = prefabGenerator(monthPrefab, parent);
                DMY dmy = month.AddComponent<DMY>();
                month.GetComponent<Button>().onClick.AddListener(() =>
                {
                    m_selectDT = dmy.DateTime;
                    if (CalendarType == E_CalendarType.Month)
                    {
                        CalendarType = E_CalendarType.Day;
                        calendarTypeChange(true);
                        onMonthClick.Invoke(dmy.DateTime);
                    }
                    if (CalendarType == E_CalendarType.Year)
                    {
                        CalendarType = E_CalendarType.Month;
                        onYearClick.Invoke(dmy.DateTime);
                    }
                    Refresh();
                });
                _monthYearPool.Add(dmy);
            }
            Destroy(monthPrefab);
        }

收获

通过在平台上整理组件,可以利用空余时间归类总结,更进一步梳理出简单的组件结构,巩固认识、加深理解!并在下次使用是快速使用,节约时间!同时可以记录分享!

总结

组件结构简单,层级明朗,便于理解。可更改ui和尺寸用于不同场合。个人总结归纳,便于使用。希望可以拿来直接使用,方便易懂,在开发过程中节约时间、避免重复造轮子~~~

CSDN组件下载:https://download.csdn.net/download/u014641682/87563968文章来源地址https://www.toymoban.com/news/detail-724948.html

到了这里,关于Unity 日历插件组件-日期选择器2D(二)的文章就介绍完了。如果您还想了解更多内容,请在右上角搜索TOY模板网以前的文章或继续浏览下面的相关文章,希望大家以后多多支持TOY模板网!

本文来自互联网用户投稿,该文观点仅代表作者本人,不代表本站立场。本站仅提供信息存储空间服务,不拥有所有权,不承担相关法律责任。如若转载,请注明出处: 如若内容造成侵权/违法违规/事实不符,请点击违法举报进行投诉反馈,一经查实,立即删除!

领支付宝红包 赞助服务器费用

相关文章

  • 【Unity2D】角色动画的切换

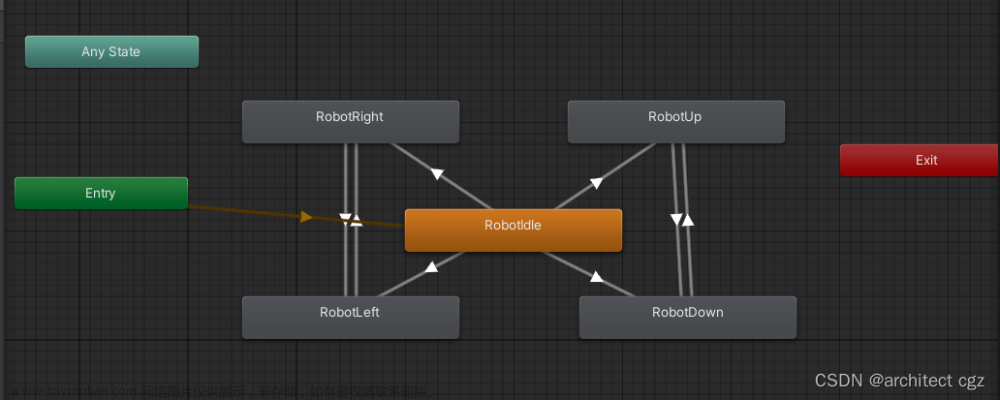
    第一种方法是设置一个中间状态,从中间状态向其余各种状态切换,且各状态向其他状态需要设置参数 实现动作转移时右键点击Make Transition即可  实现动画转移需要设置条件 点击一种动画到另一种动画的线 ,然后点击加号添加Condition 比如机器人从向左走切换到向右走的条件

    2024年02月15日
    浏览(57)
  • Unity2D学习笔记-Tilemap

    tilemap算是接触了几次,但是无论是看视频还是看文章都一知半解,这次把编辑地图的开始步骤搞清楚。 首先要知道tilemap是做什么的。 这里提到的Tilemap其实不止是Tilemap:Tilemap本身是地图编辑器(虽然我更倾向于理解为“场景”,不过编辑地图才是核心)。之前学的印象是,

    2023年04月09日
    浏览(52)
  • Unity2D控制角色左右移动

    1.在Hierarchy一栏中选中角色; 2.在inspector栏最底端找到Add Component选项并点击; 3.添加Rigidbody2D,合适的collider和new script; 4.将添加的Rigidbody2D拖到new script中;   5.在project栏中找到新添加的C#文件并双击打开(如果还没有编辑代码的工具,推荐Vscode) 6.代码如下: using System.Nu

    2024年02月14日
    浏览(50)
  • Unity2d游戏项目--小狐狸

    (一) 在文件夹中找到back图片,并在检查器面板中将back图片的每单位像素数设置为16。 (文件所在地) (面板设置) (二) 将图片拖入到场景中 (一) 生成矩形的瓦片地图 (二) 打开平铺调色板 (三) 新建并命名为map,在原目录新建一个文件夹,用于存放你在这个瓦

    2024年02月03日
    浏览(37)
  • Unity2D小狐狸教程笔记

    下载 https://unity.cn/releases 默认显示方式 window - layout - default SampleScene : Project - 文件目录 Scene -游戏画面 asset store - 素材商店 在asset store下载素材 sunnyland shift + sapace 放大窗口 1.背景导入 每个格子16像素: Pixels Per Unit 16px 2.绘制瓷砖式地图 新建瓦片图层:左上角/右键 2D object

    2024年01月24日
    浏览(47)
  • Unity学习笔记(7) Unity2D骨骼动画制作流程

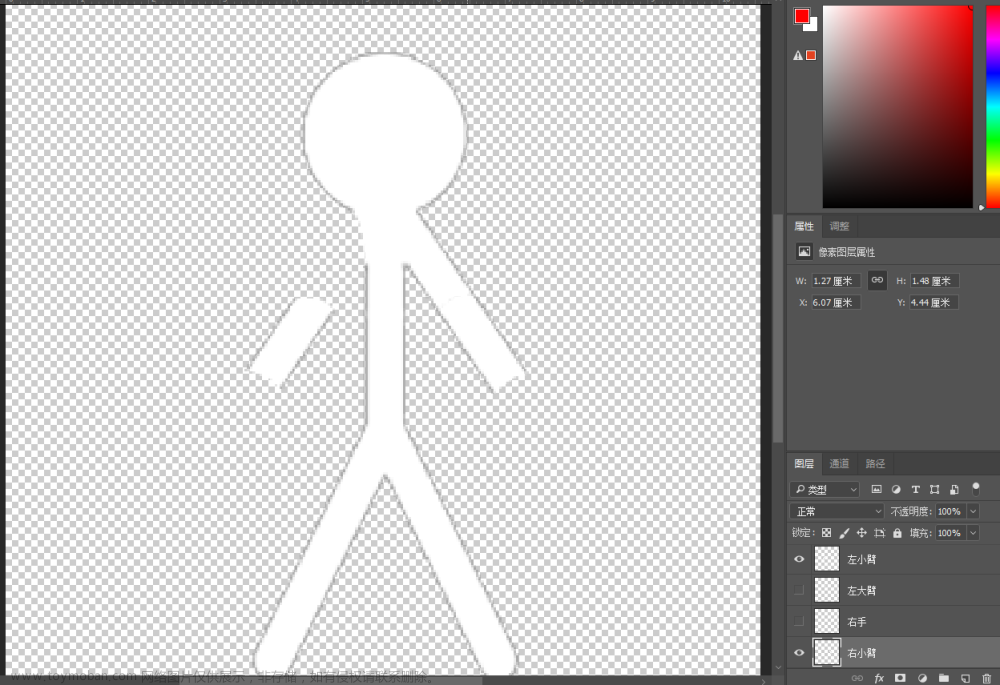
    用骨骼动画最大的好处就是方便之后做换装系统。 无论对3Dor2D游戏都是这样的。 这篇博文记录一下2D骨骼动画的制作流程,参考b站麦扣的系列教程: https://space.bilibili.com/370283072/channel/seriesdetail?sid=211996 用PS做一个将人物各个部件(骨骼)都分解开来的人物模型。 导出时注意

    2023年04月09日
    浏览(58)
  • Unity2D子弹朝向鼠标位置发射

    废话不多说,先说明一下我使用的变量 float attack_time 用于表示每次攻击的间隙时间 float current_time 攻击时间的冷却 Rigidbody2D body 2D刚体组件 Object bomb 需要发射的物体对象 创建一枚子弹,unity的Instantiate()函数就可以实现,这里需要的三个参数是物体对象(Object),生成位置(Vecto

    2024年02月10日
    浏览(64)
  • Unity2D-使人物翻转的方法

    方法①:使用组件: SpriteRenderer 使用 GetAxis() 和 GetAxisRaw() 没有区别 方法②:使用组件: Transform 情况1:使用 GetAxisRaw() ;没有刹车效果,及翻转过程没有过渡, m o v e F a c t o r moveFactor m o v e F a c t or 取-1,1,0 情况1:使用 GetAxis() ;有刹车效果,及翻转过程有过渡, m o v e F a c t

    2024年02月12日
    浏览(41)
  • Unity2D中让角色旋转朝向鼠标

       实现该功能,你需要关注以下的几个步骤 1.获取角色的世界坐标 2.获取鼠标所在位置的世界坐标 3.获取角色朝向鼠标时候的向量 4.获取上一步骤的向量的反正切的弧度值 5.将弧度值转化为角度 6.将该角度应用于角色 ——————————分割线——————————  

    2023年04月08日
    浏览(93)
  • unity2D横版游戏教程8-音效

    简单介绍一下unity audio,auido包括三个东西,分别是Aduio Listener,Audio Source,Audio Clips。Audio Listener就相当于耳朵,是用来听声音的,Audio Source就相当于播放器,一个音源,可以播放声音,具体播放什么声音就靠Audio Clips 通常Audio Listener只有一个,默认情况下Audio Listener就在Main

    2024年02月08日
    浏览(42)

觉得文章有用就打赏一下文章作者

支付宝扫一扫打赏

博客赞助

微信扫一扫打赏

请作者喝杯咖啡吧~博客赞助

支付宝扫一扫领取红包,优惠每天领

二维码1

领取红包

二维码2

领红包