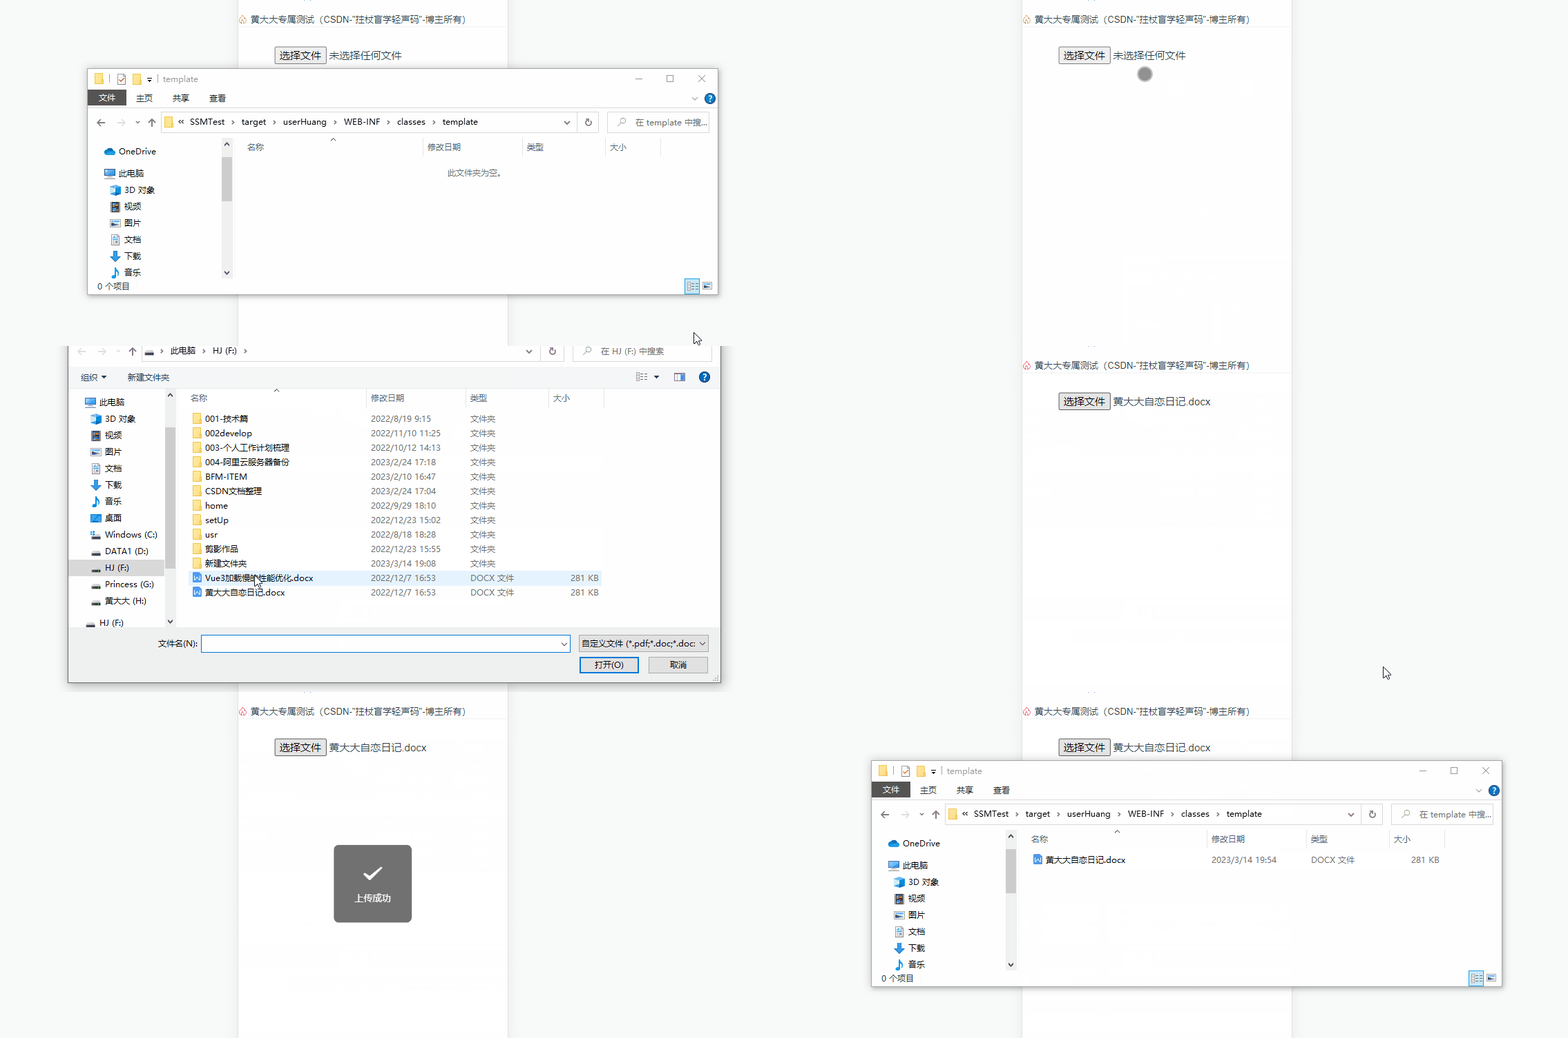
很多小伙伴会遇到图片上传的功能,下面给大家分享图片上传的具体代码实现。话不多,直接上代码:
package org.example.demo2.config;
import org.springframework.beans.factory.annotation.Value;
import org.springframework.http.ResponseEntity;
import org.springframework.stereotype.Controller;
import org.springframework.util.StringUtils;
import org.springframework.validation.annotation.Validated;
import org.springframework.web.bind.annotation.*;
import org.springframework.web.multipart.MultipartFile;
import java.io.File;
import java.io.IOException;
import java.time.LocalDate;
import java.time.format.DateTimeFormatter;
import java.util.HashMap;
import java.util.Map;
@CrossOrigin(origins ="*")
@RestController
@RequestMapping("/param")
@Validated
public class FileParamController{
@PostMapping("/upload")
public String uploadFile(@RequestParam("file") MultipartFile file) {
String uploadFile = "C:\\upload\\images";
// 1:指定文件上传的目录
//获取当前年月
// 获取当前年月
LocalDate now = LocalDate.now();
String yearMonth = now.format(DateTimeFormatter.ofPattern("yyyyMM"));
uploadFile=uploadFile+"\\"+yearMonth;
File targetFile = new File(uploadFile);
try {
// 2:如果targetFile不存在,则创建
if (!targetFile.exists()) {
targetFile.mkdirs();
}
// 3: 指定文件上传后的目录
String fileName = file.getOriginalFilename();
File targetFileName = new File(targetFile, fileName); // 先写死
// 4:文件上传到指定的目录
file.transferTo(targetFileName);文章来源:https://www.toymoban.com/news/detail-726781.html
Map map=new HashMap<>();
map.put("filename",fileName);
map.put("code",200);
return "/FinforWorx/images/"+yearMonth+"/"+fileName;
} catch (IOException e) {
e.printStackTrace();
Map map=new HashMap<>();
map.put("des","上传错误");
map.put("code",500);
return "上传错误";
}
}
}文章来源地址https://www.toymoban.com/news/detail-726781.html
到了这里,关于文件上传功能实现的文章就介绍完了。如果您还想了解更多内容,请在右上角搜索TOY模板网以前的文章或继续浏览下面的相关文章,希望大家以后多多支持TOY模板网!


