【背景】
封闭环境无法拷贝外来的远程桌面软件,所以就直接自己用C#写一个。
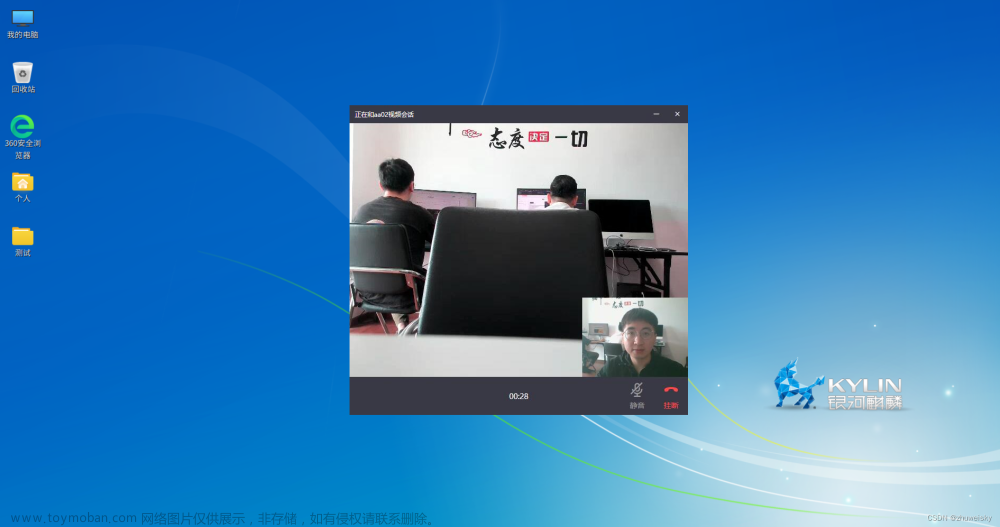
【效果】

【说明】
本篇会给出完整的编程步骤,照着写就能拥有你自己的远程桌面应用,直接可以运行在局域网。
如果不想自己敲代码,也可以选择直接下载项目资源,解包后直接用VS2019打开即可运行或自行打包成exe:
https://download.csdn.net/download/weixin_41697242/88350078
【设计】
远程桌面需要一个服务端,一个客户端,各自是一个项目文件。
本项目中客户端分享画面(发送截屏数据流),服务端则是监听并接收画面,因此服务端需要两个Form(窗体)。文章来源:https://www.toymoban.com/news/detail-731556.html
【项目源码】
客户端UI
只需要一个Form1,布局如下:
具体组件和属性设置如下:
Label1,text改为IP即可;
Label2,text改为Port即可;
textbox1,名称改为txtIP;
textbox2,名称改为txtPort,text改为80
button1,text改为Connect,名称改为btnConnect
button2,text改为ShareScreen,名称改为btnShare文章来源地址https://www.toymoban.com/news/detail-731556.html
客户端源码
using System;
using System.Collections.Generic;
using System.ComponentModel;
using System.Data;
using System.Drawing;
using System.Linq;
using System.Text;
using System.Threading.Tasks;
using System.Windows.Forms;

using System.Net.Sockets;
using System.Drawing.Imaging;
using System.Runtime.Serialization.Formatters.Binary;

namespace OriginalClient
{

    public partial class Form1 : Form
    {

        private readonly TcpClient client = new TcpClient();
        private NetworkStream mainStream;
        private int portNumber;

        private static Image GrabDesktop()
        {

            Rectangle bound = Screen.PrimaryScreen.Bounds;
            Bitmap screenshot = new Bitmap(bound.Width, bound.Height, PixelFormat.Format32bppArgb);
            Graphics graphics = Graphics.FromImage(screenshot);
            graphics.CopyFromScreen(bound.X, bound.Y, 0, 0, bound.Size, CopyPixelOperation
到了这里,关于【C#】【源码】直接可用的远程桌面应用的文章就介绍完了。如果您还想了解更多内容,请在右上角搜索TOY模板网以前的文章或继续浏览下面的相关文章,希望大家以后多多支持TOY模板网!


