jupyter notebook和pycharm中配置pytorch环境,及jupyter notebook内核创建

这篇具有很好参考价值的文章主要介绍了jupyter notebook和pycharm中配置pytorch环境,及jupyter notebook内核创建。希望对大家有所帮助。如果存在错误或未考虑完全的地方,请大家不吝赐教,您也可以点击"举报违法"按钮提交疑问。

一、前提条件

  1. anaconda已经成功安装,并且可以成功打开jupyter notebook(可以参加我的另一篇博文:windows下anaconda的下载安装)
  2. pycharm已经成功安装,并且可以成功打开(社区版本和专业版的都可以,ps:社区办免费,但是不可以远程连接服务器,专业版要付费或者学生身份可以免费申请,可以连接远程服务器)

二、整体思路

  1. jupyter notebook:下载anaconda —— 创建虚拟环境 —— 在虚拟环境中创建 jupyter notebook 内核包 —— 创建内核 —— 再在虚拟环境中安装pytorch(注意:创建内核和安装pytorch的顺序不能换,否则即使jupyer notebook有了这个虚拟环境,import torch依然会显示不存在)
  2. pycharm:添加新的解释器

三、jupyter notebook中配置pytorch

1. 可以成功打开jupyter notebook(前提)
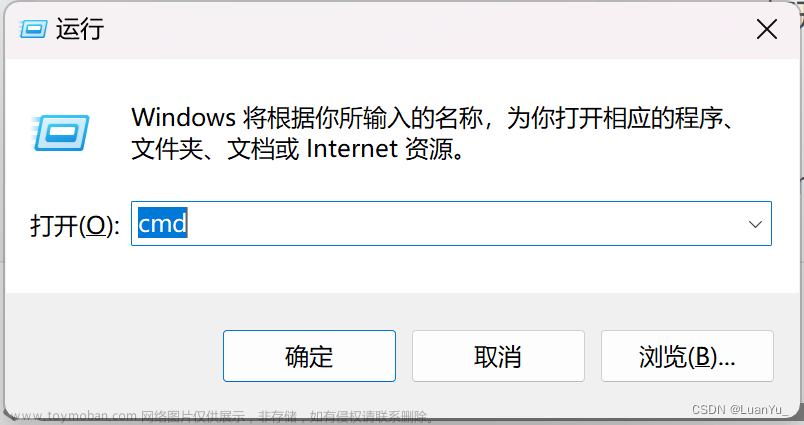
win+R打开终端 —— 输入cmd —— 输入 jupyter notebook 显示如下表示成功打开

juypter notebook安装torch,pytorch,pycharm,jupyter

2. 创建虚拟环境

(1) 打开Anaconda Prompt(anaconda 3),输入conda create -n pytorch python=3.9

juypter notebook安装torch,pytorch,pycharm,jupyter

(2) 激活虚拟环境
继续输入activate pytorch,其中pytorch是我吗创建的虚拟环境的名称

juypter notebook安装torch,pytorch,pycharm,jupyter
(3) 在虚拟环境中创建 jupyter notebook 内核包 ipykernel
(3.1) 首先看一下当前的jupyter notebook内核情况(为了与创建内核之后对比查看):打开终端输入jupyter notebook 打开查看,显示如下:

juypter notebook安装torch,pytorch,pycharm,jupyter

(3.2) 在创建好的pytorch环境下,继续输入 conda install -n pytorch ipykernel
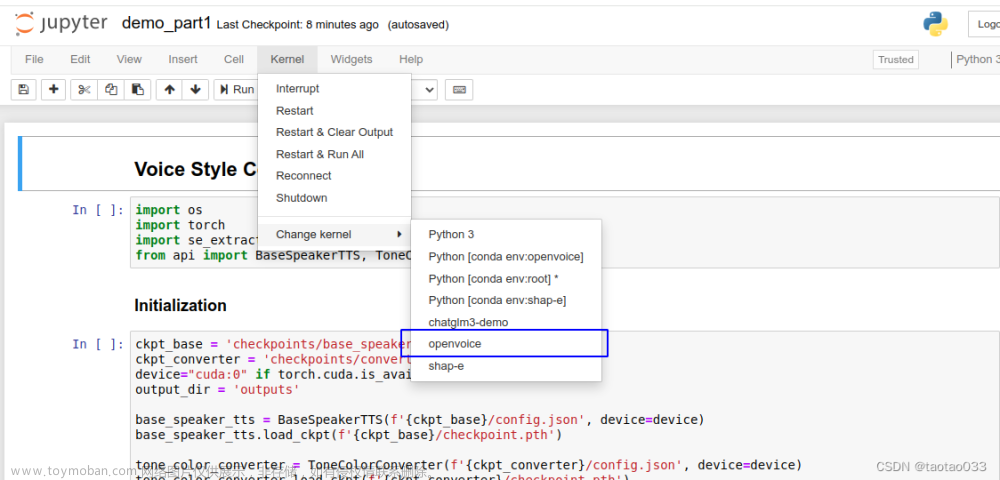
juypter notebook安装torch,pytorch,pycharm,jupyter
(4) 在虚拟环境中创建新的内核
(4.1) 在创建好的pytorch环境下,继续输入python -m ipykernel install --user --name pytorch --display-name "pytorch"

juypter notebook安装torch,pytorch,pycharm,jupyter
(4.2) 打开jupyter notebook,查看内核情况,发现已经成功创建,显示如下:

juypter notebook安装torch,pytorch,pycharm,jupyter

(5) 在虚拟环境中,安装pytorch
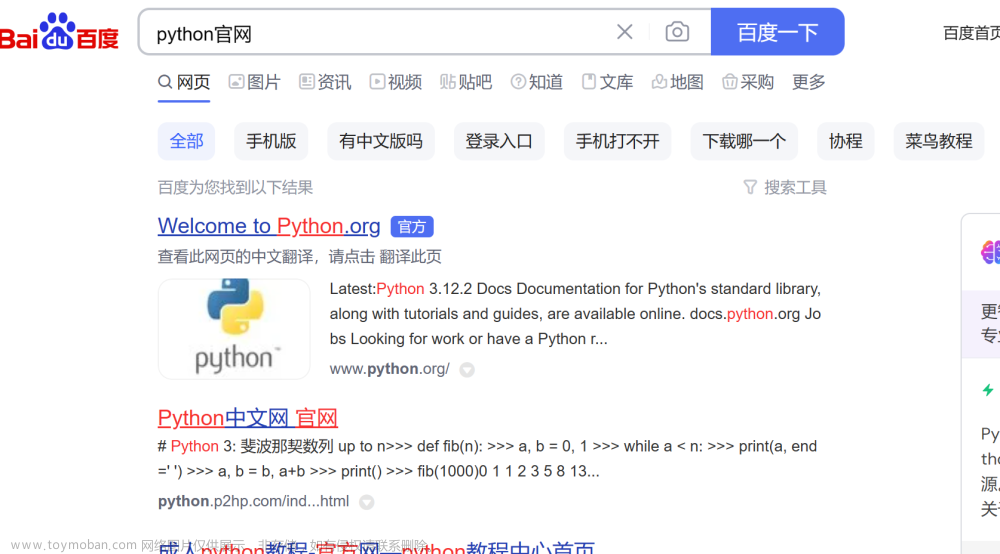
(5.1) 进入pytorch官网: pytorch官网,根据需要和自己电脑配置选择安装,并复制命令(PS:因为电脑是集显,没有独立显卡,所以使用CPU版本的torch,若有独显的,查看一下显卡支持CUDA的版本,选择安装GPU版本的torch。这里直接使用的是官网命令行进行安装,若电脑配置不高,害怕下载速度慢,可以重新使用清华源镜像进行安装)

juypter notebook安装torch,pytorch,pycharm,jupyter

juypter notebook安装torch,pytorch,pycharm,jupyter

juypter notebook安装torch,pytorch,pycharm,jupyter

(5.2) 打开Anaconda Prompt(anaconda 3),进入刚刚创建好的虚拟环境中,粘贴刚刚复制的命令行,进入torch安装
juypter notebook安装torch,pytorch,pycharm,jupyter

juypter notebook安装torch,pytorch,pycharm,jupyter
(5.3) 检验是否安装成功
在虚拟环境中,依次输入
python
import torch
torch.__version__
exit()
成功显示torch版本号,表示安装成功

juypter notebook安装torch,pytorch,pycharm,jupyter
(6) 打开jupyter notebook,用新建的内核创建新文件进行测试
输入
import torch
torch.__version__
显示如下即jupyter notebook中pytorch环境配置成功(注:如出现一直处于内核正在启动请稍等,打不开的情况,解决方法见我的另外一个博文:链接: jupyter notebook无法启动问题

到这里,已经成功配置好jupyter notebook的torch环境啦!!^ _ ^

四、pycharm中配置pytorch

1. 点击pycharm的右下角,如下图(或者在左上角打开setting也一样)

juypter notebook安装torch,pytorch,pycharm,jupyter

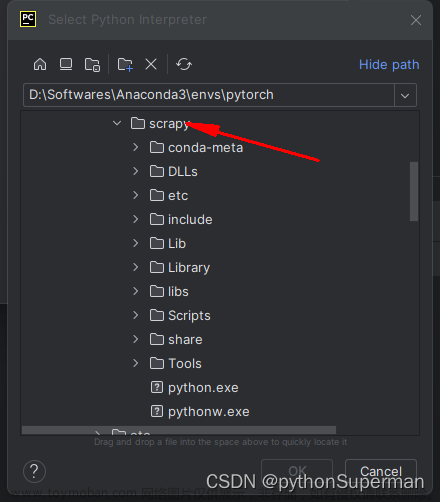
2. 找到之前安装的anaconda的安装路径下的envs文件夹中所建新环境的名字(此处名为pytorch)下的python.exe文件即为所需要的torch环境解释器,如下图:

juypter notebook安装torch,pytorch,pycharm,jupyter

3. 选中后点击ok,即可

juypter notebook安装torch,pytorch,pycharm,jupyter

4. 新建一个py文件,进行测试
输入
import torch
print(torch.__version__)
显示如下,即成功

juypter notebook安装torch,pytorch,pycharm,jupyter

到这里,已经成功配置好pycharm的torch环境啦!!^ _ ^

五、参考博文链接

链接: link文章来源地址https://www.toymoban.com/news/detail-734099.html

到了这里,关于jupyter notebook和pycharm中配置pytorch环境,及jupyter notebook内核创建的文章就介绍完了。如果您还想了解更多内容,请在右上角搜索TOY模板网以前的文章或继续浏览下面的相关文章,希望大家以后多多支持TOY模板网!

本文来自互联网用户投稿,该文观点仅代表作者本人,不代表本站立场。本站仅提供信息存储空间服务,不拥有所有权,不承担相关法律责任。如若转载,请注明出处: 如若内容造成侵权/违法违规/事实不符,请点击违法举报进行投诉反馈,一经查实,立即删除!

领支付宝红包 赞助服务器费用

相关文章

  • 配置Cuda及Cudnn,在Anaconda创建虚拟环境,安装GPU版Pytorch,并在Jupyter noterbook及Pycharm中调用【极其详细】

    目录  一、配置Cuda及Cudnn (一)下载Cuda 1、查看电脑自带的Cuda版本 2、下载相应版本Cuda安装包 3、安装Cuda 4、配置变量 (二)下载Cudnn 二、创建虚拟环境 三、虚拟环境中安装GPU版Pytorch (一)有关环境的基本指令 (二)安装GPU版Pytorch 四、将虚拟环境在Jupyter noterbook及Pycha

    2024年04月28日
    浏览(36)
  • 在Jupyter Notebook中添加Anaconda环境(内核)

    在使用前我们先要搞清楚一些事: 我们在安装anaconda的时候它就内置了Jupyter Notebook,这个jupyter初始只有base一个内核(显示为Python3) 此后其实我们就不需要重复安装完整的jupyter notebook了,只要按需为其添加新的内核即可(一个内核对应一个新建的anaconda 环境) 始终将base环

    2024年02月11日
    浏览(29)
  • 解决jupyter notebook可以使用pytorch而Pycharm不能使用pytorch的问题

    之前我是用的这个目录下的Python 改变virtualenv environment 1、  2、  3、 改变Conda Environment 第二天登录Pycharm发现 import  torch又标红了,以下是解决的操作步骤  点击Load Environments就可以解决了! 改变System Interpreter 那么以下是解决办法 点击file --setting   然后接着点击Project目录下

    2024年02月10日
    浏览(53)
  • 史上最完整的深度学习环境配置教程,亲自踩雷,看必会(包含问题解决)配置Anaconda+Pycharm+Pytorch+Jupyter

    目录 前言 一、配置Anaconda 二、配置PyCharm 三、配置PyTorch 四、配置Jupyter notebook 本人浏览了大量教程,踩过很多的坑,我将配置的过程详细具体的教给大家,只要按照步骤来一定可以配置成功。 进入Anaconda官网,点击Download 点击Download之后会进入该页面 ----------------------------

    2024年02月12日
    浏览(48)
  • pytorch学习第一篇:conda配置jupyter notebooks pytorch

    创建一个pytorch的环境 安装jupyter notebook,运行命令 启动jupyter 运行命令 或者 notebook查看pyhton版本 可看出用的python是pytorch下的python 官网链接 https://pytorch.org/get-started/locally/ 这里我的是cuda12.1 复制命令 安装完成 查看是否可以正常使用cuda 查看版本

    2024年02月13日
    浏览(49)
  • Pycharm 配置jupyter notebook 且Windos 安装vim编辑器

    请记住要想让你的python成功安装jupyter notebook ,你的python最好使用p大于等于python3.7 最好不要在python2大版本中安装jupyternotebook 这个会报错,需要你改一些配置文件,除非你想挑战一下自己,不过后面我会尝试在python2大版本中安装,报错的原因是有的库依赖的python版本比较高,

    2024年02月06日
    浏览(44)
  • anaconda在新的conda环境创建与打开jupyter notebook,在新的文件目录下打开jupyter notebook(有视频教学)

    目录 视频链接如下: anaconda 1.创建新的conda环境; 2.在新的conda环境打开jupyter notebook; 3.在新的文件目录下打开jupyter notebook; 详细步骤: 本文也是根据该视频的教学学习做的笔记,希望帮助到更多人。 https://www.bilibili.com/video/BV1CU4y1v7PV/?spm_id_from=333.788.top_right_bar_window_histor

    2024年02月01日
    浏览(58)
  • python环境安装与配置 Jupyter Notebook的环境配置

    浏览器上搜索python官网 进入官网,点击downloads(下载的意思)在里面自行选择 在这里选择需要的版本,点击即可 选择自定义安装,勾选添加环境变量 下一步全选,第三步修改安装路径,怎么方便怎么来 安装成功后,点击键盘Windows+R键进入运行输入cmd 进入后输入python 可以查

    2024年03月09日
    浏览(53)
  • jupyter notebook 配置conda 虚拟环境python

    conda创建python环境 激活环境 在虚拟环境中安装ipykernel 添加虚拟环境进到 jupyter notebook 启动 jupyter notebook 参考链接: 使用Conda来配置Jupyter notebook的虚拟环境 https://www.cnblogs.com/tccjx/articles/16469642.html

    2024年01月17日
    浏览(43)
  • 为jupyter notebook配置conda环境的三种方法

    Jupyter 在一个名为 kernel 的单独进程中运行用户的代码。kernel 可以是不同的 Python 安装在不同的 conda 环境或虚拟环境,甚至可以是不同语言(例如 Julia 或 R)的解释器。 简而言之,如何使用 conda 环境和 Jupyter 有三种选择: 文章目录         1.在 conda 环境中运行 Jupyter 服务

    2024年02月11日
    浏览(39)

觉得文章有用就打赏一下文章作者

支付宝扫一扫打赏

博客赞助

微信扫一扫打赏

请作者喝杯咖啡吧~博客赞助

支付宝扫一扫领取红包,优惠每天领

二维码1

领取红包

二维码2

领红包