文章引导
前言
环境准备
安装
idea上传Gitlab
安装Jenkins+Maven+Nexus
Jenkins配置Maven+Git构建jar包
Jenkins配置自动化发布
前言
搭建Gitlab、Maven、Jenkins、Nexus。使用Idea创建项目,上传到Gitlab,配置Jenkins(配合私服Nexus)自动化发布到测试环境
环境准备
| 系统版本 | 内核版本 | Gitlab版本 | Maven版本 | Nexus版本 | Jenkins版本 | JDK版本 | Git版本 |
|---|---|---|---|---|---|---|---|
| Centos 7.8.2003 | 3.10.0-1127.el7.x86_64 | 16.1.1 | 3.6.3 | 3.57.0-01 | 2.346.3 | 11,1.8 | 2.9.6 |
Gitlab、Jenkins、Nexus都独立服务器部署。
每台服务器至少内存大于等于4G(如果小于4G可能会一直处于502)、CPU大于等于4核
内存太小会等待时间过长,或者程序异常。
安装
第一种方式:yum安装gitlab
1. 配置yum源
##新建gitlab的yum文件
[root@docker ~]# vi /etc/yum.repos.d/gitlab-ce.repo

##写入以下配置  《清华大学开源软件镜像站》
[gitlab-ce]
name=Gitlab CE Repository
baseurl=https://mirrors.tuna.tsinghua.edu.cn/gitlab-ce/yum/el$releasever/
gpgcheck=0
enabled=1

##建立一个缓存
[root@docker ~]# yum makecache
2. 使用yum安装
yum -y install gitlab-ce
......
    / ____(_) /_/ /   ____ _/ /_
   / / __/ / __/ /   / __ `/ __ \
  / /_/ / / /_/ /___/ /_/ / /_/ /
  \____/_/\__/_____/\__,_/_.___/


Thank you for installing GitLab!
GitLab was unable to detect a valid hostname for your instance.
Please configure a URL for your GitLab instance by setting `external_url`
configuration in /etc/gitlab/gitlab.rb file.
Then, you can start your GitLab instance by running the following command:
  sudo gitlab-ctl reconfigure
3. gitlab常用命令
gitlab-ctl start ##启动所有gitlab插件
gitlab-ctl stop
gitlab-ctl restart
gitlab-ctl status
gitlab-ctl reconfigure
vi /etc/gitlab/gitlab.rb   ##默认的配置文件
gitlab-ctl tail				#查看日志
4. 安装完成后需要初始化
[root@gitlab ~]#  gitlab-ctl reconfigure
......
Notes:
Default admin account has been configured with following details:
Username: root
Password: You didn't opt-in to print initial root password to STDOUT.
Password stored to /etc/gitlab/initial_root_password. This file will be cleaned up in first reconfigure run after 24 hours.

NOTE: Because these credentials might be present in your log files in plain text, it is highly recommended to reset the password following https://docs.gitlab.com/ee/security/reset_user_password.html#reset-your-root-password.

gitlab Reconfigured!
6. 修改配置文件然后启动验证
##默认配置文件把url改为本机ip或者通过代理用域名
[root@gitlab ~]# vi /etc/gitlab/gitlab.rb
external_url 'http://10.64.95.111'

##刷新配置
[root@gitlab ~]# gitlab-ctl reconfigure

##访问
[root@gitlab ~]# curl 127.0.0.1
<html><body>You are being <a href="http://127.0.0.1/users/sign_in">redirected</a>.</body></html>[root@gitlab ~]#
7. 登录,如果出现了502界面,请查看内存和存储。都是够的话,请耐心等待一会。
##获取默认密码在这个地方
[root@gitlab ~]# cat /etc/gitlab/initial_root_password
Password: 67JlDe/Hhm4nJ10vhOBNnX5nOlj2dALI8dfJnfl1tdI=
登录账号为root,密码为上面再文件中获取到的
8. 修改默认的密码,然后保存,重新登陆即可

8. 修改中文
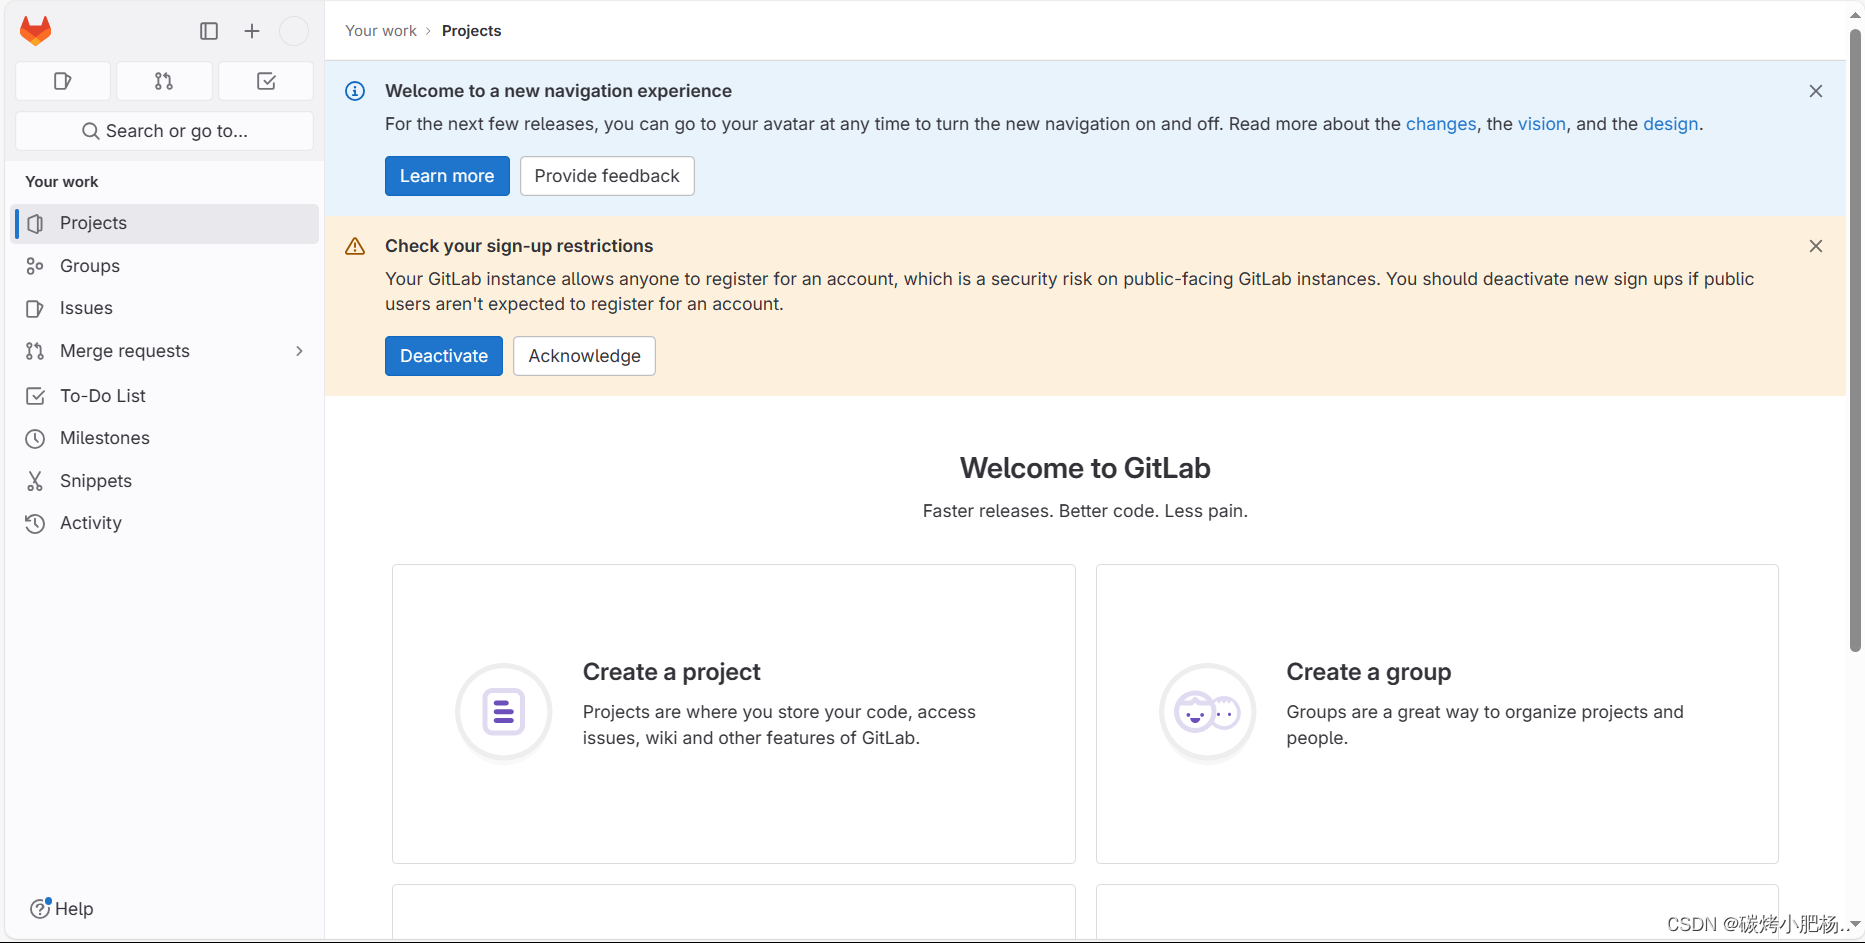
1. 登录GitLab后,点击在页面左上角搜索框(放大镜)右边有一个头像(可能是透明的也可能是破图)。
2. 点击Preferences,右边往下拉看到Localization然后并点击,选择 Chinese, Simplified - 简体中文 (98% translated) 选项。
3. 再然后拉到最下面点击 save changes,等待提示保存成功后再刷新页面即可。
第二种方式:也可以使用docker安装gitlab
- 设置环境变量
##目录自定义
export GITLAB_HOME=/srv/gitlab
- 运行
docker run --detach \
  --hostname gitlab.example.com \
  --publish 443:443 --publish 80:80 --publish 22:22 \
  --name gitlab \
  --restart always \
  --volume $GITLAB_HOME/config:/etc/gitlab \
  --volume $GITLAB_HOME/logs:/var/log/gitlab \
  --volume $GITLAB_HOME/data:/var/opt/gitlab \
  --shm-size 256m \
  registry.gitlab.cn/omnibus/gitlab-jh:latest
hostname改为本机ip$GITLAB_HOME本机的目录shm-size共享内存
如果提示权限不住请添加参数: --privileged=true -u=rootpublish建议改为其他端口不然可以会冲突ssh端口
idea上传Gitlab
1. 创建组和空白项目
创建一个项目

查看上传地址
使用idea创建一个项目然后创建一个git仓库
添加自己安装的git
选择项目文件
选择项目后,项目会变红

添加
等待一会,项目变为绿色


第一次提交会出现以下提示,暂时不需要勾选
会提示代码评审,这里不需要审评。直接点击 commit and push

是否查看代码标记,可以直观的区分代码,这里不需要,所以直接点击Push
点击自定义


第一次提交输入密码,勾选记住账号密码,后面就不需要去输入了
gitlab查看上传的源码
创建合并分支
选择源和目标分支需要注意
然后指派人,注意下面四个选项,然后审批同意就行
安装Jenkins+Maven+Nexus
安装Jenkins
-
访问官网
https://www.jenkins.io/zh/download/,点击下载
-
Jenkins主机安装jdk11,可以通过yum的方式安装。

-
运行tomcat启动war包,也可以直接java -jar启动包

-
打开验证

-
登录
查找默认登录密码,修改密码后,这个文件会被删除
[root@jenkins .jenkins]# cat /root/.jenkins/secrets/initialAdminPassword
2e89c55cd221465897765871e12f6c4d

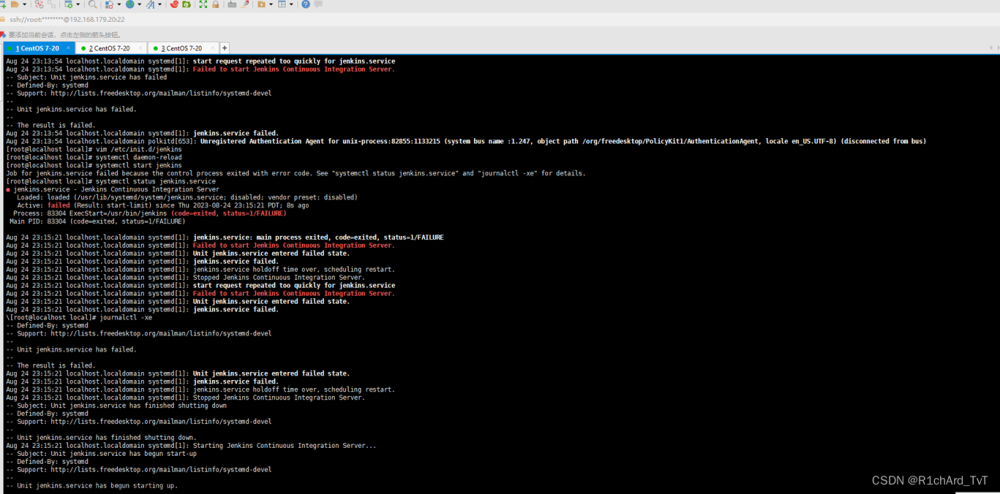
- 遇到启动,如果出现如下页面,需要去找这个文件,意义就是更换国内的源

vim /root/.jenkins/hudson.model.UpdateCenter.xml
##把url替换成以下地址
<?xml version='1.1' encoding='UTF-8'?>
<sites>
  <site>
    <id>default</id>
    <url>https://mirrors.tuna.tsinghua.edu.cn/jenkins/updates/update-center.json</url>
  </site>
</sites>

##然后保存重启就可以
安装Nexus
-
下载Nexus,地址为
https://help.sonatype.com/repomanager3/product-information/download
-
linux安装,nexus必须要
jdk8,版本太高太低都不行。如果启动
启动报错找不到jdk8,那么需要编辑bin下的nexus文件加上JDK的路径INSTALL4J_JAVA_HOME_OVERRIDE=java的路径
##解压
[root@nexus ~]# tar -zxvf nexus-3.57.0-01-unix.tar.gz
##进入bin目录
[root@nexus ~]# cd nexus-3.57.0-01/bin/
[root@nexus bin]# ls
contrib  nexus  nexus.rc  nexus.vmoptions
##执行nexus文件启动
[root@nexus bin]# ./nexus start
WARNING: ************************************************************
WARNING: Detected execution as "root" user.  This is NOT recommended!
WARNING: ************************************************************
Starting nexus
-
访问,默认端口为8081

-
默认登录密码,注意如果登录后更改了密码,这个文件将会被删除
[root@nexus nexus-3.57.0-01]# cat /root/sonatype-work/nexus3/admin.password
cbd1c4e7-76d8-454f-a5f7-35b726f37abf
- 使用脚本上传将依赖到nexus,这里手动上传依赖
#!/bin/bash
# 1、推送本地release  ./mavenimport.sh -u admin -p admin123 -r http://98.13.17.82:8081/repository/maven-releases/
# 2、推送本地snapshots ./mavenimport.sh -u admin -p admin123 -r http://98.13.17.82:8081/repository/maven-snapshots/

while getopts ":r:u:p:" opt; do
        case $opt in
                r) REPO_URL="$OPTARG"
                ;;
                u) USERNAME="$OPTARG"
                ;;
                p) PASSWORD="$OPTARG"
                ;;
        esac
done

find . -type f -not -path './mavenimport\.sh*' -not -path '*/\.*' -not -path '*/\^archetype\-catalog\.xml*' -not -path '*/\^maven\-metadata\-local*\.xml' -not -path '*/\^maven\-metadata\-deployment*\.xml' | sed "s|^\./||" | xargs -I '{}' curl -u "$USERNAME:$PASSWORD" -X PUT -v -T {} ${REPO_URL}/{} ;
- 执行脚本,上传
[root@jenkins repository]# ./push.sh -u admin -p Admin1234 -r http://10.64.95.112:8081/repository/maven-releases/
- 注意nexus中的Browse里面的Type为
hosted,才能上传,不会包405
- 如果上传遇到400这个报错,按照下图更改为
Permissive。
< HTTP/1.1 400 Invalid path for a Maven 2 repository
< Server: Nexus/3.57.0-01 (OSS)
< X-Content-Type-Options: nosniff
< Content-Security-Policy: sandbox allow-forms allow-modals allow-popups allow-presentation allow-scripts allow-top-navigation
< X-XSS-Protection: 1; mode=block
< Connection: close

安装Maven
1. 解压maven包
[root@jenkins ~]# ls
anaconda-ks.cfg  apache-maven-3.5.3  apache-tomcat-9.0.76
2. 验证
##给mvn添加可执行权限, 然后执行以下命令
[root@jenkins apache-maven-3.5.3]# bin/mvn -v
Apache Maven 3.5.3 (3383c37e1f9e9b3bc3df5050c29c8aff9f295297; 2018-02-25T03:49:05+08:00)
Maven home: /root/apache-maven-3.5.3
Java version: 11.0.19, vendor: Red Hat, Inc.
Java home: /usr/lib/jvm/java-11-openjdk-11.0.19.0.7-1.el7_9.x86_64
Default locale: zh_CN, platform encoding: UTF-8
OS name: "linux", version: "3.10.0-1127.el7.x86_64", arch: "amd64", family: "unix"
3. maven使用本地仓库,打开maven的setting配置文件,修改仓库地址
添加自己搭建的nexus私服的账号密码和地址
添加拉取依赖的地址
Jenkins配置Maven+Git构建jar包
- 下载maven、Git插件并启用


- Jenkins服务器安装git
# 下载yum源
curl -Lo ius-release-el7.rpm https://repo.ius.io/ius-release-el7.rpm
yum -y install ius-release-el7.rpm
# 安装git
yum install git
##验证版本
[root@jenkins 123]# git version
git version 1.8.3.1
- 配置maven的路径

填好保存
4. 创建项目并配置源码仓库
创建项目
配置Gitlab
这个选项是,如果有以前构建过的pom文件,那么就会直接用之前的镜像,不会再去解析依赖。这样省时间

指定pom文件位置,如果没有配置Maven会爆红,我这里是配置了还没有刷新,正常的是第二张图

打包后执行的步骤
- 先保存看看能不能拉下依赖和打包。在Jenkins上开始,构建,并查看日志


运行成功
[root@jenkins conf]# cd /root/.jenkins/workspace/ruoyi-master/ruoyi-admin/target/
[root@jenkins target]# ls
classes  generated-sources  maven-archiver  maven-status  ruoyi-admin.jar  ruoyi-admin.jar.original
[root@jenkins target]# java -jar ruoyi-admin.jar

Application Version: 4.7.7
Spring Boot Version: 2.5.15
Jenkins配置自动化发布
1. 安装ssh插件,才能传输文件及其他指令
2. 配置需要发布的服务器


Test Configuration可以先验证是否能登录。
3. 点开项目里的配置构建后的操作,添加服务器

4. 执行构建
回到首页,点击所需要构建项目右边的三角形 文章来源:https://www.toymoban.com/news/detail-736301.html
构建返回成功
5. 验证 文章来源地址https://www.toymoban.com/news/detail-736301.html
到了这里,关于Jenkins+gitlab搭建与使用(一)的文章就介绍完了。如果您还想了解更多内容,请在右上角搜索TOY模板网以前的文章或继续浏览下面的相关文章,希望大家以后多多支持TOY模板网!


