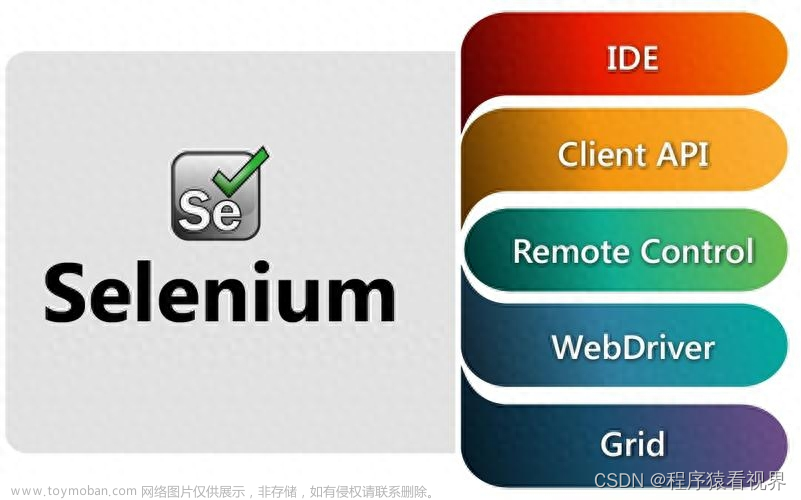
Selenium 有很多功能, 但其核心是 web 浏览器自动化的一个工具集,它允许用户模拟终端用户执行的常见活动;将文本输入到字段中,选择下拉值和复选框,并单击文档中的链接。 它还提供许多其他控件,比如鼠标移动、任意 JavaScript 执行等等。
虽然 Selenium 主要用于网站的前端测试,但其核心是浏览器用户代理库。本次来说说,Python使用Selenium调用Chrome浏览器并通过HTTP代理进行自动化测试:
白名单模式代码示例:
```python
from selenium import webdriver
from selenium.webdriver.chrome.service import Service

targetURL = "http://myip.ipip.net" #访问的目标站点
proxyAddr = "您的代理IP:端口号"

if __name__ == '__main__':
  browser_location = r".\Chrome\chrome.exe" #指定浏览器路径位置
  driver_location = r".\Chrome\chromedriver.exe" #指定Driver路径位置

  option = webdriver.ChromeOptions()
  option.binary_location = browser_location #设置浏览器位置
  option.add_argument("--start-maximized") #窗口最大化运行
  option.add_argument('--proxy-server=%(server)s' % {"server": proxyAddr})

  driver = webdriver.Chrome(service=Service(driver_location), options=option)
  driver.get(targetURL)
  print(driver.page_source)
```
运行结果:

账密模式代码如下:
from selenium import webdriver
from selenium.webdriver.chrome.service import Service
import string
import zipfile
targetURL = "http://d.qg.net/ip" #访问的目标站点
proxyHost = "您的代理IP"
proxyPort = "端口号"
authKey = "请改成您的Key"
password = "请改成您的AuthPwd"
# 账密模式
def create_proxy_auth_extension(proxy_host, proxy_port, proxy_username, proxy_password, scheme='http', plugin_path=None):
if plugin_path is None:
plugin_path = r'./{}_{}_qgnet_proxyauth_plugin.zip'.format(proxy_username, proxy_password)
manifest_json = """
{
"version": "1.0.0",
"manifest_version": 2,
"name": "QG.NET Proxy",
"permissions": [
"proxy",
"tabs",
"unlimitedStorage",
"storage",
"",
"webRequest",
"webRequestBlocking"
],
"background": {
"scripts": ["background.js"]
},
"minimum_chrome_version":"22.0.0"
}
"""
background_js = string.Template(
"""
var config = {
mode: "fixed_servers",
rules: {
singleProxy: {
scheme: "${scheme}",
host: "${host}",
port: parseInt(${port})
},
bypassList: ["localhost"]
}
};
chrome.proxy.settings.set({value: config, scope: "regular"}, function() {});
function callbackFn(details) {
return {
authCredentials: {
username: "${username}",
password: "${password}"
}
};
}
chrome.webRequest.onAuthRequired.addListener(
callbackFn,
{urls: [""]},
['blocking']
);
"""
).substitute(
host=proxy_host,
port=proxy_port,
username=proxy_username,
password=proxy_password,
scheme=scheme,
)
with zipfile.ZipFile(plugin_path, 'w') as zp:
zp.writestr("manifest.json", manifest_json)
zp.writestr("background.js", background_js)
return plugin_path
if __name__ == '__main__':
# browser_location = r"C:\Users\Administrator\Desktop\Chrome\chrome.exe" # 指定浏览器路径位置
driver_location = r"C:\Users\Administrator\Desktop\Chrome\chromedriver.exe" # 指定Driver路径位置
proxy_auth_plugin_path = create_proxy_auth_extension(
proxy_host=proxyHost,
proxy_port=proxyPort,
proxy_username=authKey,
proxy_password=password)
option = webdriver.ChromeOptions()
# option.binary_location = browser_location #设置浏览器位置
option.add_argument("--start-maximized") #窗口最大化运行
option.add_extension(proxy_auth_plugin_path) #添加proxy插件
driver = webdriver.Chrome(service=Service(driver_location), options=option)
driver.get(targetURL)
print(driver.page_source)
返回结果如下:文章来源:https://www.toymoban.com/news/detail-738561.html
 文章来源地址https://www.toymoban.com/news/detail-738561.html
到了这里,关于新手教程 | Python自动化测试Selenium+chrome连接HTTP代理(账密+白名单)的文章就介绍完了。如果您还想了解更多内容,请在右上角搜索TOY模板网以前的文章或继续浏览下面的相关文章,希望大家以后多多支持TOY模板网!


