vue3之vite创建h5项目之2 ( )
1:安装sass
pnpm i -D sass
1-1 使用sass引入公共样式1
1-1-1 main.ts 引入公共样式方式
// 引入公共样式与变量   // 引入公共样式方式1
import '@/style/index.scss'
1-2 vite.config.ts 引入公共样式方式2
export default defineConfig({
  // 引入公共样式方式2
  css: {
    preprocessorOptions: {
      scss: {
        additionalData: `
		  @import "@/style/reset.scss";
          @import "@/style/mixin.scss";
          @import "@/style/variables.scss";
          `,
      },
    },
  },
})
1-3样式文件
1-3-1 src / style / index.scss ( 适配iphonex等还有引入其他公共的样式 )
@import './reset.scss';
@import './variables.scss';
@import './mixin.scss';

html,
body,
#app {
  height: 100%;
  color: #333333;
  font-family: Arial, Helvetica, 'STHeiti STXihei', 'Microsoft YaHei', Tohoma, sans-serif;
  background-color: $background-color;
}

.app-container {
  padding-bottom: 50px;
}

#__vconsole {
  display: none;
}

.fixIphonex {
  padding-bottom: $safe-bottom !important;
  &::after {
    content: '';
    position: fixed;
    bottom: 0 !important;
    left: 0;
    height: calc(#{$safe-bottom} + 1px);
    width: 100%;
    background: #ffffff;
  }
}

/* 适配iphonex */

@supports (bottom: env(safe-area-inset-bottom)) {
  .app-container {
    padding-bottom: calc(env(safe-area-inset-bottom) + 50px); // 这里是重点
  }
  .bottom-button-box {
    bottom: env(safe-area-inset-bottom); // 这里是重点
    &:after {
      content: '';
      height: env(safe-area-inset-bottom); // 这里是重点
      position: absolute;
      top: 100%;
      left: 0;
      right: 0;
      background-color: #fff;
    }
  }
}
1-3-2 src / style / mixin.scss ( 公共样式方法抽离 )
// mixin
// 清除浮动
@mixin clearfix {
  &:after {
    content: "";
    display: table;
    clear: both;
  }
}

// 多行隐藏
@mixin textoverflow($clamp:1) {
  display: block;
  overflow: hidden;
  text-overflow: ellipsis;
  -o-text-overflow: ellipsis;
  display: -webkit-box;
  -webkit-line-clamp: $clamp;
  /*! autoprefixer: ignore next */
  -webkit-box-orient: vertical;
}

//flex box
@mixin flexbox($jc:space-between, $ai:center, $fd:row, $fw:nowrap) {
  display: flex;
  display: -webkit-flex;
  flex: 1;
  justify-content: $jc;
  -webkit-justify-content: $jc;
  align-items: $ai;
  -webkit-align-items: $ai;
  flex-direction: $fd;
  -webkit-flex-direction: $fd;
  flex-wrap: $fw;
  -webkit-flex-wrap: $fw;
}
1-3-3 src / style / reset.scss ( 重置样式 )
/**
 * Eric Meyer's Reset CSS v2.0 (http://meyerweb.com/eric/tools/css/reset/)
 * http://cssreset.com
 */
html,
body,
div,
span,
applet,
object,
iframe,
h1,
h2,
h3,
h4,
h5,
h6,
p,
blockquote,
pre,
a,
abbr,
acronym,
address,
big,
cite,
code,
del,
dfn,
em,
img,
ins,
kbd,
q,
s,
samp,
small,
strike,
strong,
sub,
sup,
tt,
var,
b,
u,
i,
center,
dl,
dt,
dd,
ol,
ul,
li,
fieldset,
form,
label,
legend,
table,
caption,
tbody,
tfoot,
thead,
tr,
th,
td,
article,
aside,
canvas,
details,
embed,
figure,
figcaption,
footer,
header,
menu,
nav,
output,
ruby,
section,
summary,
time,
mark,
audio,
video,
input {
	margin: 0;
	padding: 0;
	border: 0;
	font-size: 100%;
	font-weight: normal;
	vertical-align: baseline;
}

/* HTML5 display-role reset for older browsers */
article,
aside,
details,
figcaption,
figure,
footer,
header,
menu,
nav,
section {
	display: block;
}

body {
	line-height: 1;
}

blockquote,
q {
	quotes: none;
}

blockquote:before,
blockquote:after,
q:before,
q:after {
	content: none;
}

table {
	border-collapse: collapse;
	border-spacing: 0;
}

/* custom */
a {
	text-decoration: none;
	-webkit-backface-visibility: hidden;
}

li {
	list-style: none;
}

::-webkit-scrollbar {
	width: 5px;
	height: 5px;
}

::-webkit-scrollbar-track-piece {
	background-color: rgba(0, 0, 0, 0.2);
	-webkit-border-radius: 6px;
}

::-webkit-scrollbar-thumb:vertical {
	height: 5px;
	background-color: rgba(125, 125, 125, 0.7);
	-webkit-border-radius: 6px;
}

::-webkit-scrollbar-thumb:horizontal {
	width: 5px;
	background-color: rgba(125, 125, 125, 0.7);
	-webkit-border-radius: 6px;
}

html,
body {
	width: 100%;
	height: 100%;
}

body {
	-webkit-text-size-adjust: none;
	-webkit-tap-highlight-color: rgba(0, 0, 0, 0);
}
1-3-4 src / style / variables.scss ( 定义的公共变量样式 )
// variables
$background-color: #f8f8f8;
$theme-color: #07b0b8;
$safe-bottom: constant(safe-area-inset-bottom);
$safe-bottom: env(safe-area-inset-bottom);
1-3-5 使用变量
<template>
  <div>
	App
	<div class="rrrr">rrrr</div>
  </div>
</template>

<script setup lang="ts" name='App'>
import { } from 'vue'
console.log("meta.env", import.meta.env)
</script>

<style  lang="scss" scoped>
.rrrr {
	color: $theme-color;
}
</style>
2:声明组件 否则ts报红线 项目根目录 / env.d.ts
// 声明自己定义的 vue组件
declare module '*.vue' {
    import type { DefineComponent } from 'vue';
	const vueComponent: DefineComponent<{}, {}, any>;
	export default vueComponent;
}
3:路由配置和layout组件配置
3-1 路径文件 router/index.ts
import type {  RouteRecordRaw} from 'vue-router'
import  { createRouter, createWebHistory } from 'vue-router'
import Layout from '@/views/layout/index.vue'
const routes: Array<RouteRecordRaw> = [
	{
	  path: '/',
	  name: 'Home',
	  redirect: '/home',
	  meta: {
		title: '首页',
		keepAlive: false
	  },
	  component: Layout,
	  children: [
		{
			path: '/home',
			name: 'Home',
			component: () => import('@/views/home/index.vue'),
			meta: { title: '首页', keepAlive: false, showTab: true }
		},
		{
			path: '/about',
			name: 'About',
			component: () => import('@/views/about/index.vue'),
			meta: { title: '关于', keepAlive: false, showTab: true }
		},
		{
			path: '/test',
			name: 'Test',
			component: () => import('@/views/test/index.vue'),
			meta: { title: '测试', keepAlive: false, showTab: true }
		},
		{
			path: '/mine',
			name: 'Mine',
			component: () => import('@/views/mine/index.vue'),
			meta: { title: '我的', keepAlive: false, showTab: true }
		},
		{
		  path: '/noTab',
		  name: 'NoTab',
		  component: () => import('@/views/noTab/index.vue'),
		  meta: { title: '没有Tab', keepAlive: false, showTab: false }
		},
	  ]
	}
  ]

const router = createRouter({
  history: createWebHistory(import.meta.env.BASE_URL),
  routes
})

export default router
3-2 Layout组件 view / layout / index.vue
<template>
	<div class="layout">
		<div class="layout-content" :class="[route.meta.showTab ? 'showTab' : 'noShowTab']">
			<keep-alive v-if="route.meta.keepAlive">
				<router-view></router-view>
			</keep-alive>
			<router-view v-else></router-view>
		</div>
		<div class="layout-footer" v-if="route.meta.showTab">
			<TabBar :tabbars="tabbars" v-model="activeRoute" @change="handleChange" />
		</div>
	</div>
</template>

<script setup lang="ts" name="LayoutIndex">
import TabBar from "@/components/TabBar.vue"
import { useRoute } from 'vue-router'
import type { ITabList } from '@/components/TabBar.vue'
import { reactive, watch, ref } from 'vue'
const route = useRoute()
console.log(route.meta)
const tabbars: Array<ITabList> = reactive([
	{ title: '首页', to: '/home', icon: 'home-o' },
	{ title: '关于', to: '/about', icon: 'label-o' },
	{ title: '测试', to: '/test', icon: 'star-o' },
	{ title: '我的', to: '/mine', icon: 'user-o' }
])
const activeRoute = ref(0)
watch(activeRoute, (v) => {
	console.log('tab value v-model:', v)
})
const handleChange = (v: number) => {
	console.log('tab value @change:', v)
}
watch(route, (v) => {
	console.log('route', v.name)
})
</script>
<style  lang="scss" scoped>
.layout {
	background: #fff;
	width: 100%;
	height: 100%;
	.layout-content {
		background: #d5d5d5;
	}
	.showTab {
		height: calc(100% - 50px);
		overflow-y: scroll;
	}
	.noShowTab {
		height: 100%;
		overflow-y: scroll;
	}
}
</style>
3-3 TabBar.vue 组件 src / components/ abBar.vue
<script setup lang="ts">
import { computed,defineProps ,defineEmits } from 'vue'
import type { PropType } from 'vue';

export interface ITabList {
	title: string // 标题
	to: string // url路径
	icon: string // 图标
}
const props = defineProps({
	tabbars: {
		type: Array as PropType<ITabList[]>,
		default: () => []
	},
	active: Number
})
const emit = defineEmits(['change', 'update:active'])
const active = computed({
	get: () => props.active,
	set: (val) => {
		emit('update:active', val)
		emit('change', val)
	}
})
</script>
<template>
	<van-tabbar v-model="active" route fixed>
		<van-tabbar-item v-for="item in tabbars" :to="item.to" :icon="item.icon" :key="item.to">
			{{ item.title }}
		</van-tabbar-item>
	</van-tabbar>
</template>
3-4 使用到van组件库
- 安装:
pnpm i vant@next -S - main.ts
import 'vant/lib/index.css';
import { Tabbar,TabbarItem } from 'vant';

const app = createApp(App)
app.use(Tabbar);
app.use(TabbarItem);
3-5 App.vue
<template>
	<router-view />
</template>

<script setup lang="ts" name='App'>
import { } from 'vue'
console.log("meta.env", import.meta.env)
</script>

<style  lang="scss" scoped>
#app {
	height: 100%;
	width: 100%;
}
</style>
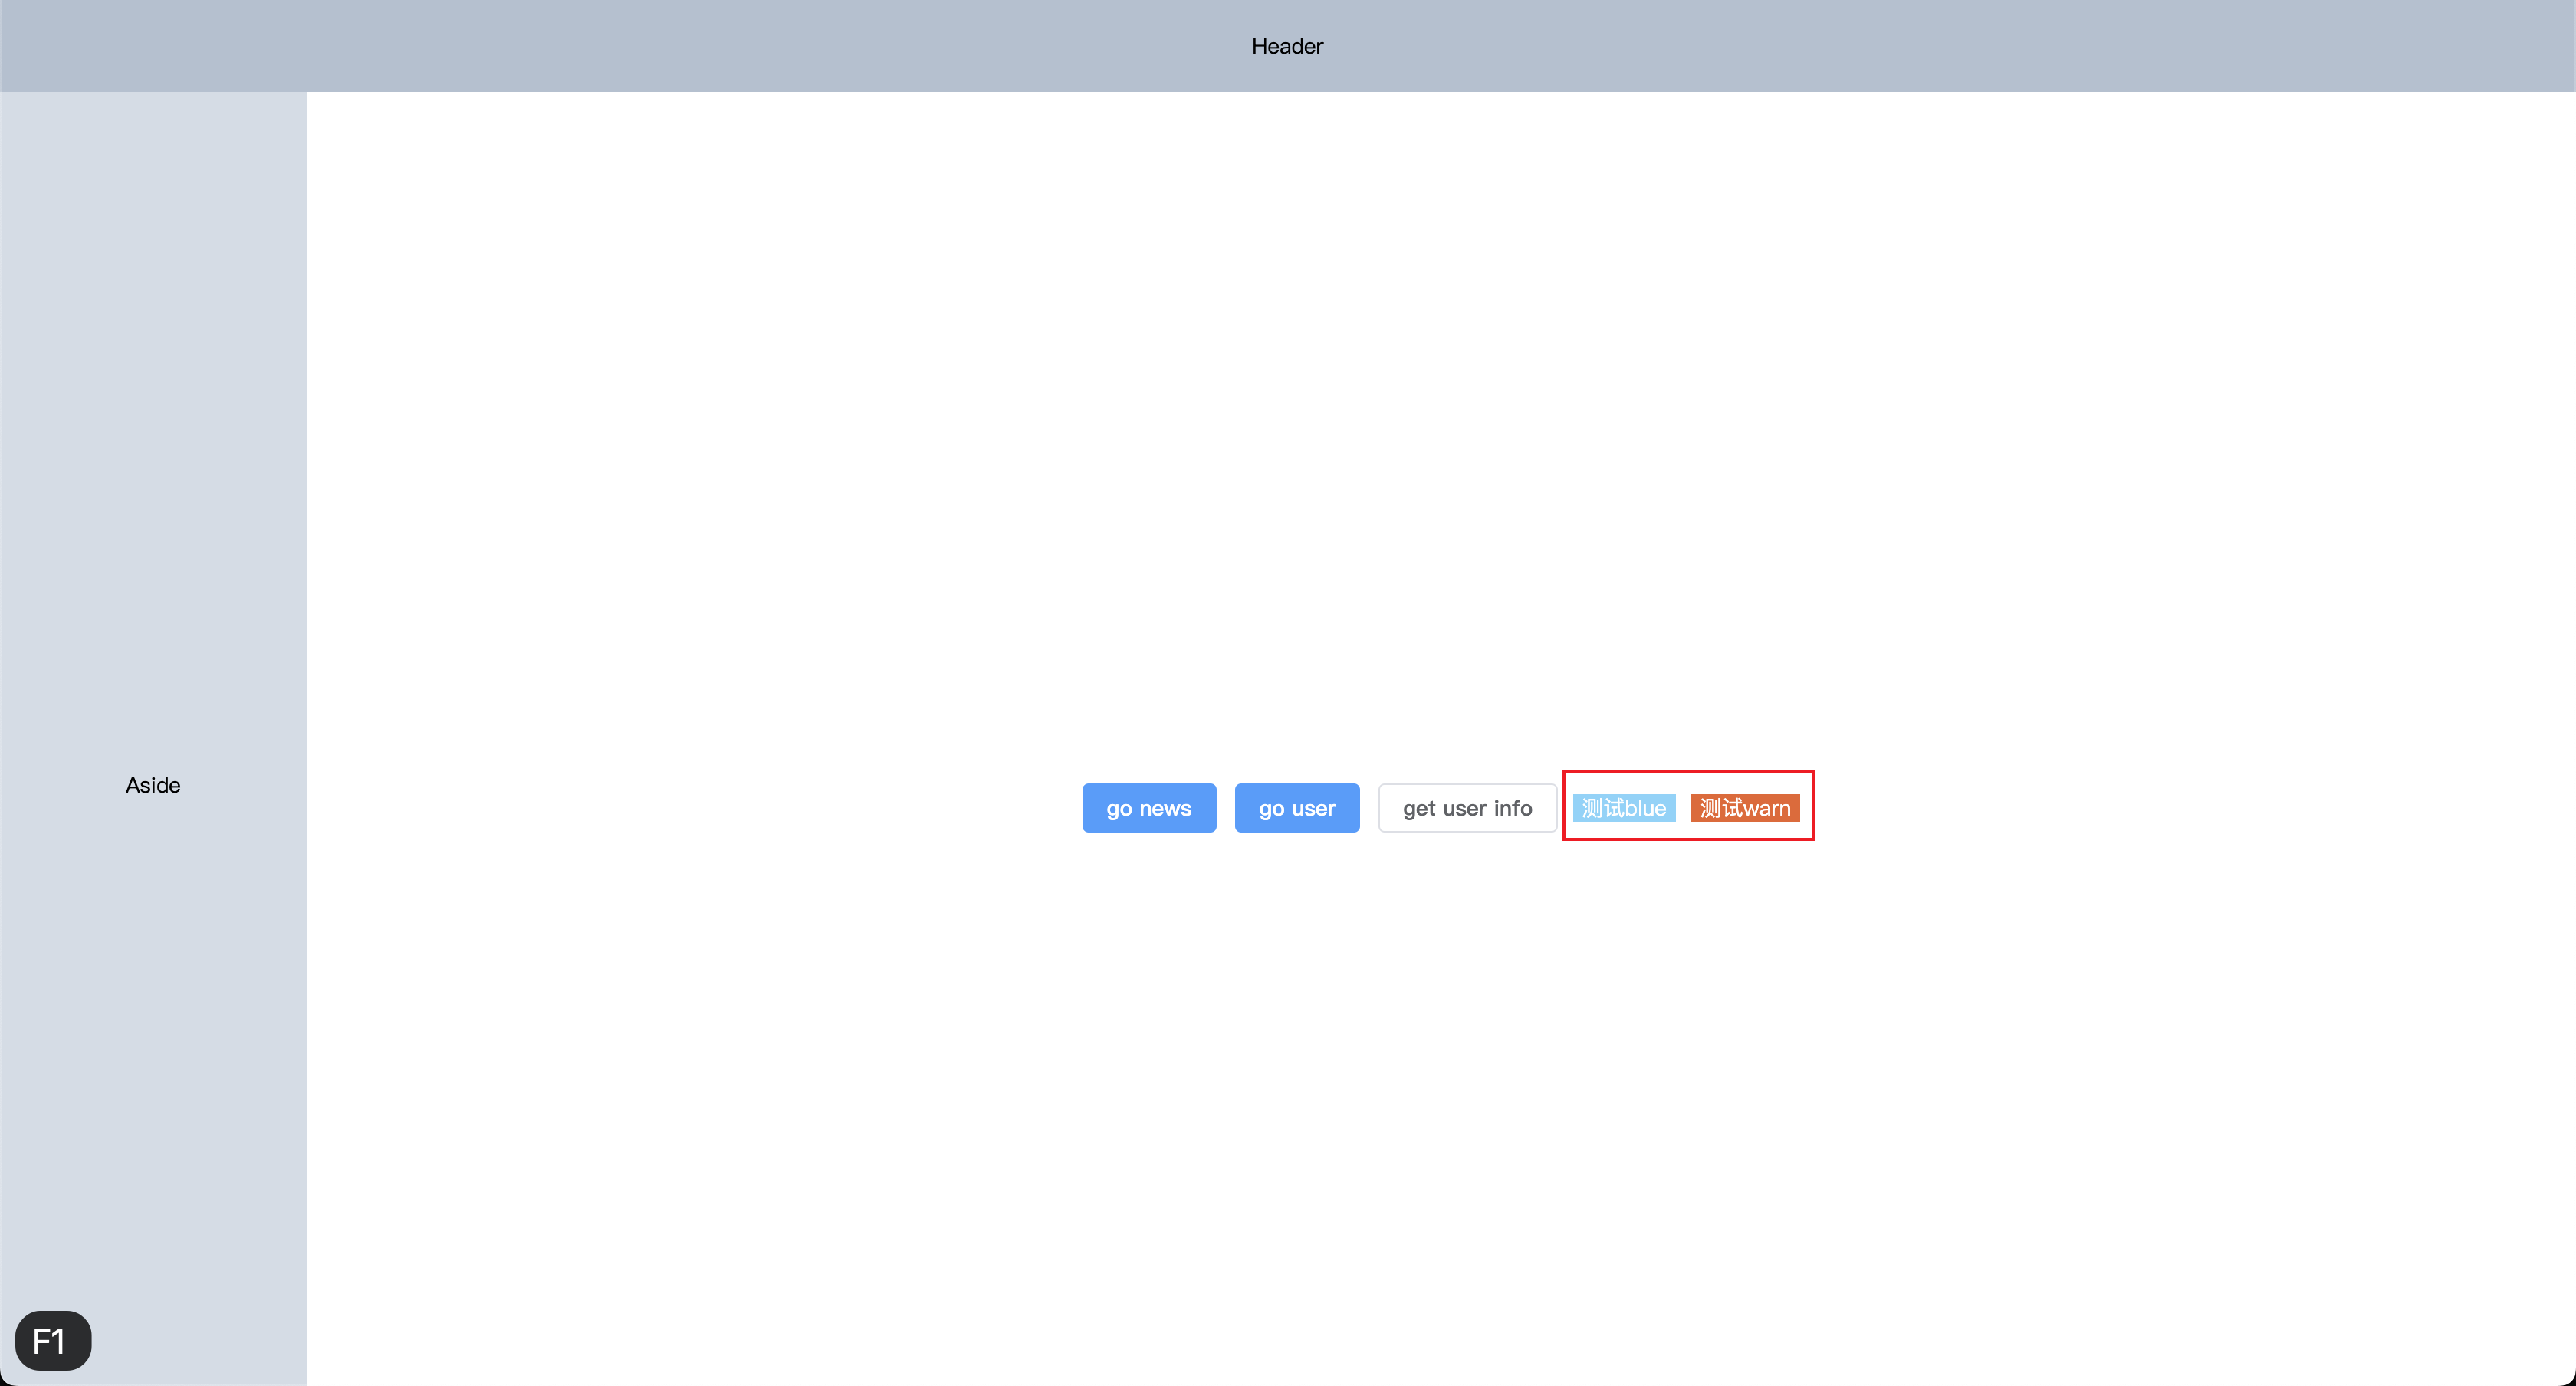
3-6 效果
 文章来源地址https://www.toymoban.com/news/detail-745309.html
文章来源:https://www.toymoban.com/news/detail-745309.html
到了这里,关于vue3之vite创建h5项目之2 (sass公共样式、声明组件、路由配置和layout组件 )的文章就介绍完了。如果您还想了解更多内容,请在右上角搜索TOY模板网以前的文章或继续浏览下面的相关文章,希望大家以后多多支持TOY模板网!


