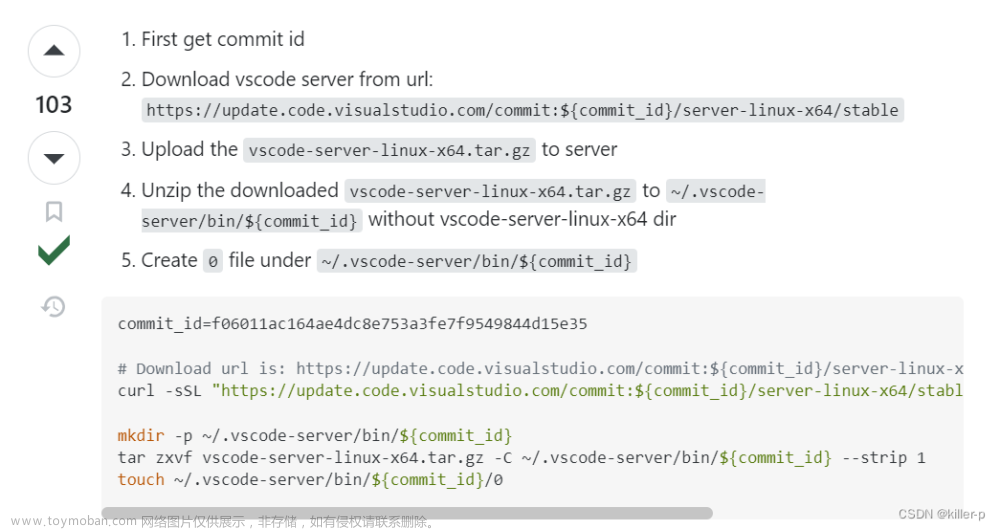
在Ubuntu系统中安装vscode
参考文档:
https://blog.csdn.net/m0_57368670/article/details/127184424
1, 下载vscode
https://code.visualstudio.com
2, 安装vscode
$ sudo dpkg -i code_1.78.1-1683194560_amd64.deb
3, 打开vscode
$ code
vscode 阅读 android以及kernel 源码
参考文档:
https://blog.csdn.net/lyndon_li/article/details/127955889
sudo apt install global
vscode安装 c/c++ gnu global插件
Ctrl + Shift + P 执行 Rebuild Gtags Database,等待数分钟在vscode右下角显示Build tag files successfully,表示索引建立成功。同时在工作目录会生成三个文件,GRTAGS,GTAGS,GPATH,
通过 Ctrl + 鼠标左键 进行代码跳转
总结:
打开Visual Studio Code -> File -> Open Folder -> 选择android以及kernel源码目录或某个子目录打开 -> Ctrl + Shift + P 执行 Rebuild Gtags Database文章来源:https://www.toymoban.com/news/detail-745379.html
vscode护眼色配置
打开Visual Studio Code -> File -> Preferences -> Settings -> 点击"Open Settings(JSON)"文本图标,添加如下护眼色配置。文章来源地址https://www.toymoban.com/news/detail-745379.html
{
    "editor.fontSize": 16,
    "workbench.iconTheme": null,
    "workbench.preferredLightColorTheme": "Visual Studio 2017 Dark - C++",
    "workbench.preferredHighContrastLightColorTheme": "Visual Studio 2017 Light - C++",
    "workbench.preferredHighContrastColorTheme": "Visual Studio 2017 Dark - C++",
    "workbench.colorTheme": "Atom One Light",
    "window.zoomLevel": 1,

    "workbench.colorCustomizations": {
        "[Atom One Light]": {
            "editor.background": "#C7EDCC",
            "sideBar.background": "#C7EDCC",
            "activityBar.background": "#C7EDCC",
            },
        },

    "workbench.editor.limit.enabled": true,
    "workbench.editor.limit.value": 15,


}
到了这里,关于vscode 阅读 android以及kernel 源码的文章就介绍完了。如果您还想了解更多内容,请在右上角搜索TOY模板网以前的文章或继续浏览下面的相关文章,希望大家以后多多支持TOY模板网!


