要求:
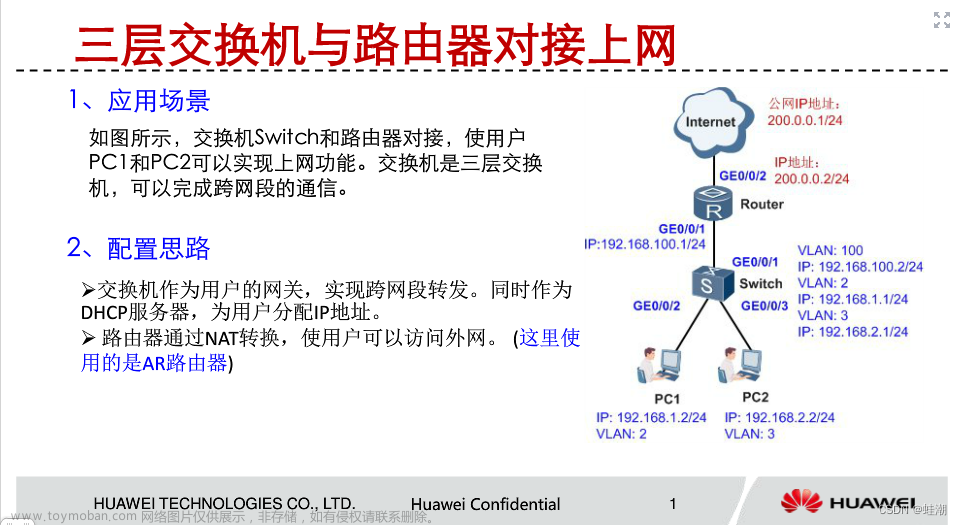
1、给路由器和交换机对应接口配置上 IP,使两边可以正常通信。
一、路由器配置
路由器接口可以直接配置 IP 地址文章来源:https://www.toymoban.com/news/detail-754669.html
进入系统视图
<AR1>system-view

进入物理接口。配置 IP (子网掩码 255.255.255.0 可以用掩码位:24 代替)
[AR1]interface GigabitEthernet 0/0/0
[AR1-GigabitEthernet0/0/0]ip address 192.168.1.1 255.255.255.0
[AR1-GigabitEthernet0/0/0]quit
[AR1]quit

退出后保存配置,不然重启后配置失效。
<AR1>save
二、交换机配置
交换机的接口无法直接配置 IP 地址,需要用一个 vlan 模拟配置一个 IP 并绑定物理接口进行通信。文章来源地址https://www.toymoban.com/news/detail-754669.html
进入系统视图
<LSW1>system-view

创建一个编号为10 的 vlan。一般可选编号为 2-4096,最多 4096 (2的12次方)也是因为报文中字节位数决定。vlan 号 1 是交换机内部使用。
[LSW1]vlan 10

进入 vlan 10 虚拟接口。给虚拟接口配置 IP 地址。配置好后退出。
[LSW1]interface Vlanif 10
[LSW1-Vlanif10]ip address 192.168.1.254 255.255.255.0
[LSW1-Vlanif10]quit

进入需要绑定 IP 的物理接口。把接口模式更改为 access。退出。
[LSW1]interface GigabitEthernet 0/0/1
[LSW1-GigabitEthernet0/0/1]port link-type access
[LSW1-GigabitEthernet0/0/1]port default vlan 10
[LSW1-GigabitEthernet0/0/1]quit
[LSW1]quit

退出后,保存,不保存重启后配置失效。
<LSW1>save
三、测试
交换机上测试
<LSW1>ping 192.168.1.1
  PING 192.168.1.1: 56  data bytes, press CTRL_C to break
    Reply from 192.168.1.1: bytes=56 Sequence=1 ttl=255 time=270 ms
    Reply from 192.168.1.1: bytes=56 Sequence=2 ttl=255 time=30 ms
    Reply from 192.168.1.1: bytes=56 Sequence=3 ttl=255 time=10 ms
    Reply from 192.168.1.1: bytes=56 Sequence=4 ttl=255 time=40 ms
    Reply from 192.168.1.1: bytes=56 Sequence=5 ttl=255 time=50 ms

路由器上测试
<AR1>ping 192.168.1.254
  PING 192.168.1.254: 56  data bytes, press CTRL_C to break
    Reply from 192.168.1.254: bytes=56 Sequence=1 ttl=255 time=20 ms
    Reply from 192.168.1.254: bytes=56 Sequence=2 ttl=255 time=30 ms
    Reply from 192.168.1.254: bytes=56 Sequence=3 ttl=255 time=30 ms
    Reply from 192.168.1.254: bytes=56 Sequence=4 ttl=255 time=10 ms
    Reply from 192.168.1.254: bytes=56 Sequence=5 ttl=255 time=30 ms
到了这里,关于【华为网络-配置-001】-路由器接口、交换机接口 IP 地址配置的文章就介绍完了。如果您还想了解更多内容,请在右上角搜索TOY模板网以前的文章或继续浏览下面的相关文章,希望大家以后多多支持TOY模板网!


